About the Process
The steps of painting an Icon
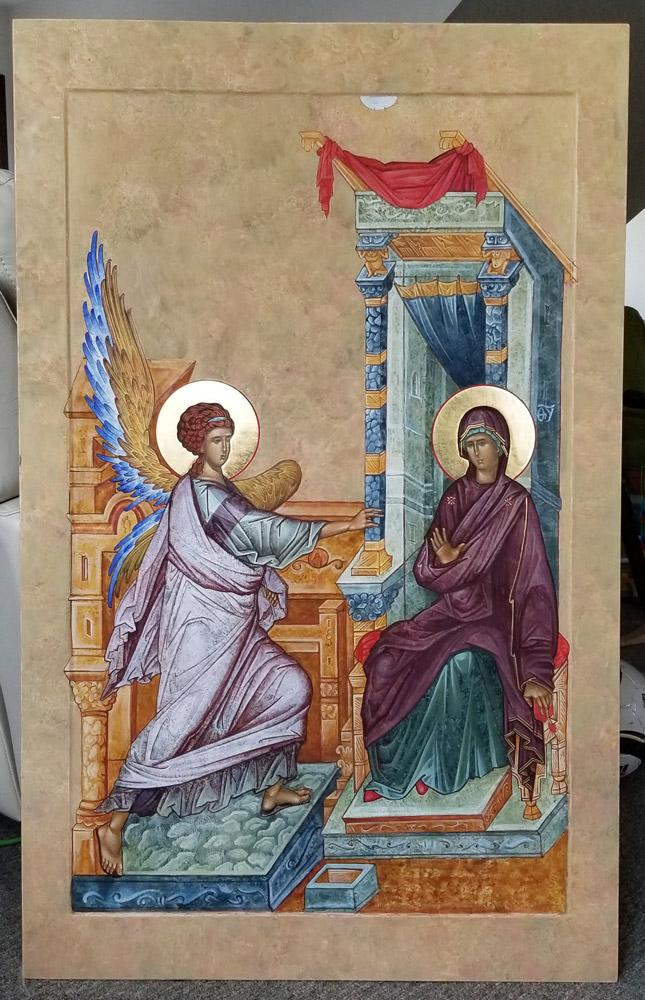
The process of painting an icon is just as important as the result. Today people say that one should fast and pray before making an icon, but I’ll say that making the icon ought to be the prayer. There are shortcuts, ways to ease the effort, especially with modern materials, but along with the traditional process something essential is lost. People can see that the icons painted today don’t measure up to the ones painted centuries ago, but they can’t figure out why that is.
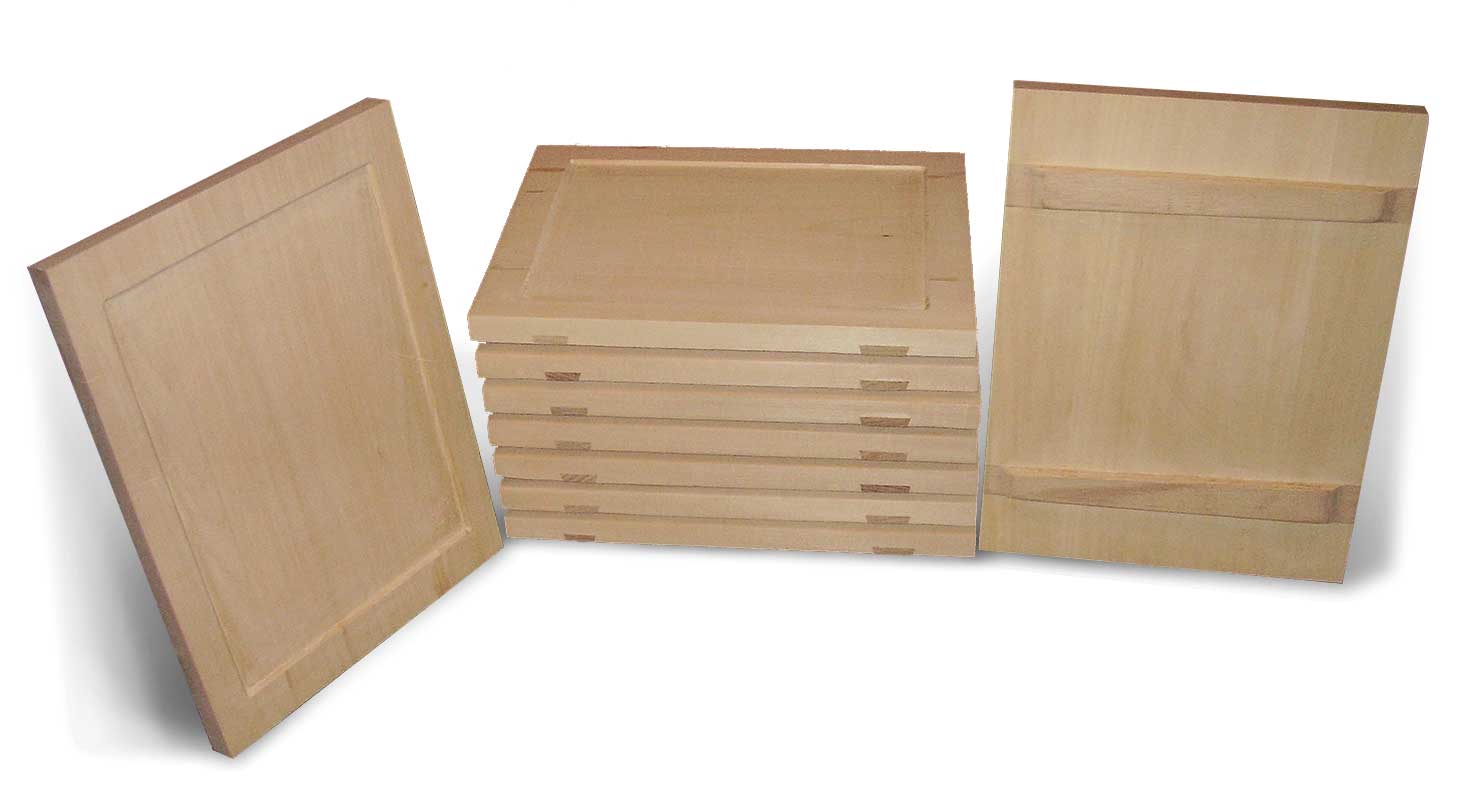
The Support
The support is made of poplar wood for its fine grain. It is dried well and braced with oak strips so as not to bend. The wood is covered with a traditional gesso made of chalk, marble dust and natural hide glue. No acrylic, all natural materials.
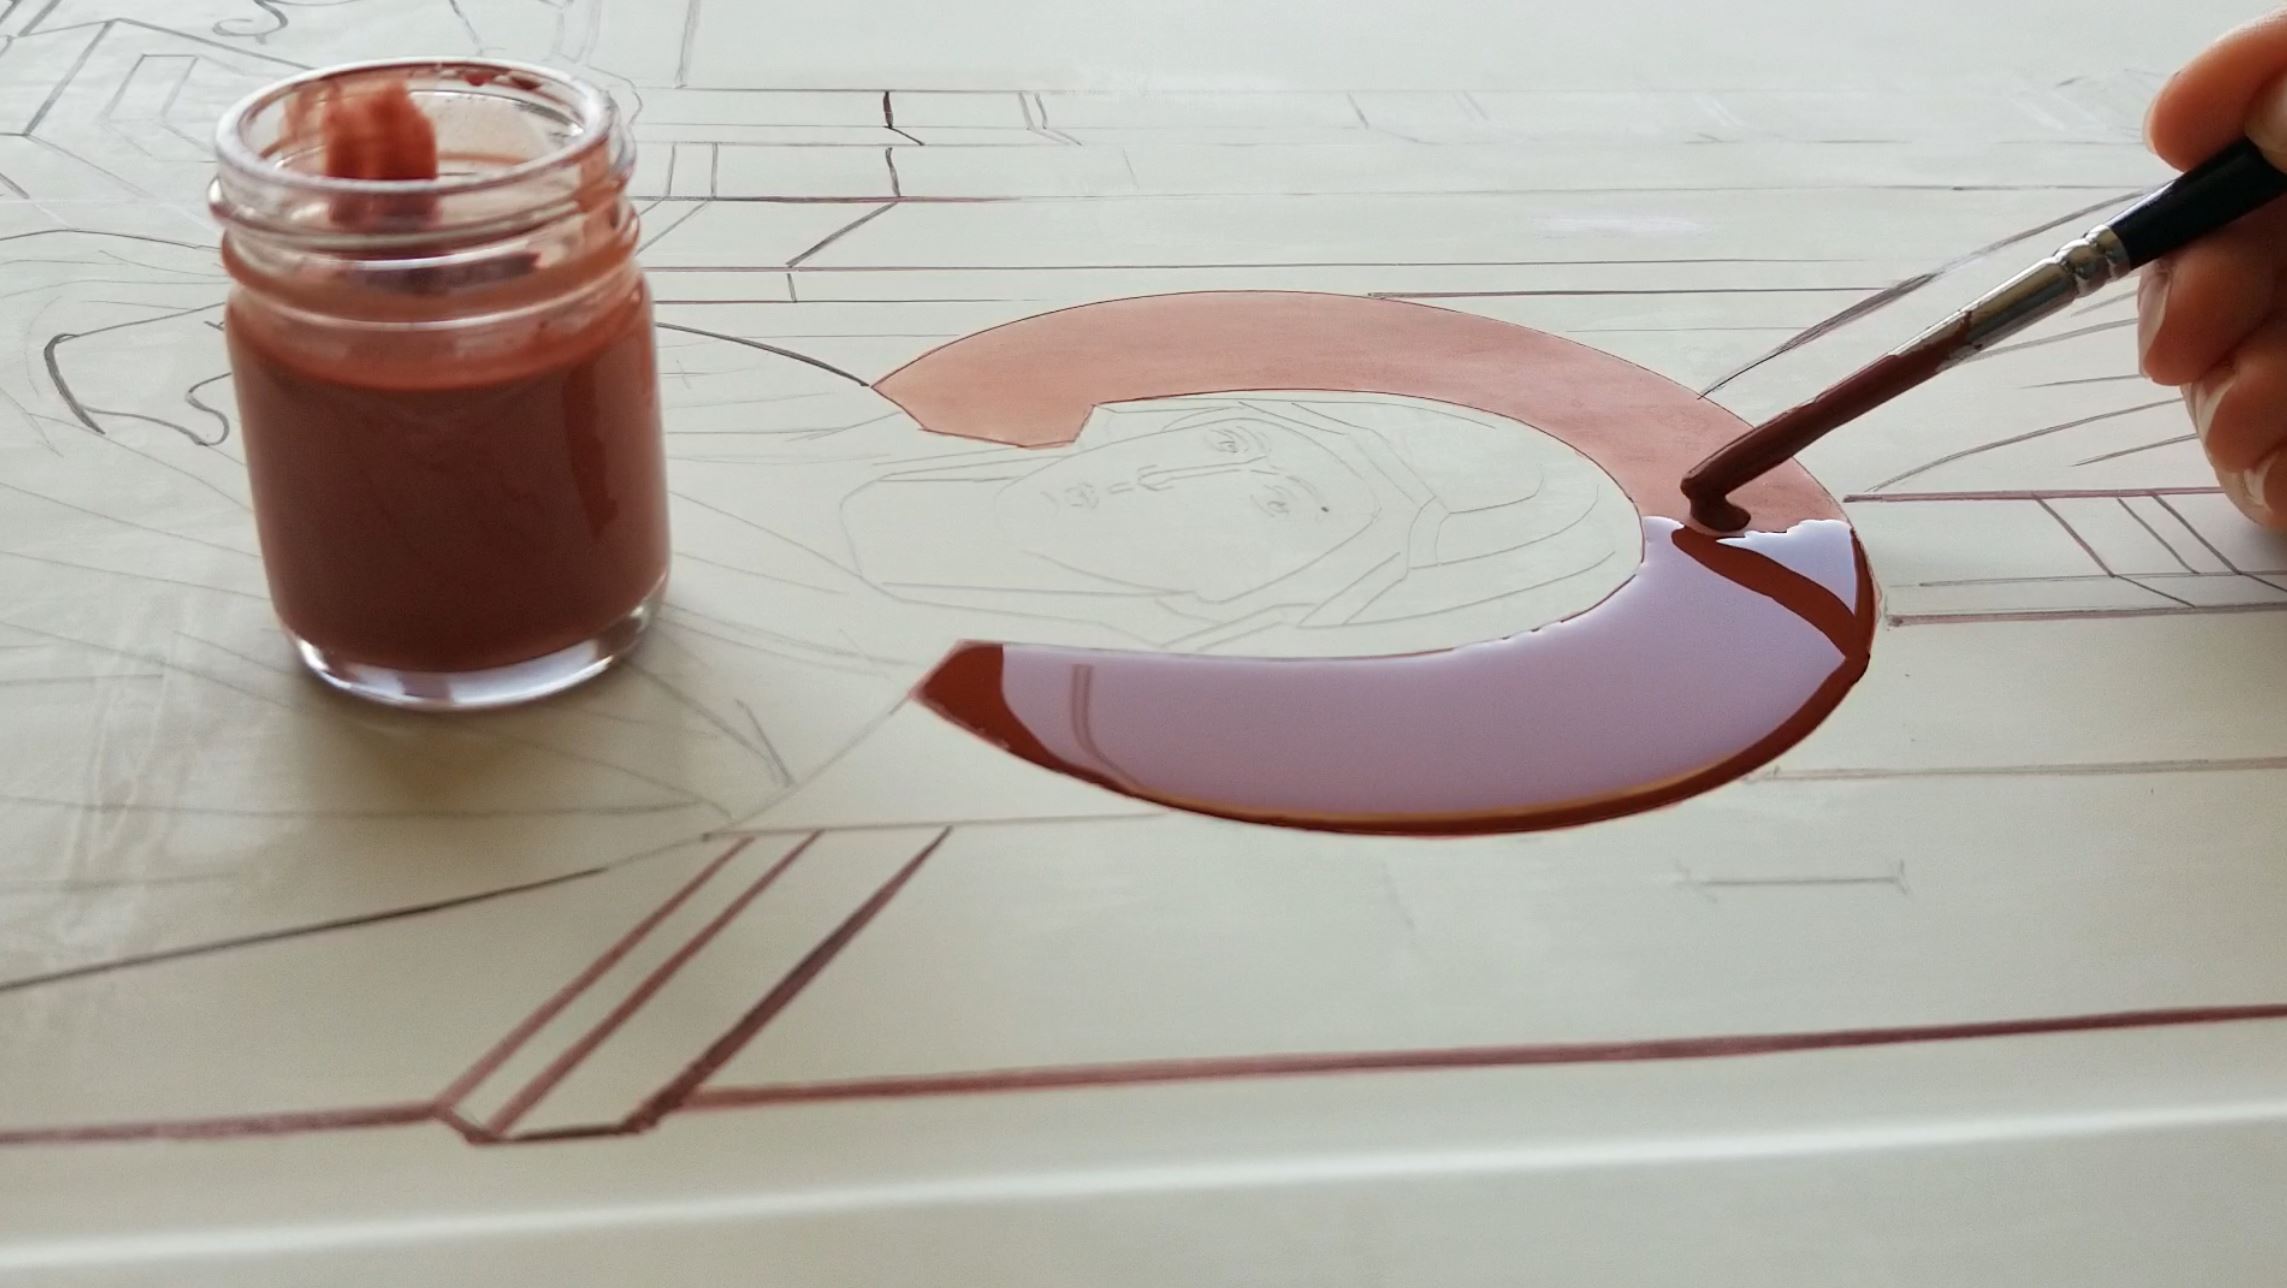
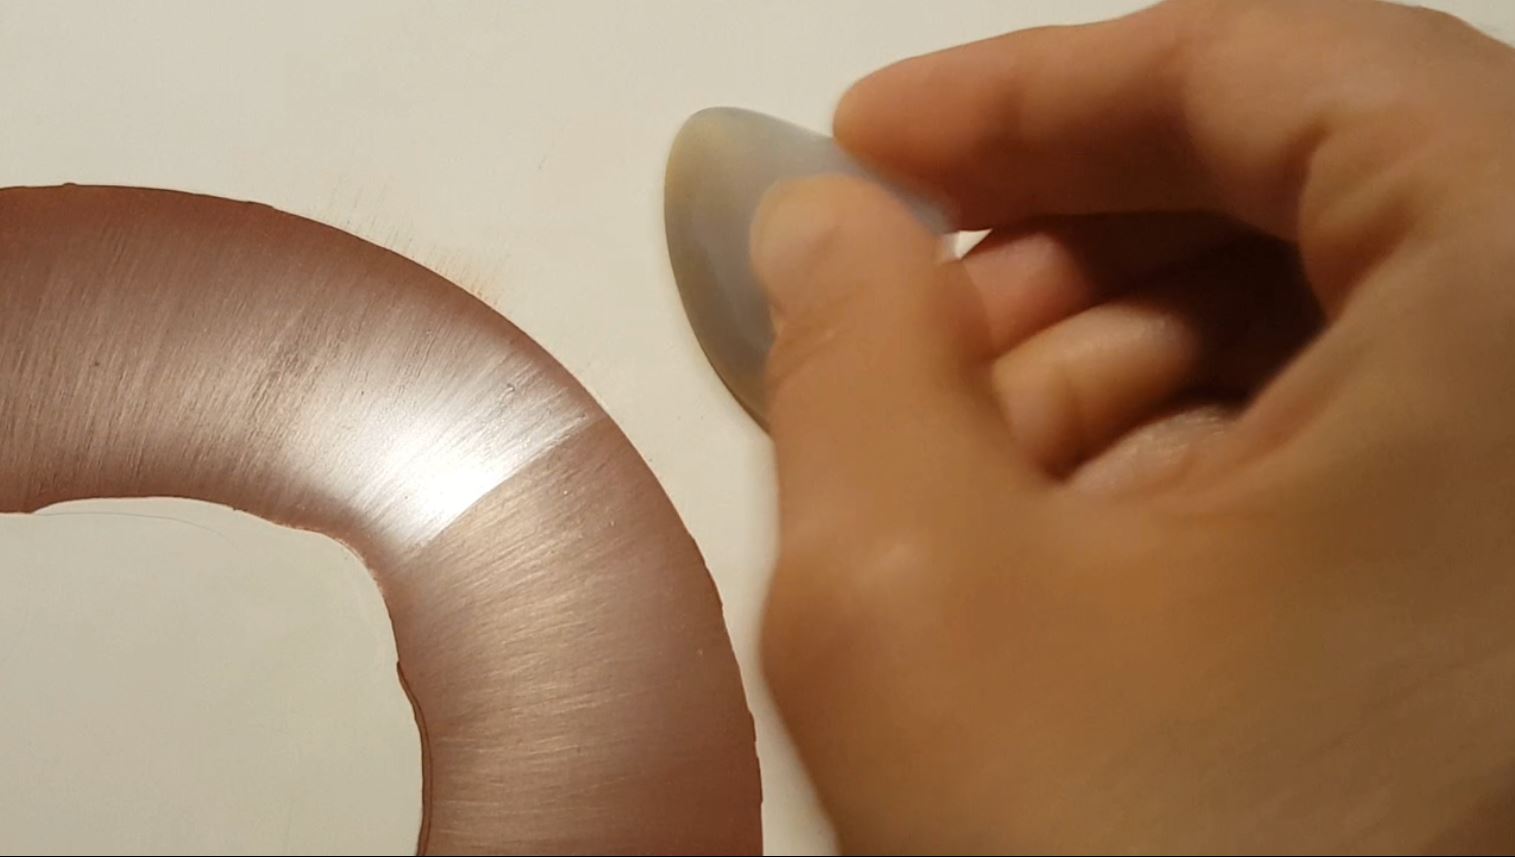
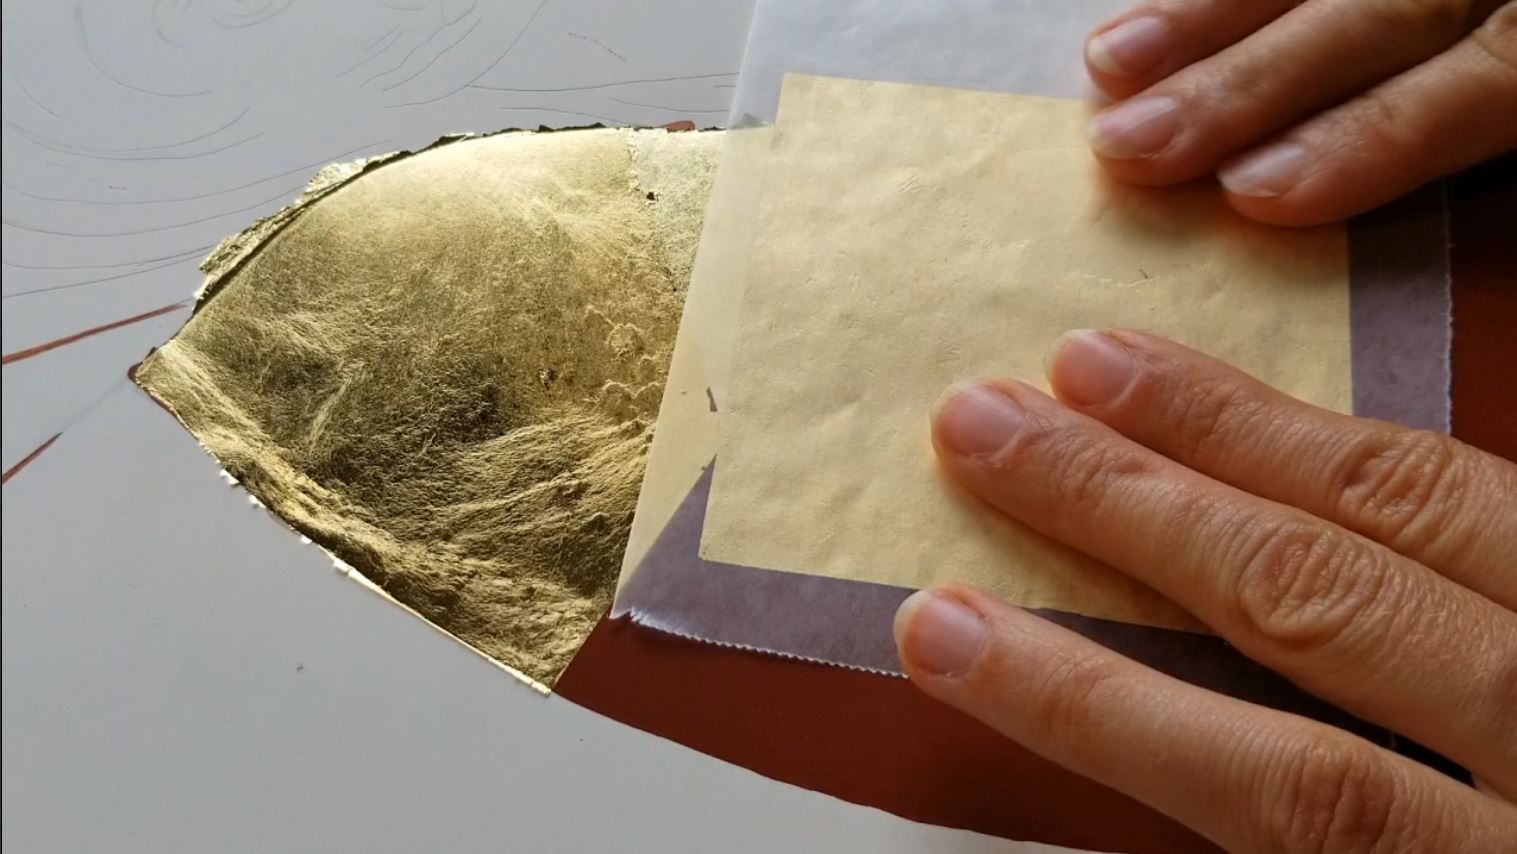
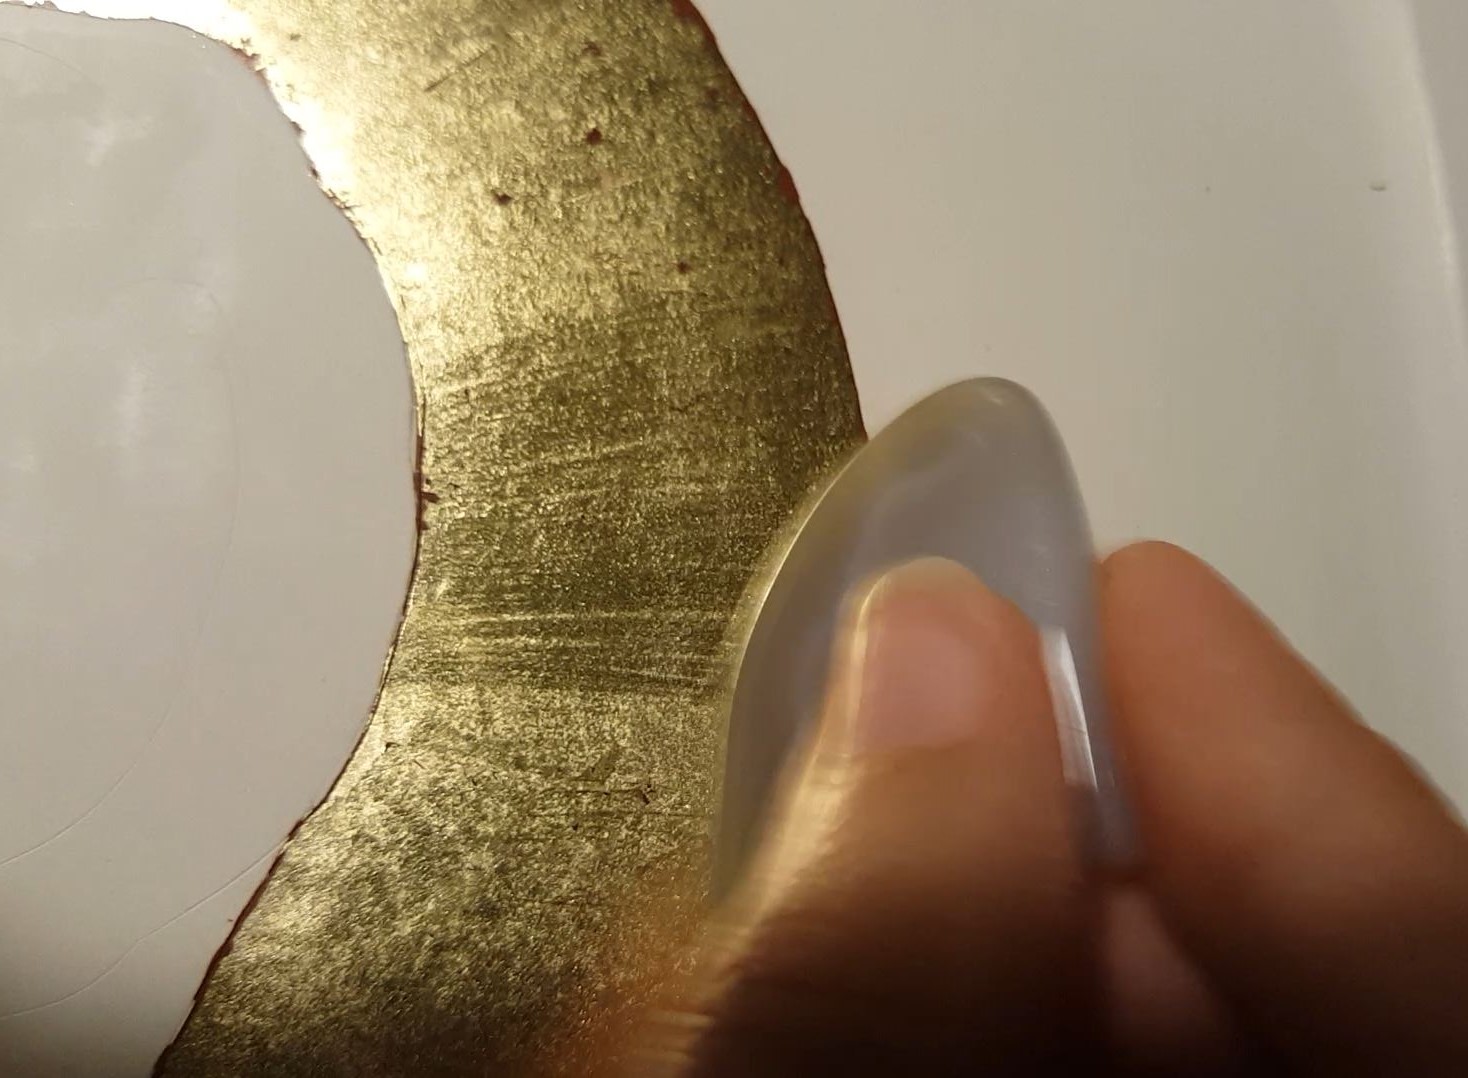
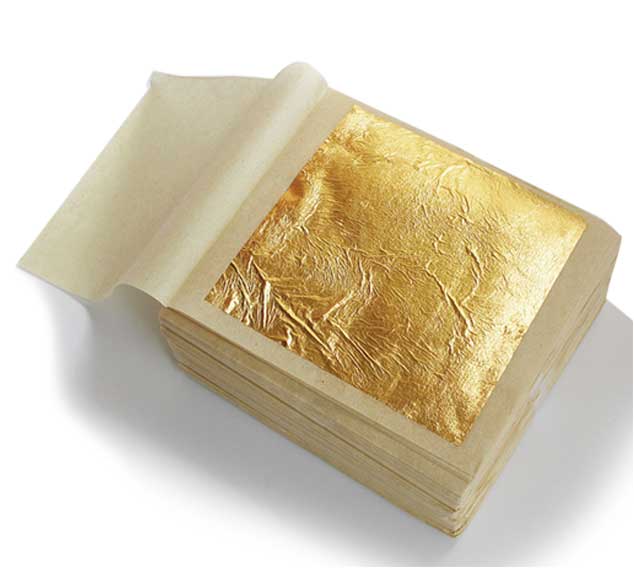
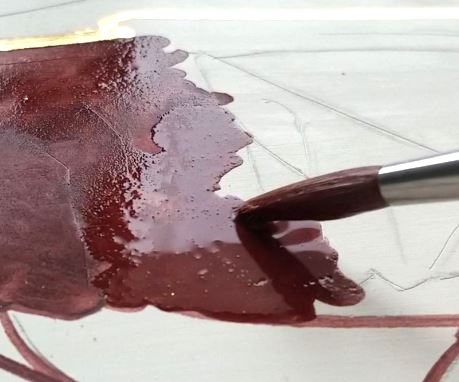
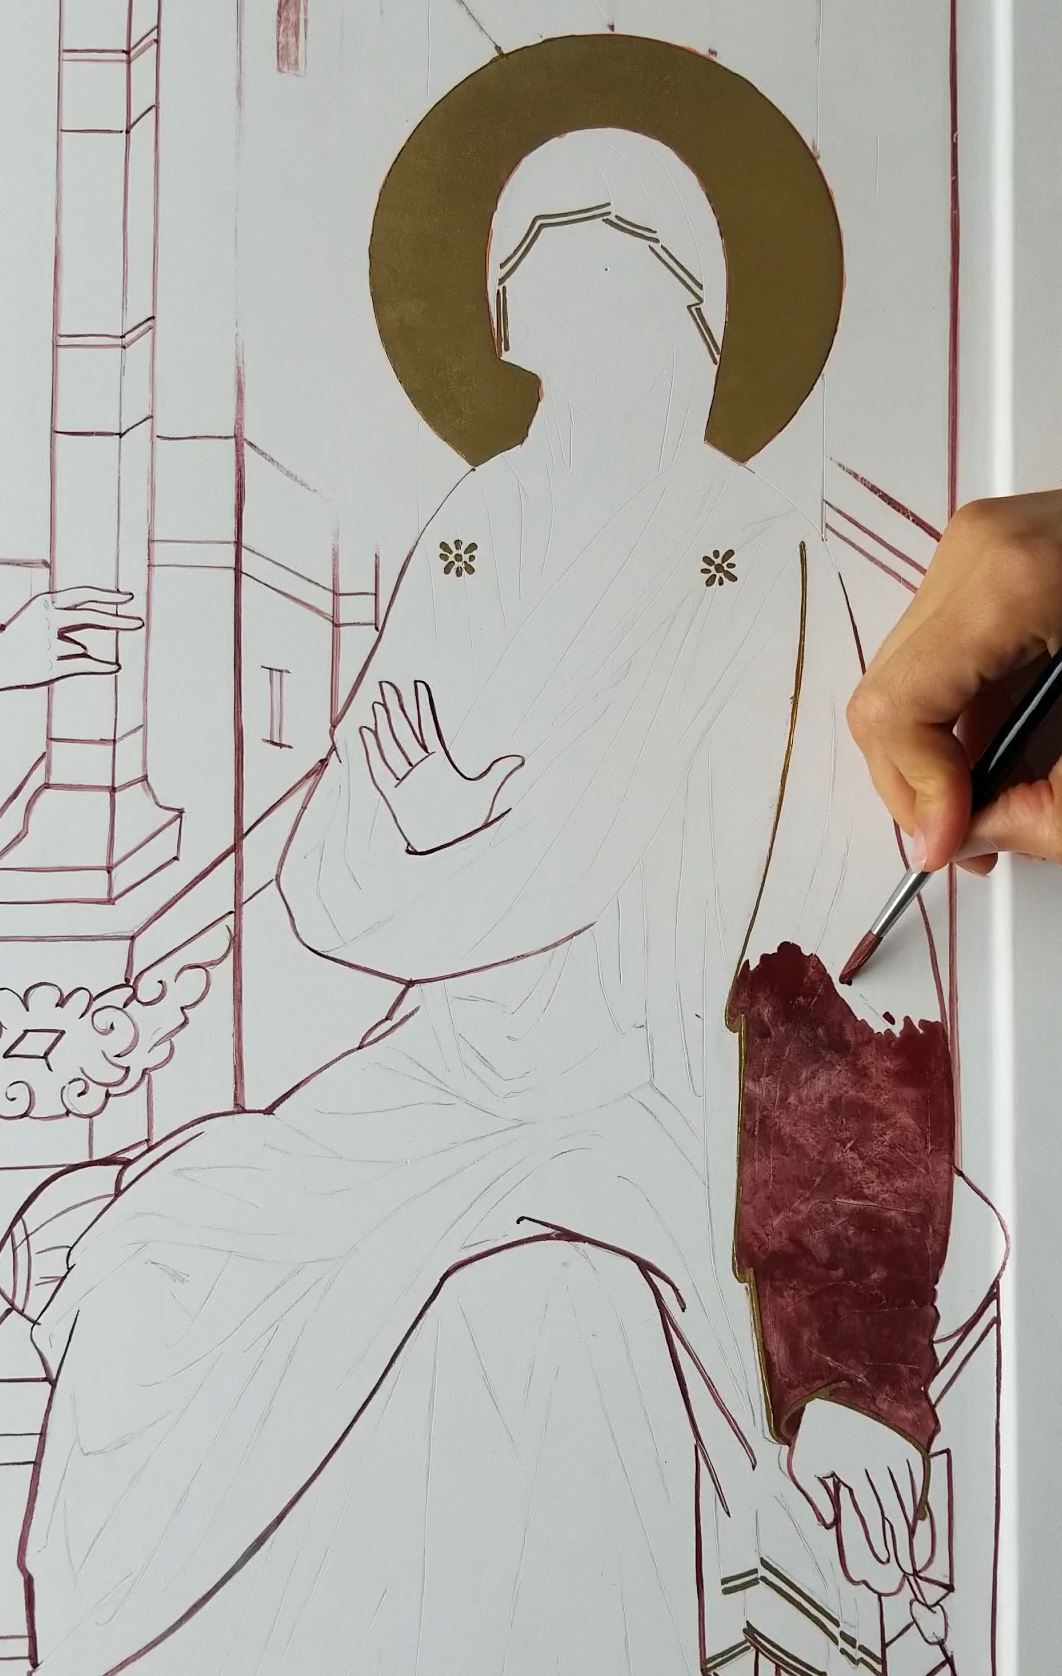
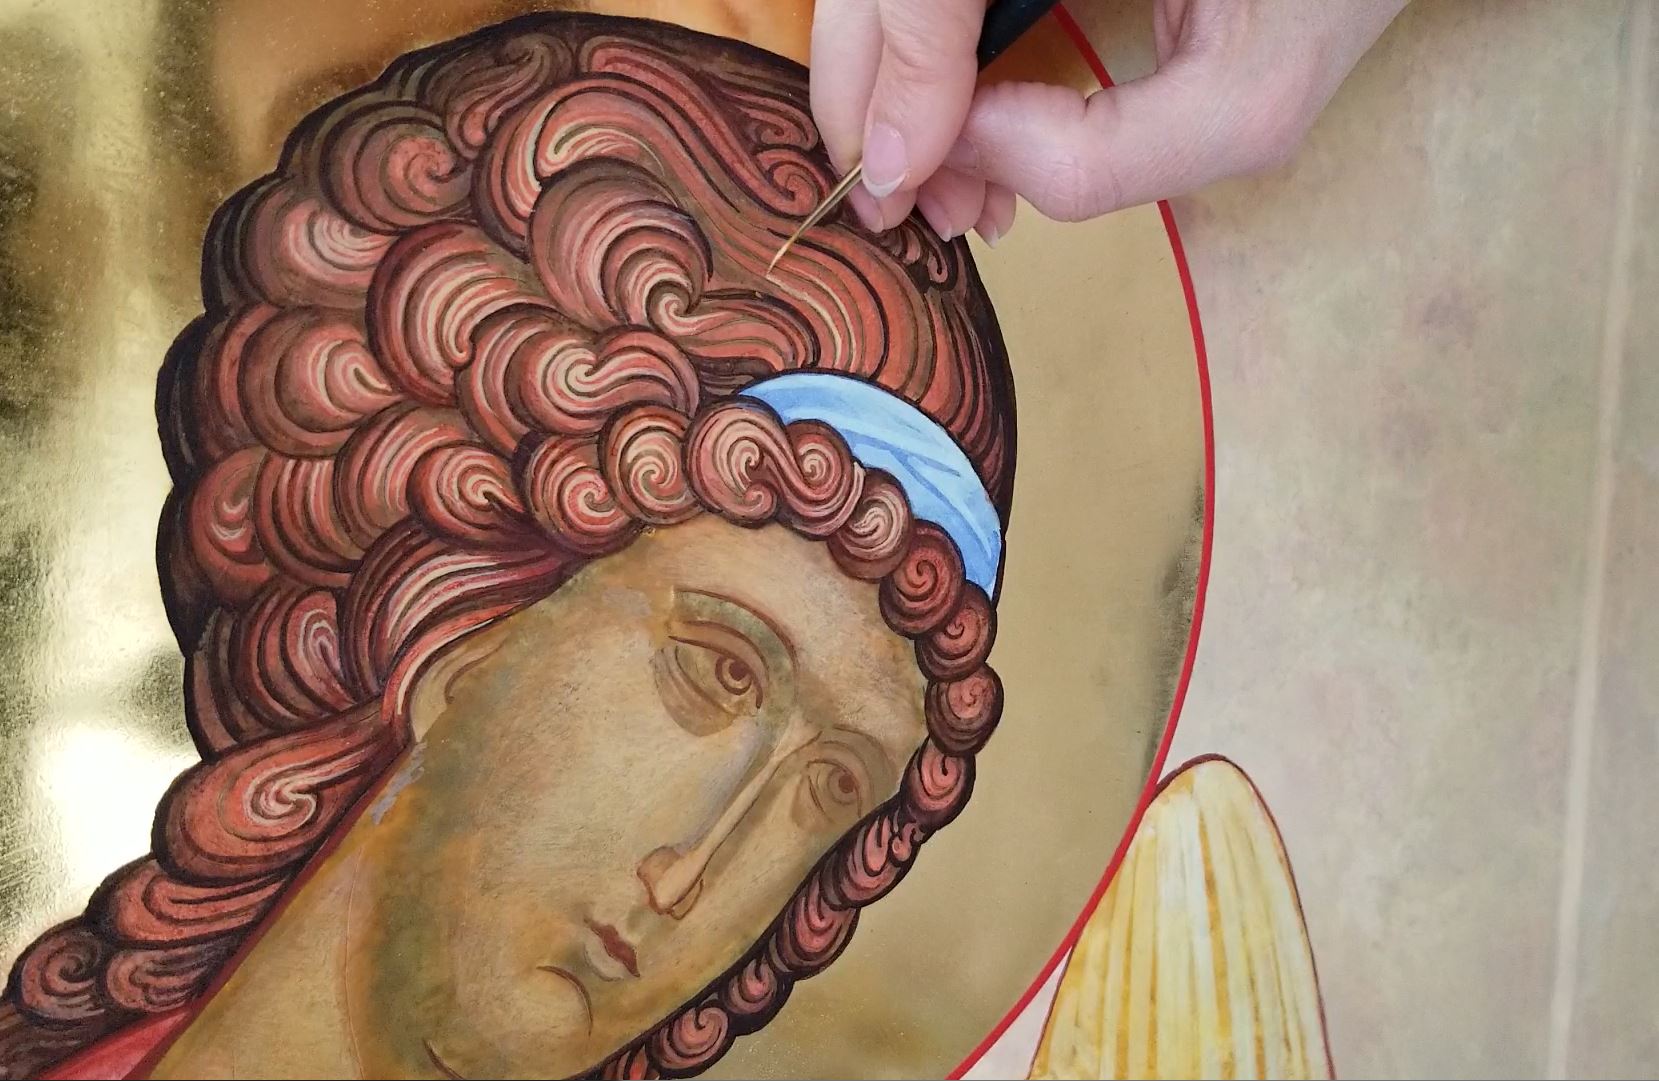
Gilding with Gold Leaf
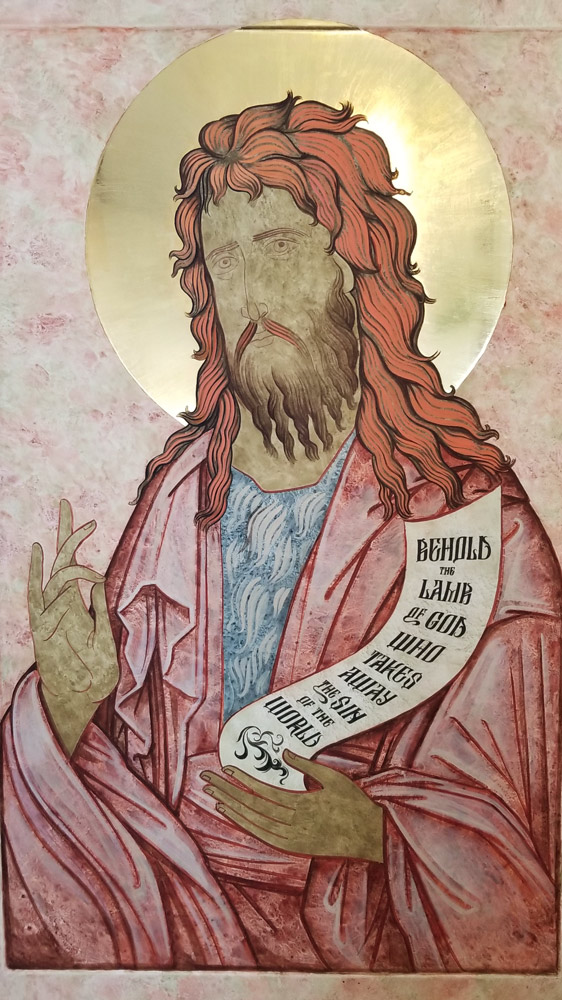
Before any painting begins, the halo is gilt using 24K gold leaf. A water-based mixture of red clay bole and hide glue is used as an adhesive (see video). The bole is applied thickly with a brush, sanded when dry and then burnished by gently pressing a piece of agate stone over the surface. Burnishing turns the matte surface into a glossy one. The gold is attached by gently breathing on the bole, so that condensation from the breath adds a touch of moisture to activate the glue. The halo requires 2-3 layers of gold. The gold must be burnished after each layer to give it shine.
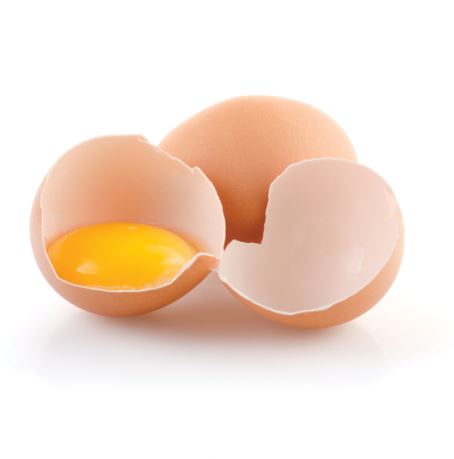
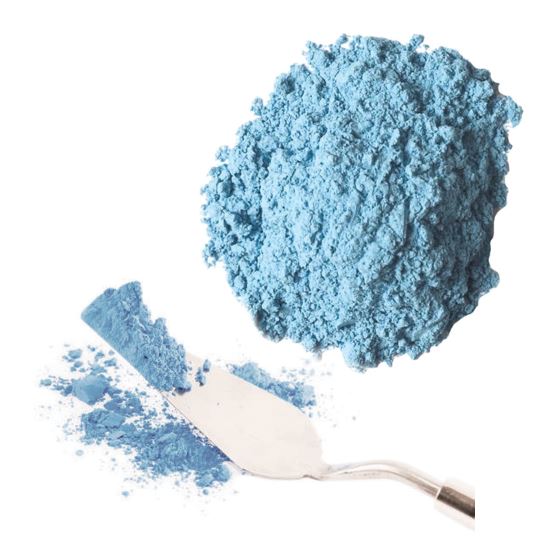
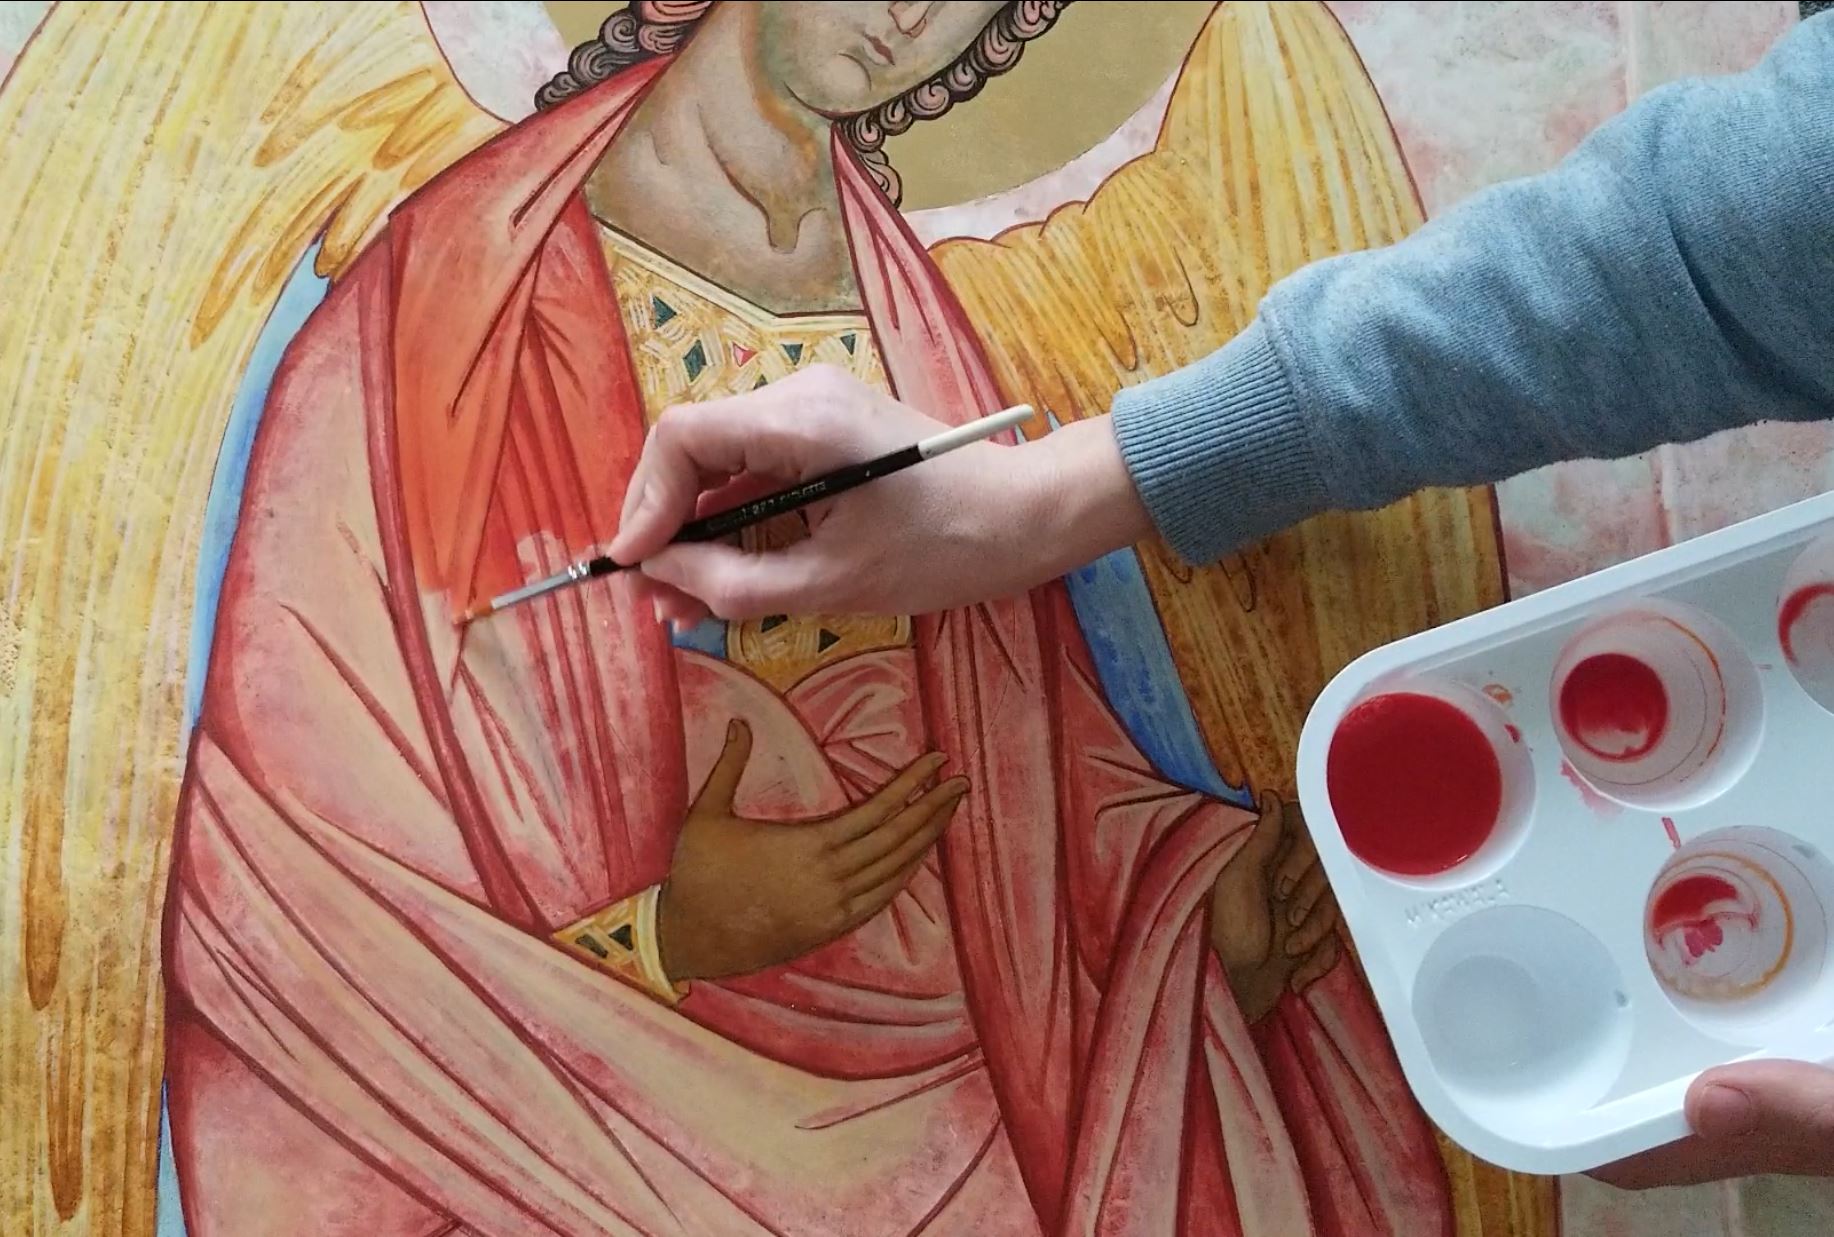
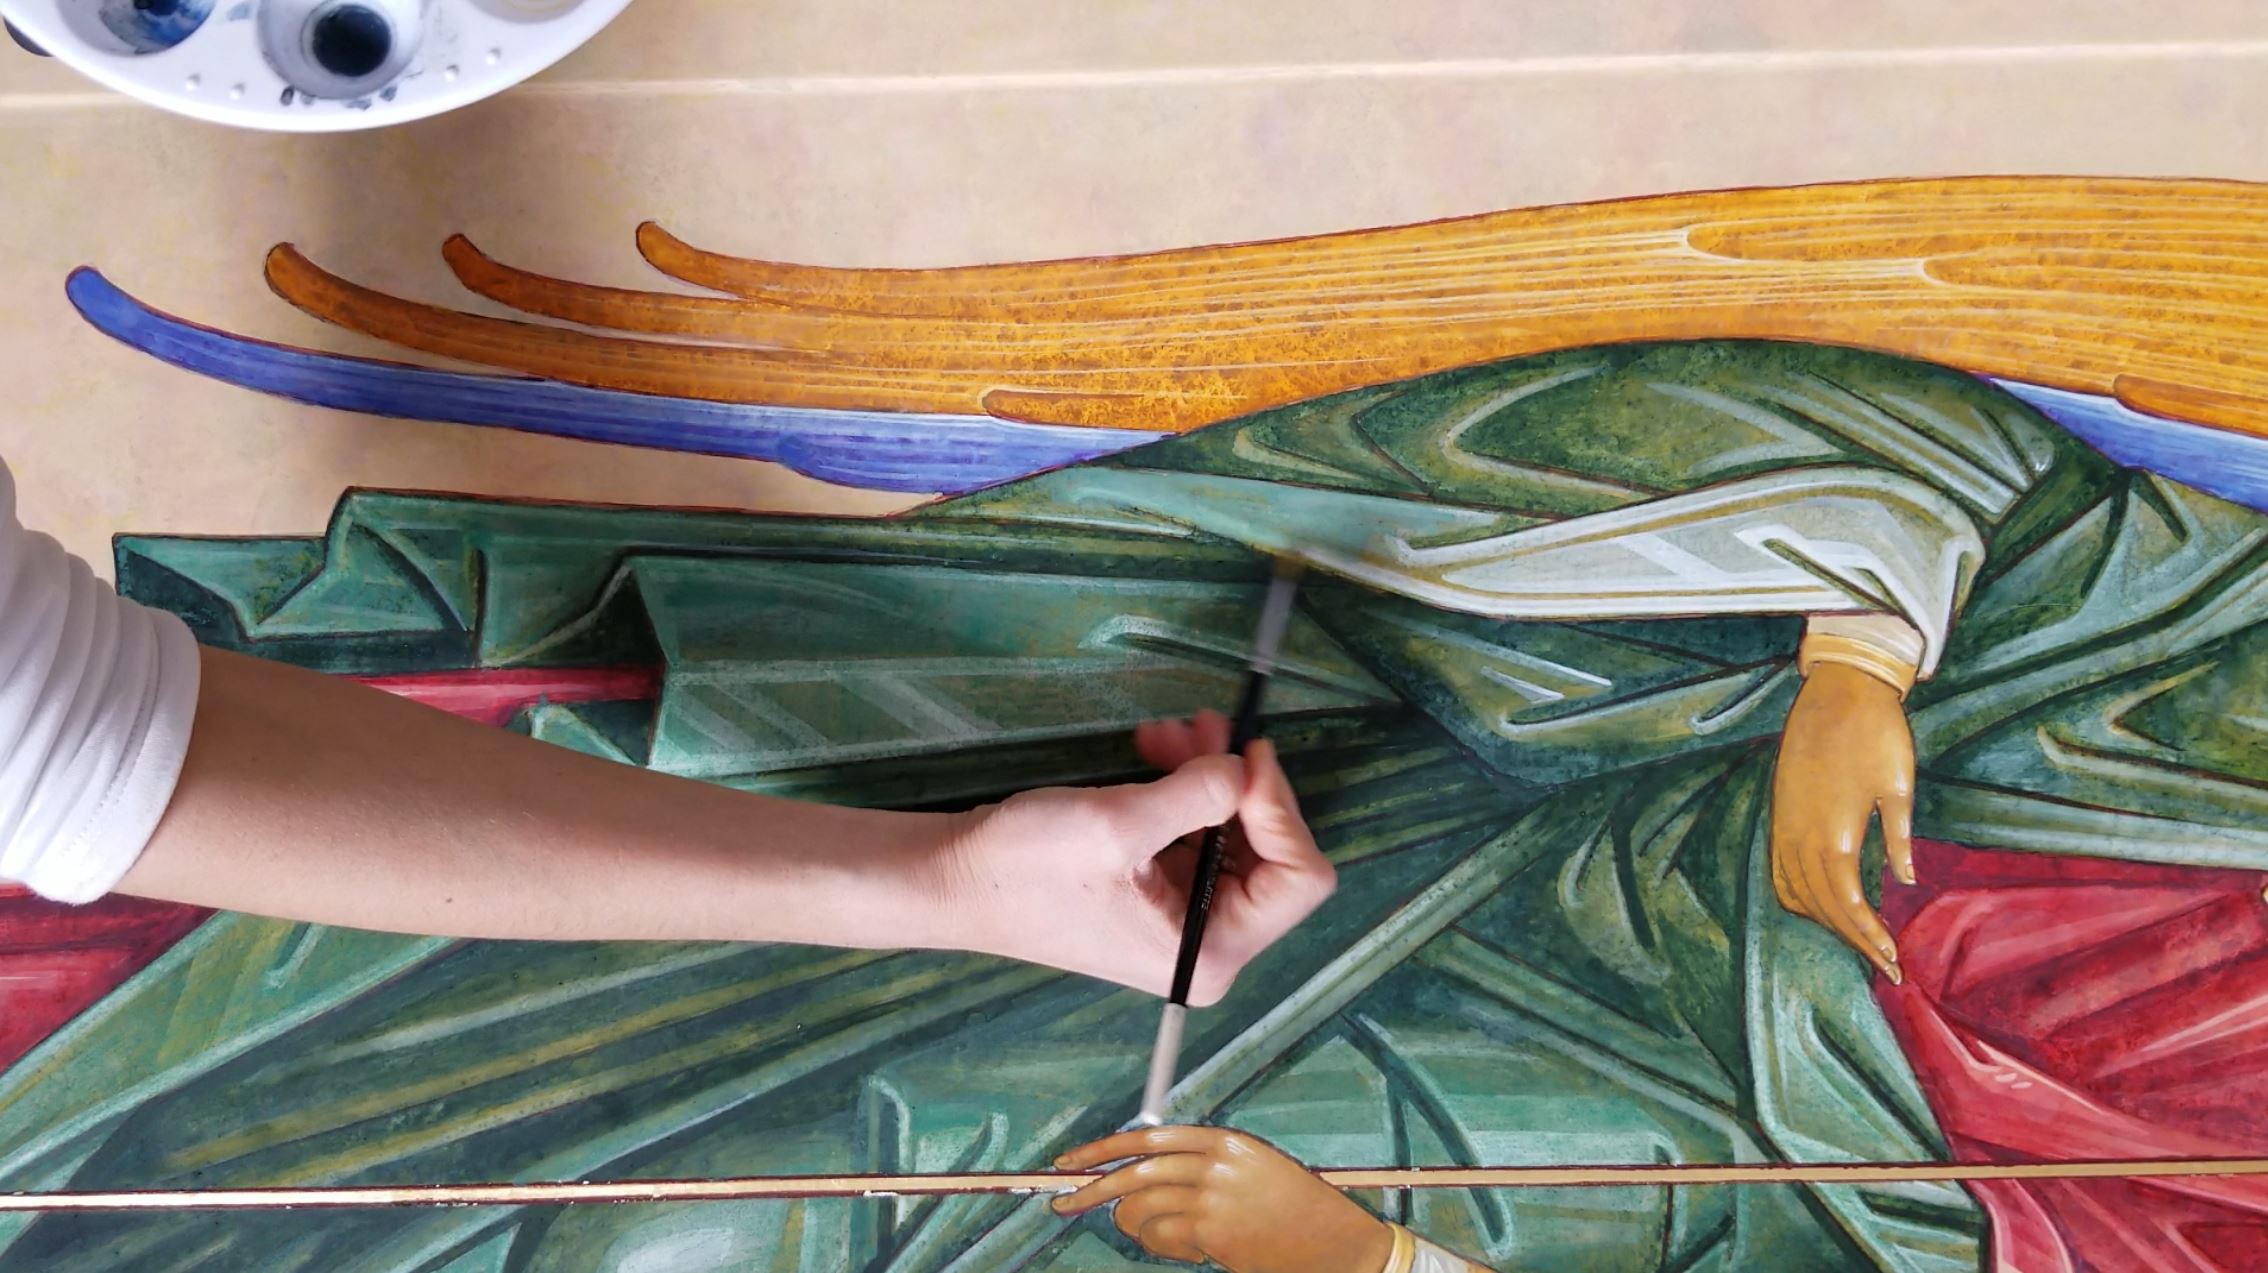
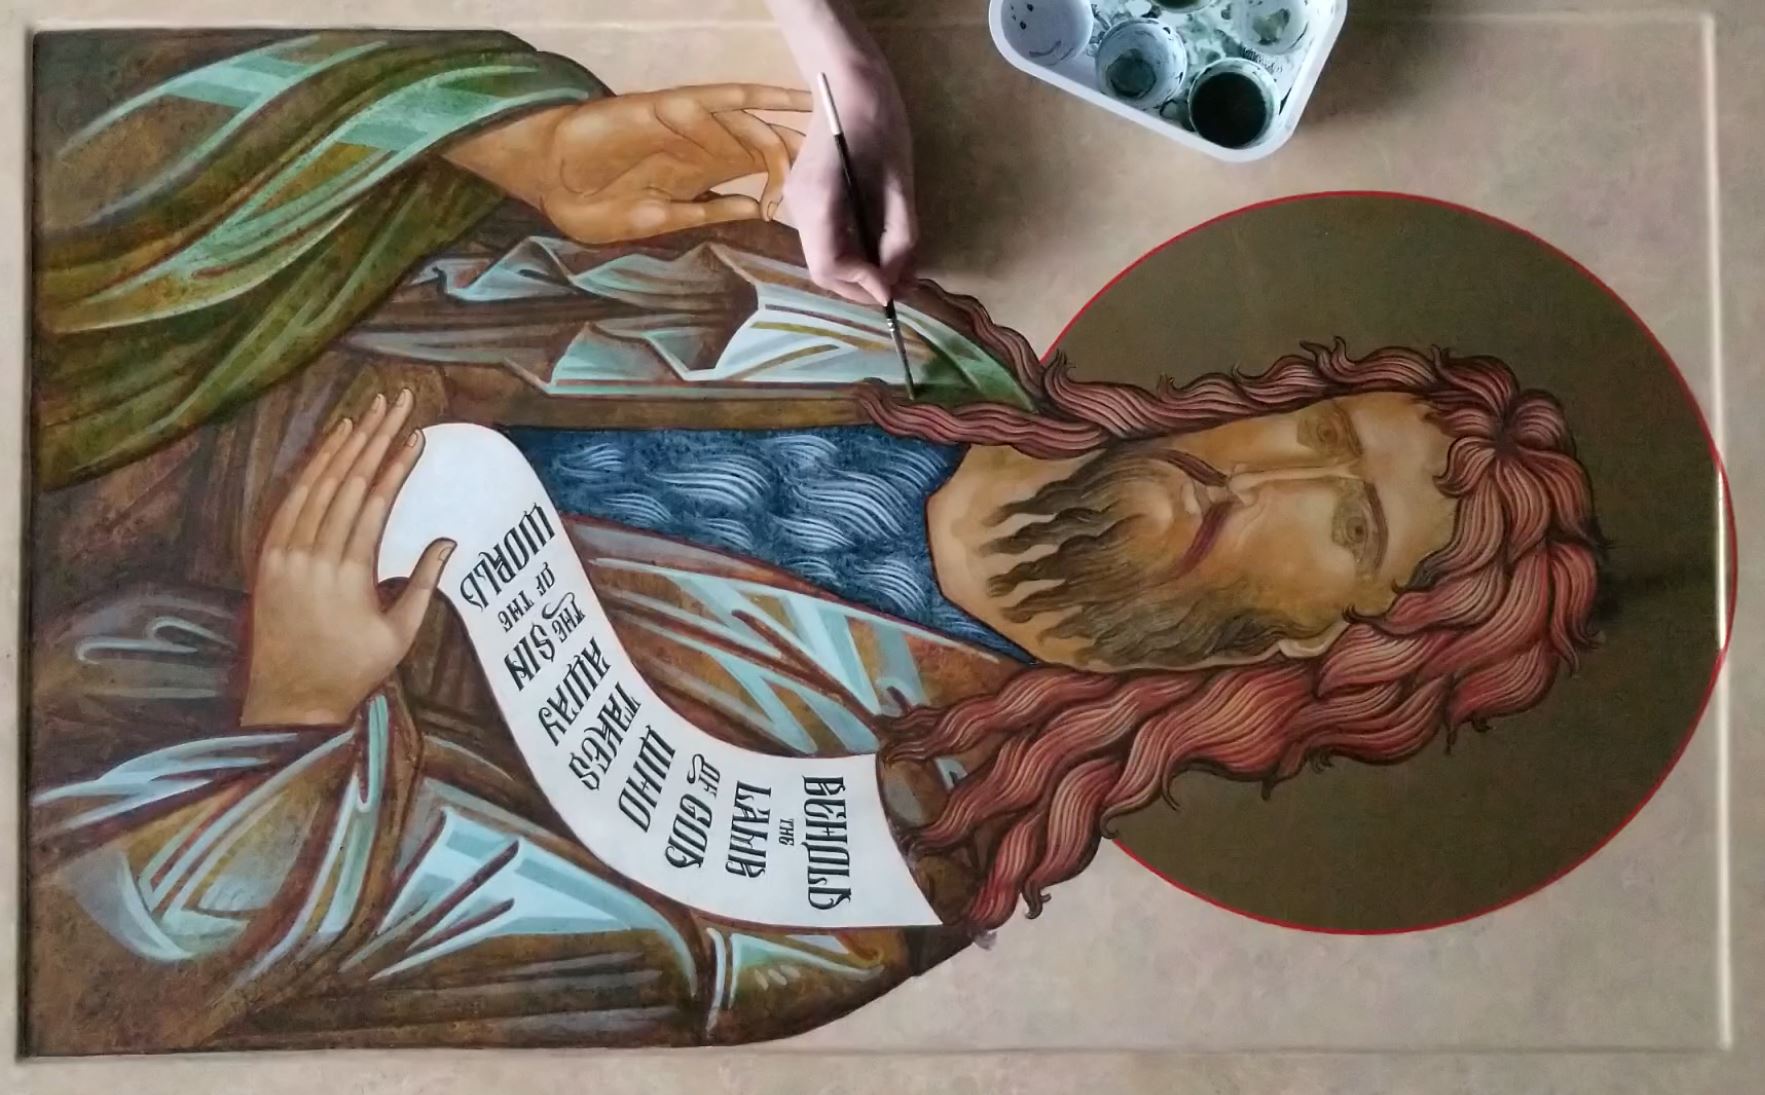
Handmade Egg Tempera
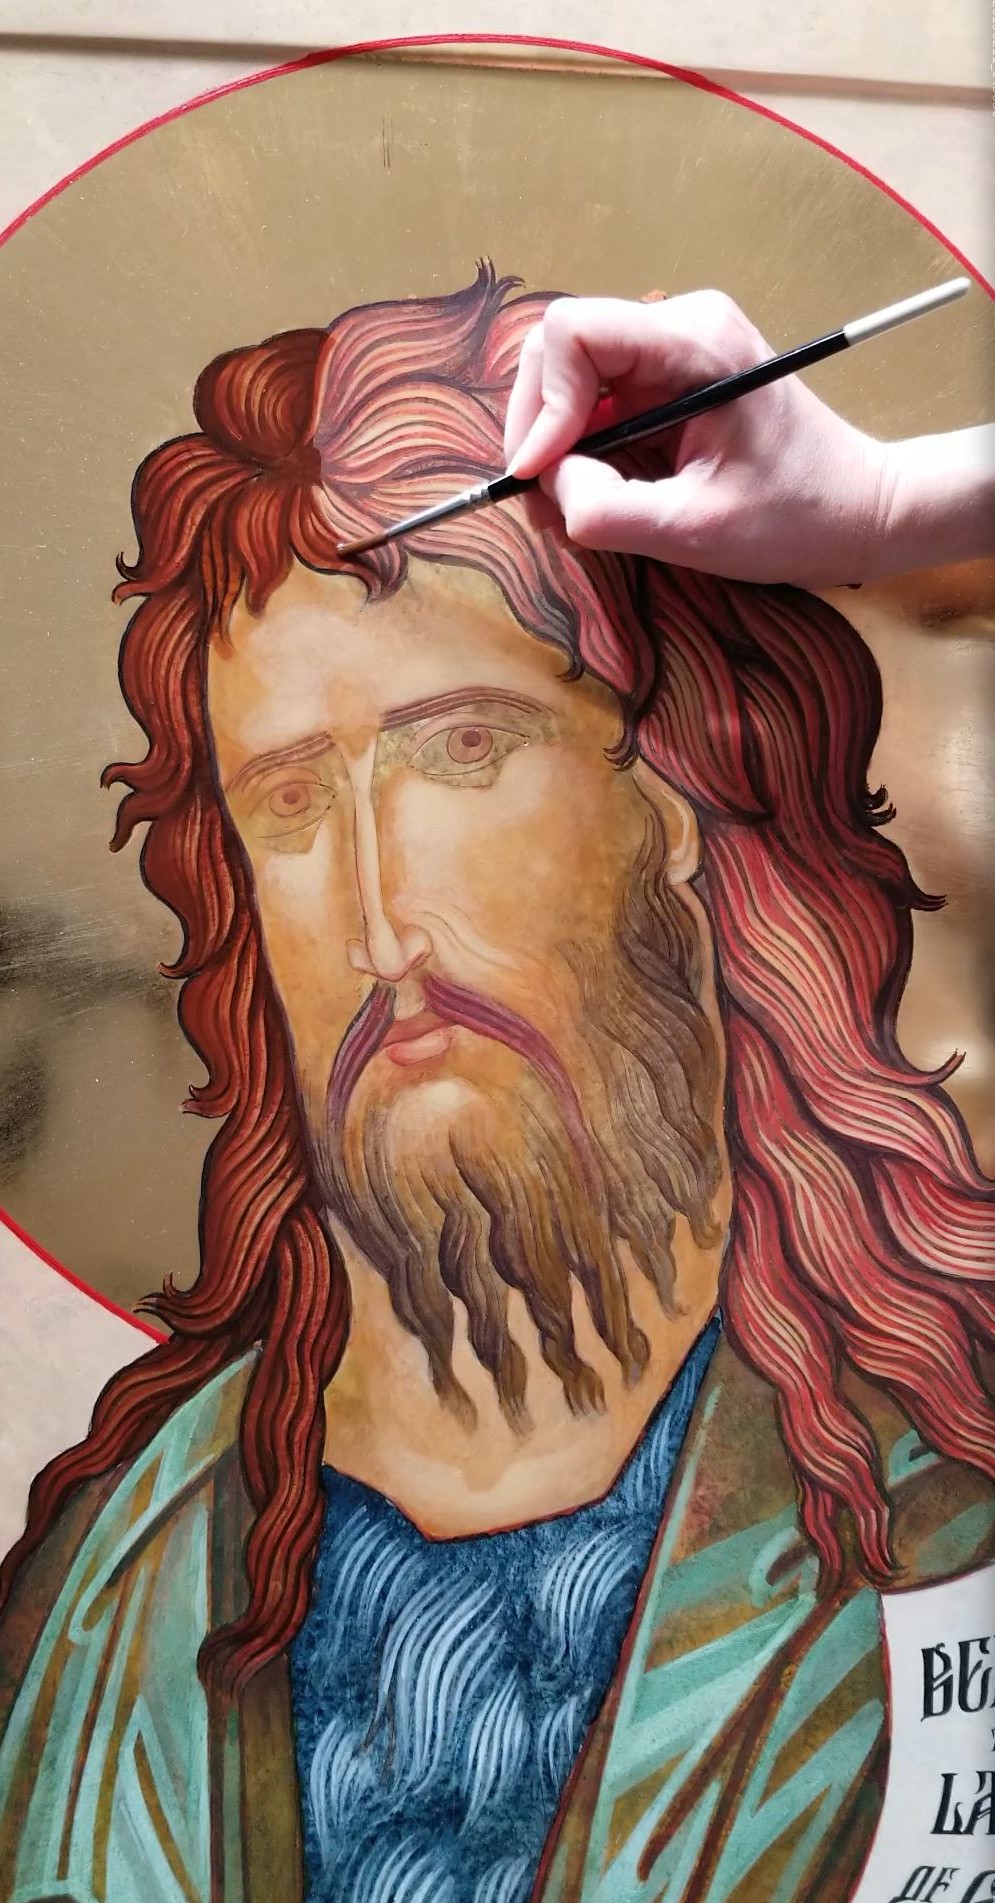
Roskrish
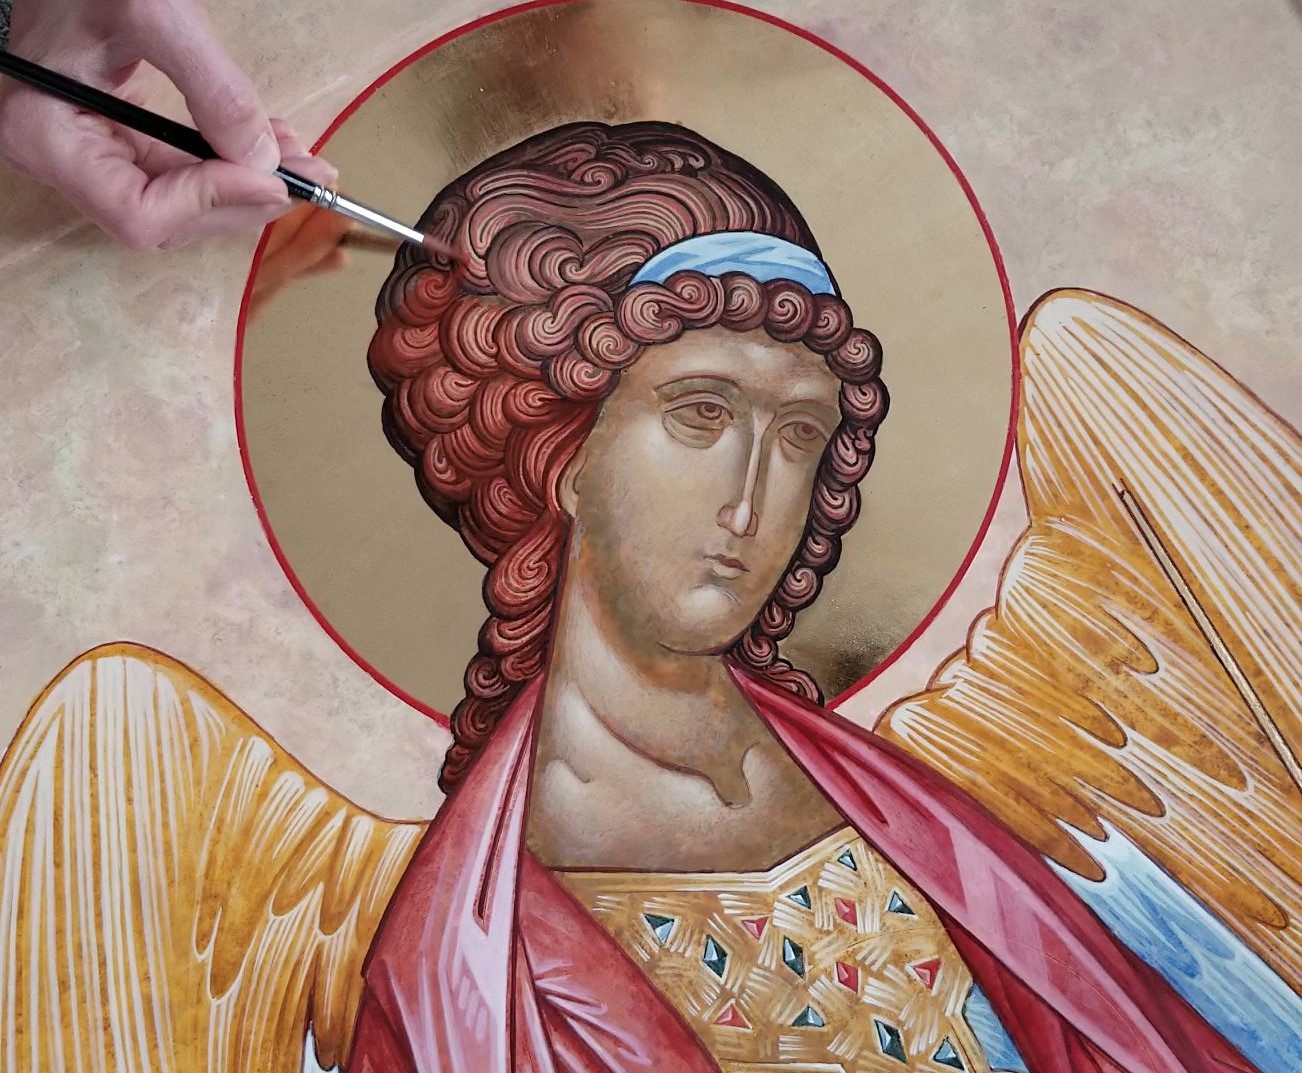
Highlights
Varnishing with Olifa
〰
