Stages
The seven main steps of the painting process
- roskrish
- First highlight
- First Float
- Second Highlight
- Second float
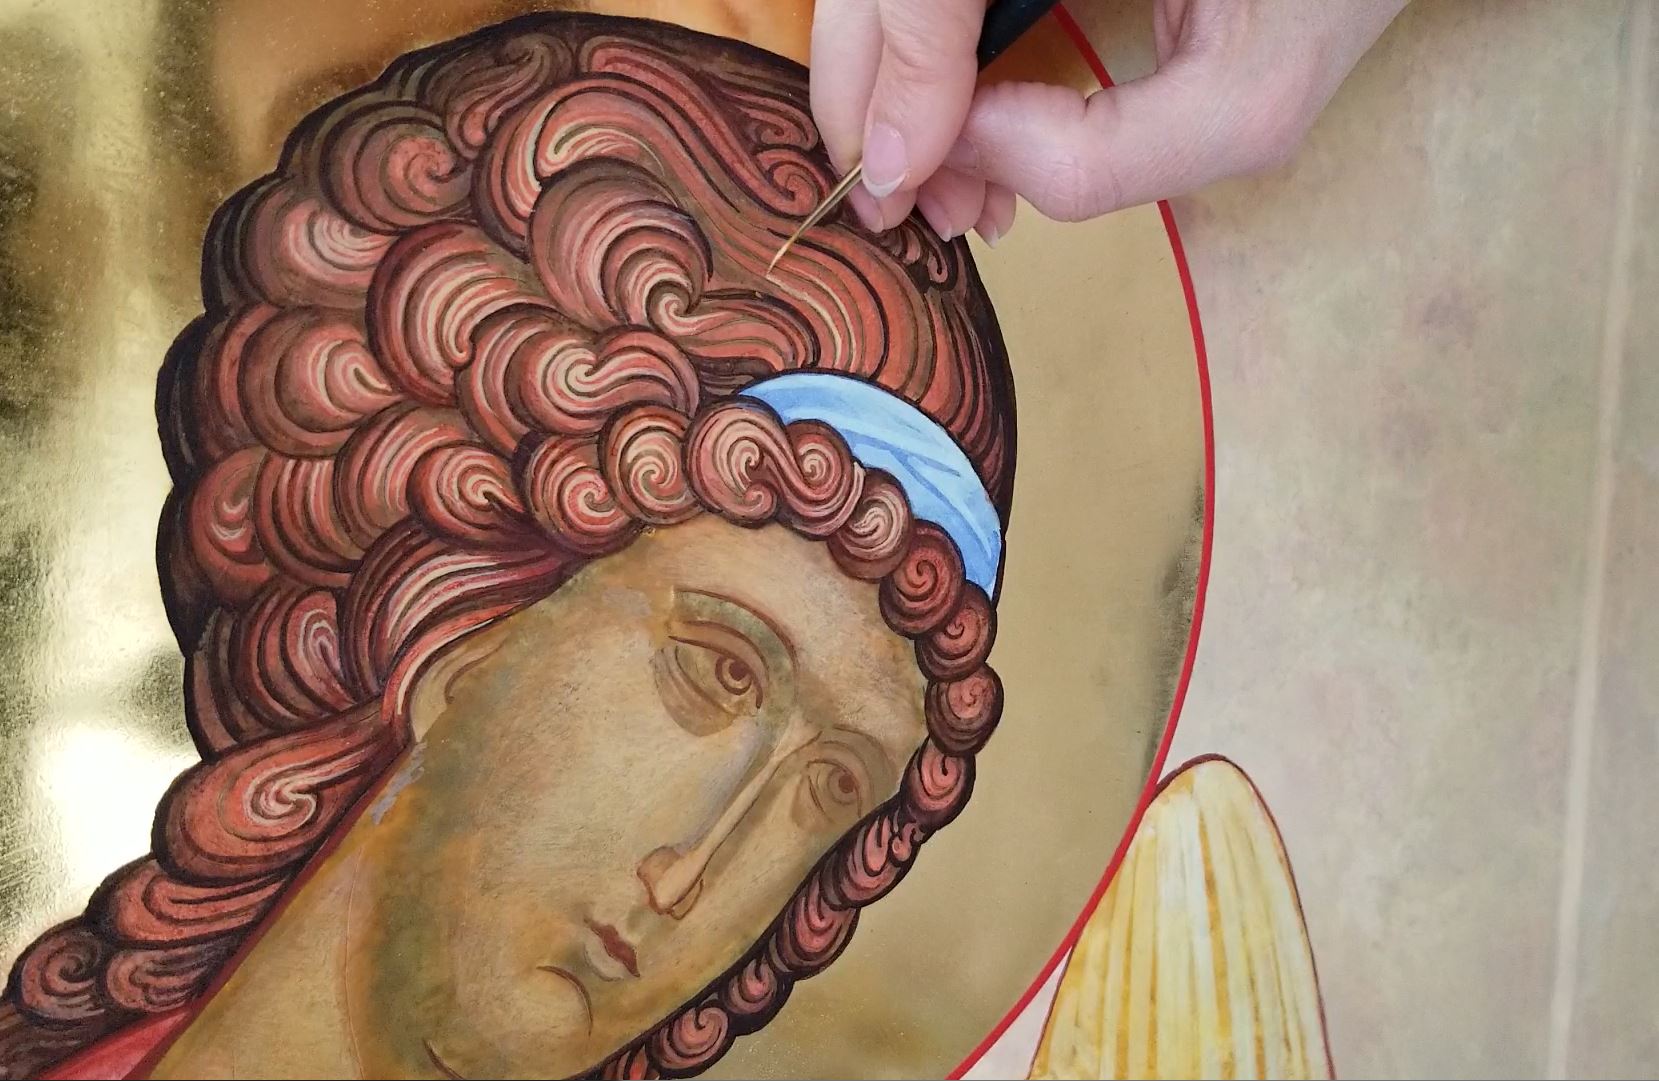
- Third highlight
- Third Float
〰
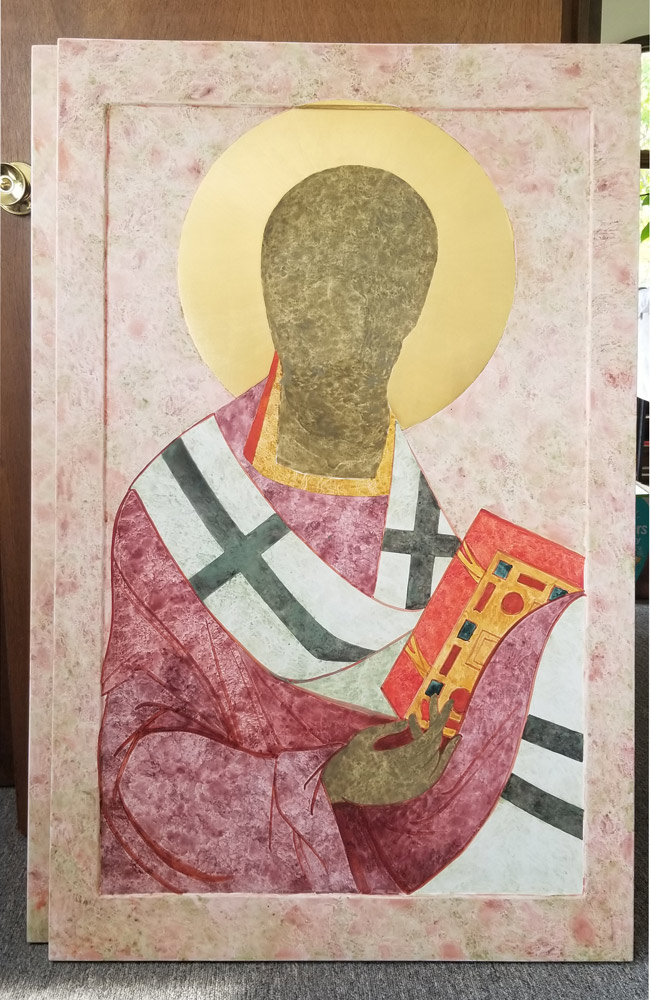
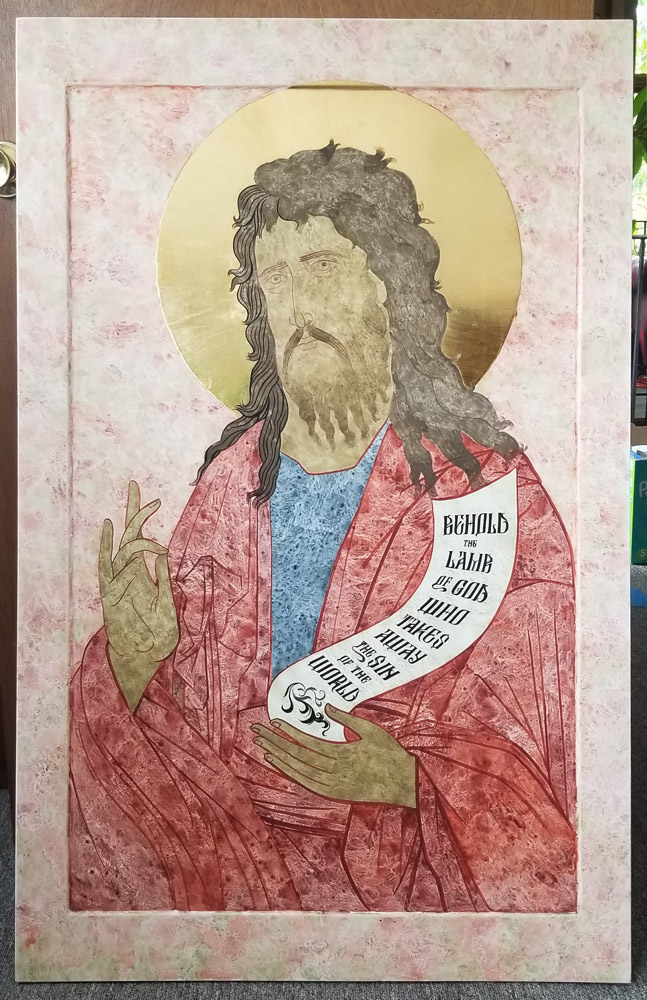
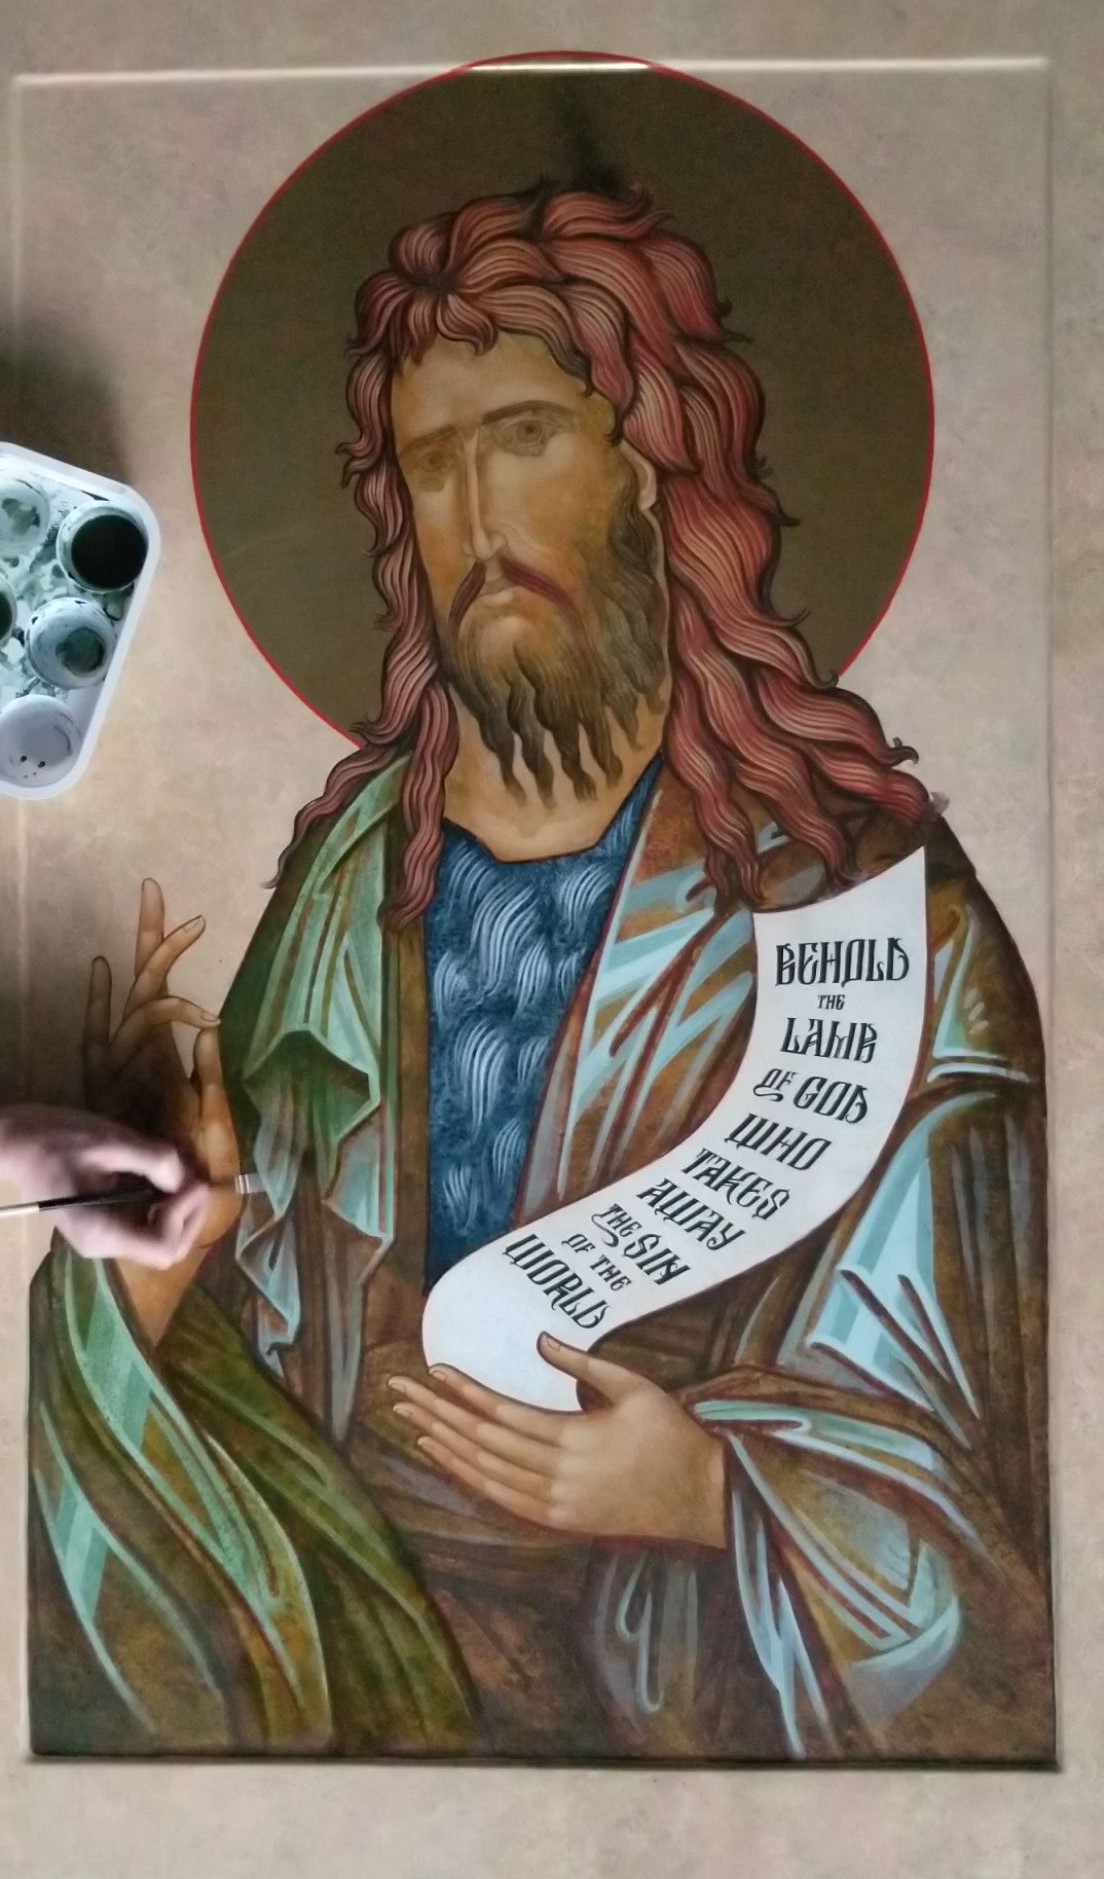
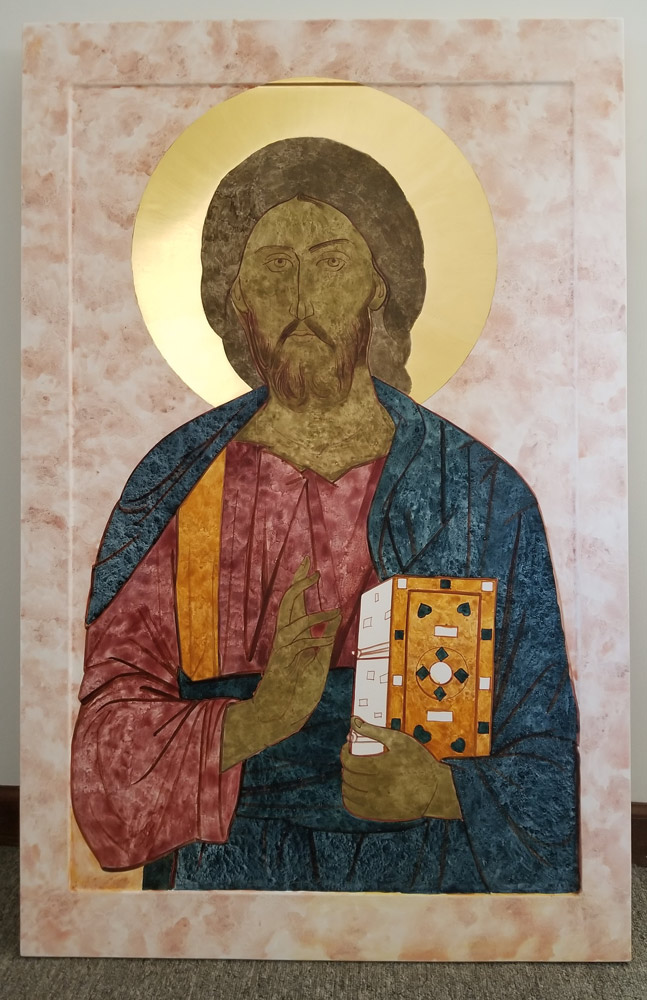
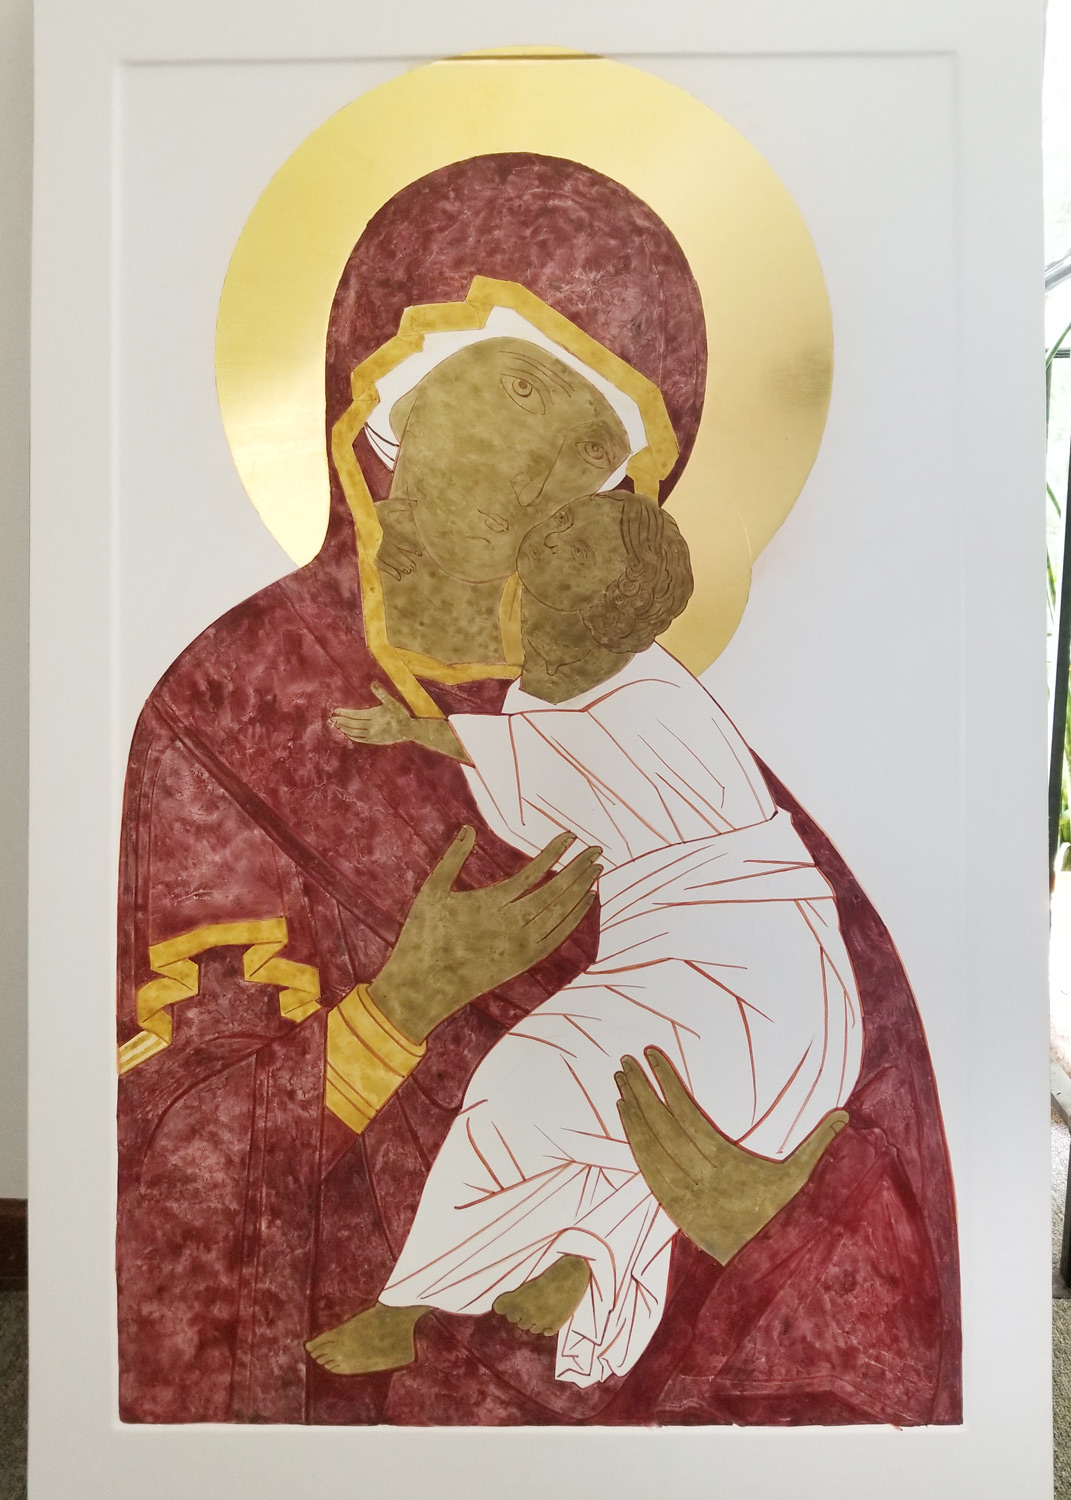
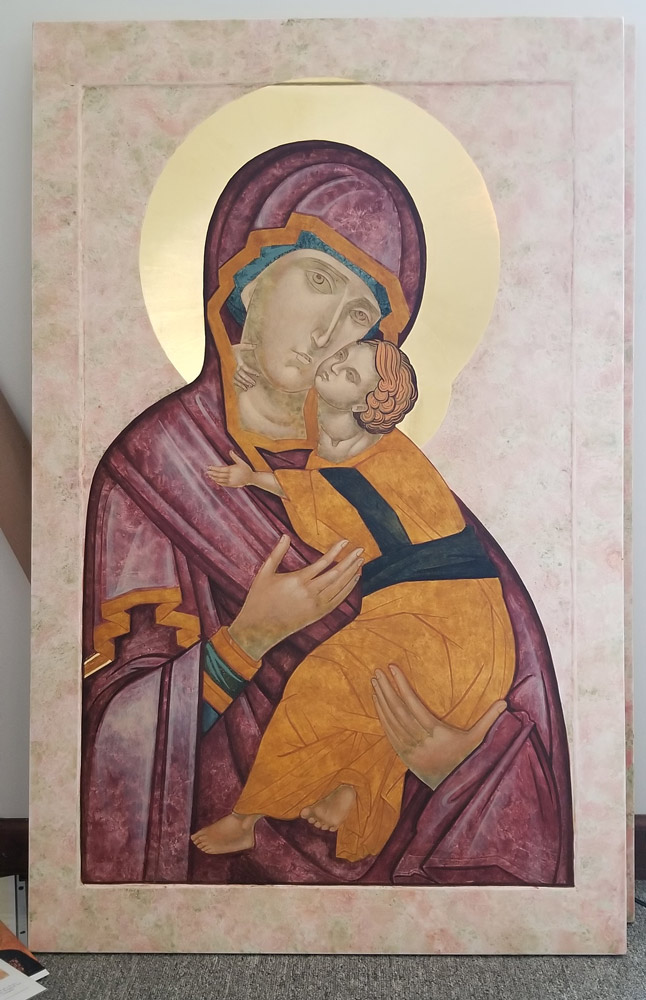
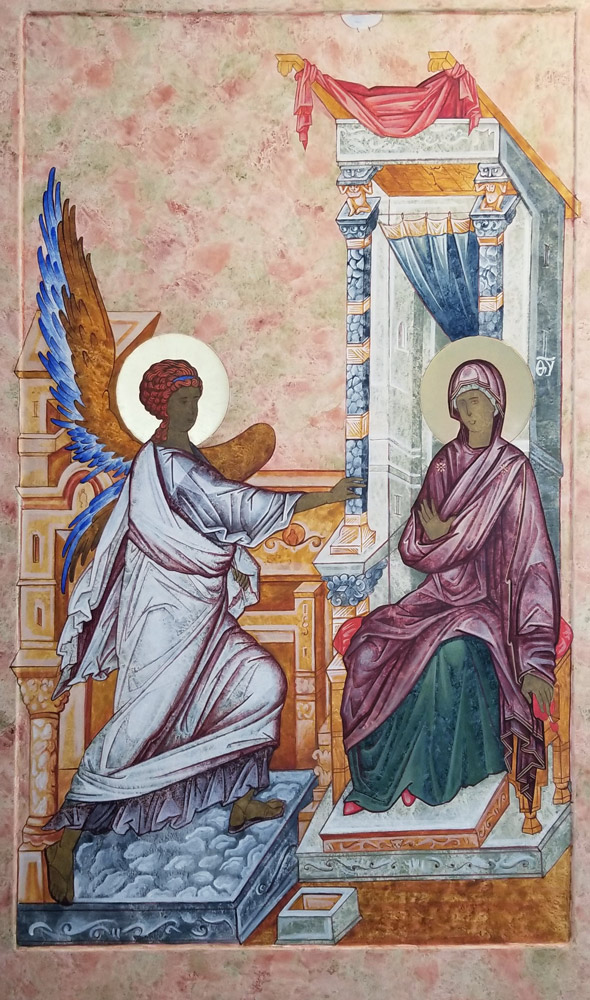
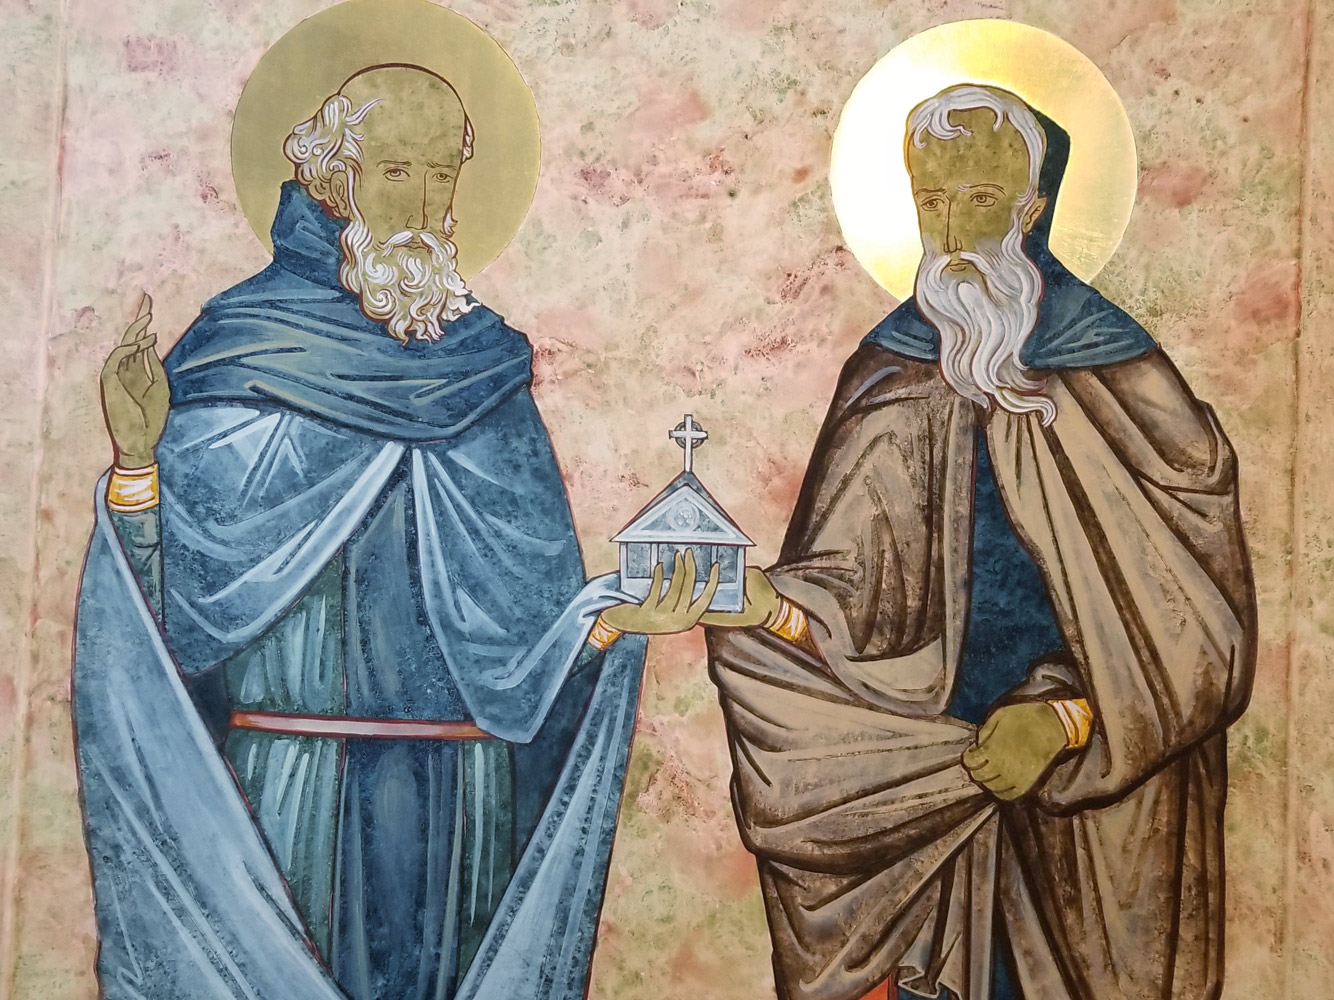
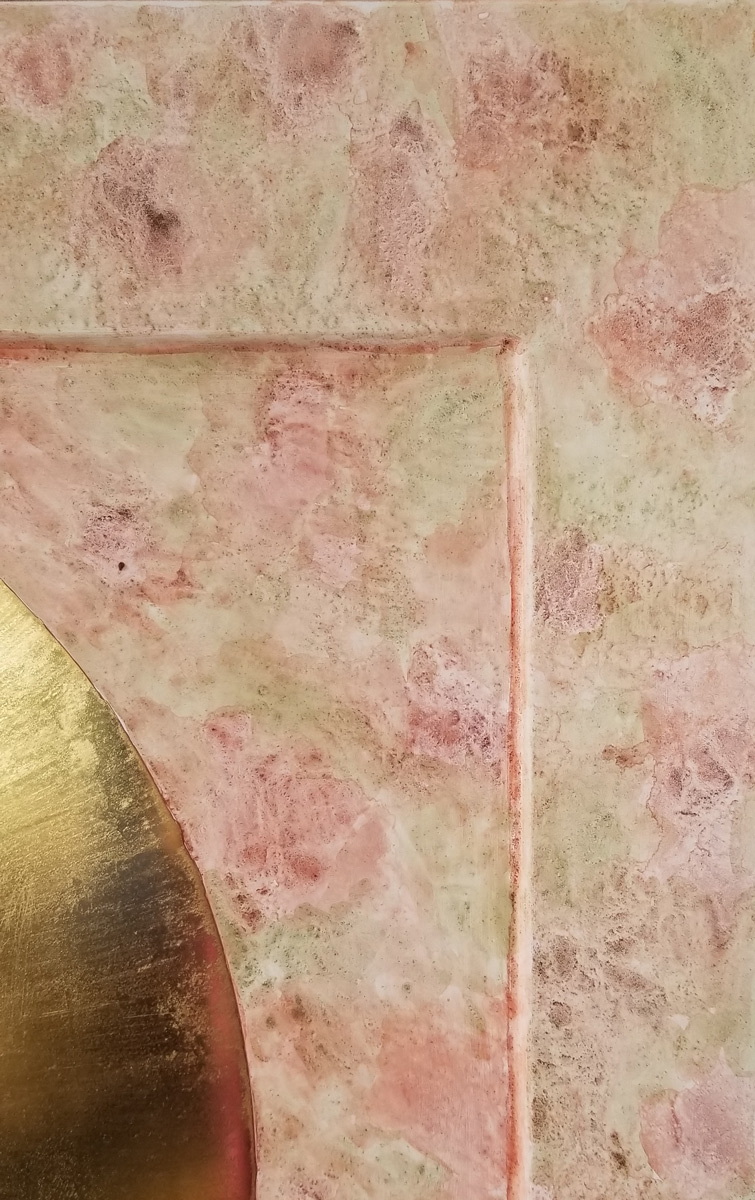
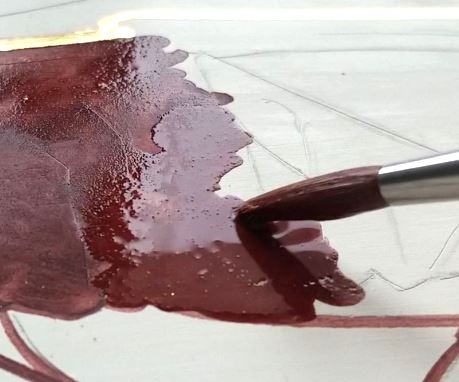
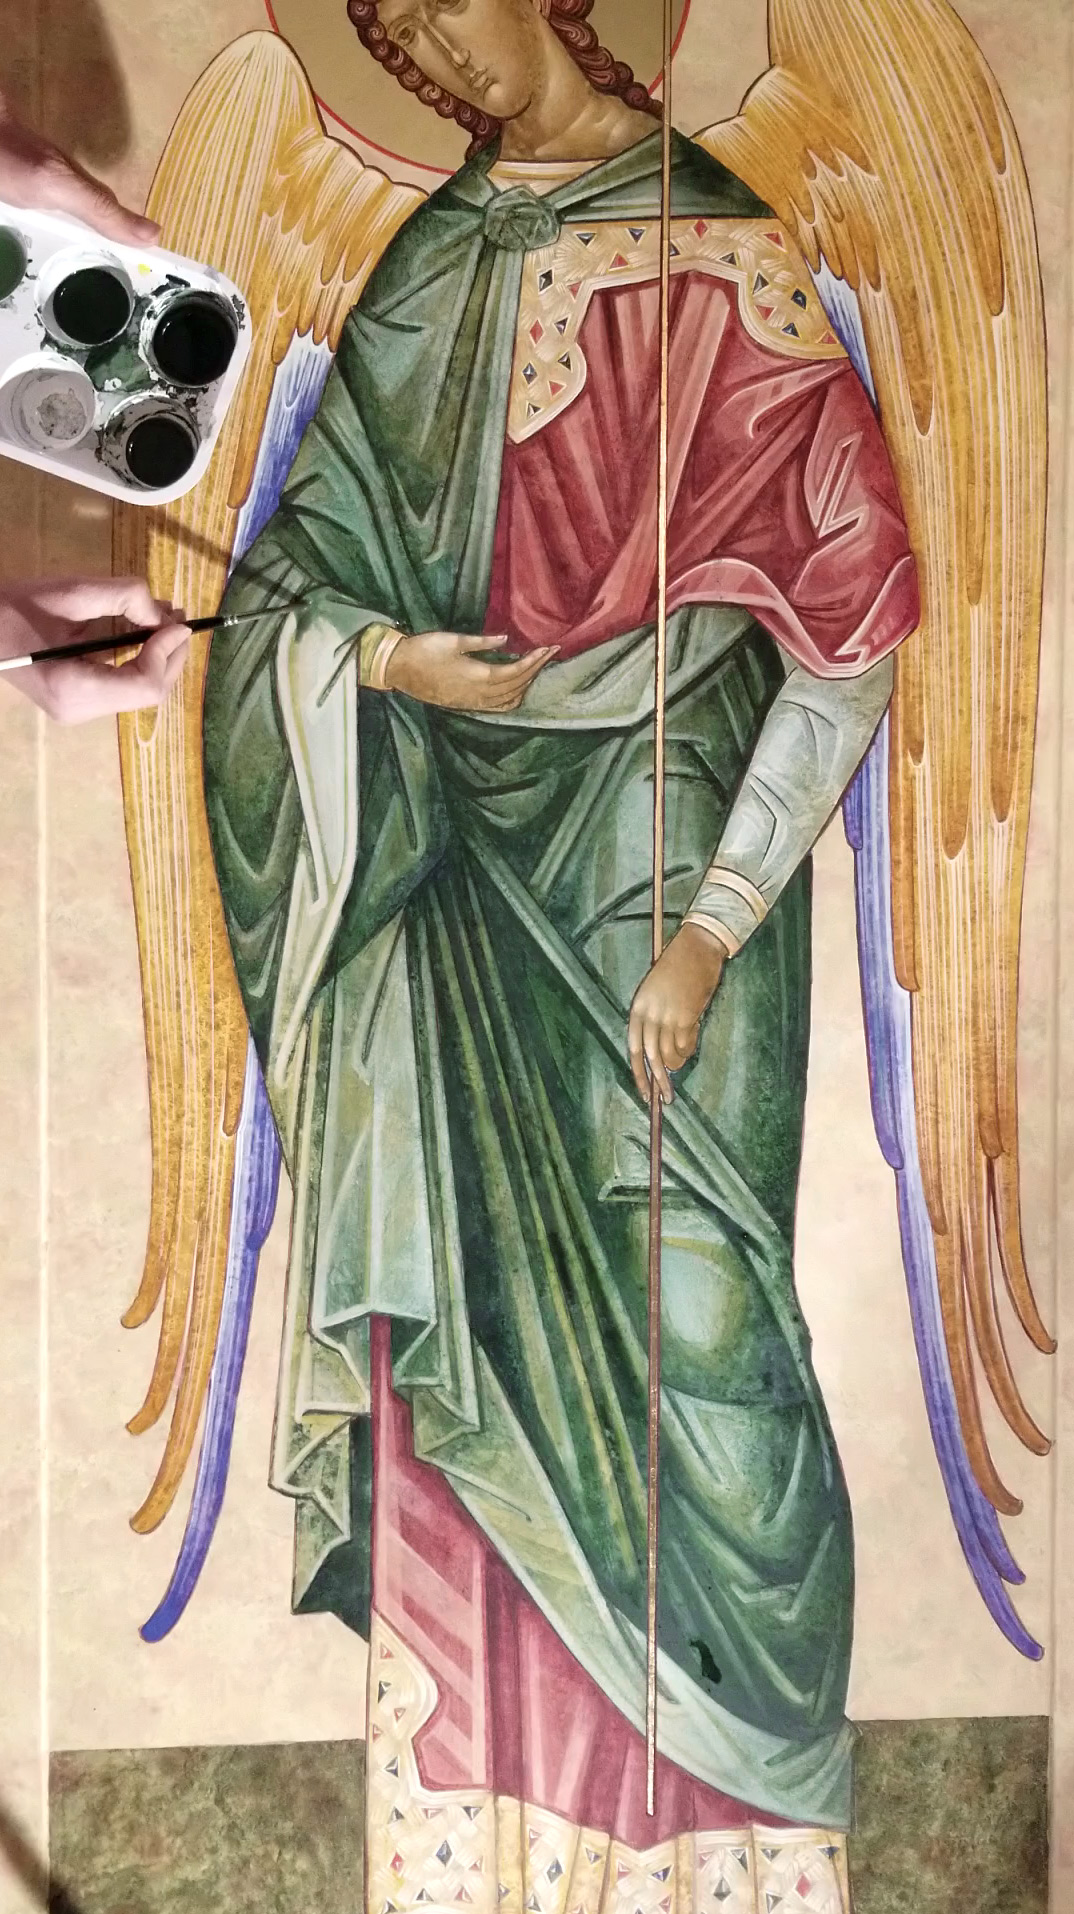
Roskrish
A base layer of dark, highly textured color. using coarse pigment and laying aqueous paint on the surface in “puddles” or lakes, a technique called “floating”. As the paint dries the uneven pigment is free to move in the emulsion creating these underlying patterns.
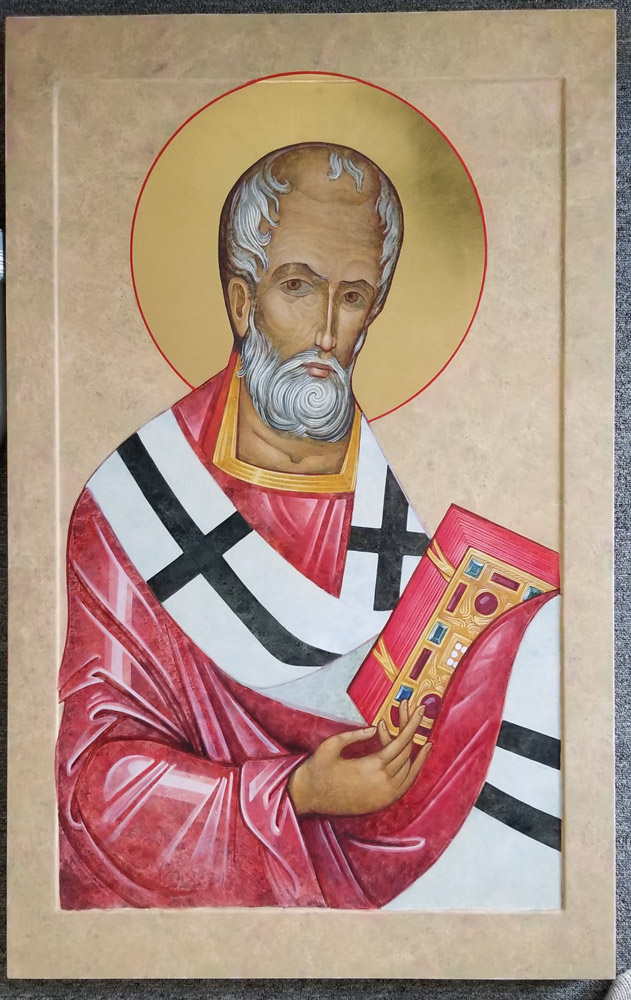
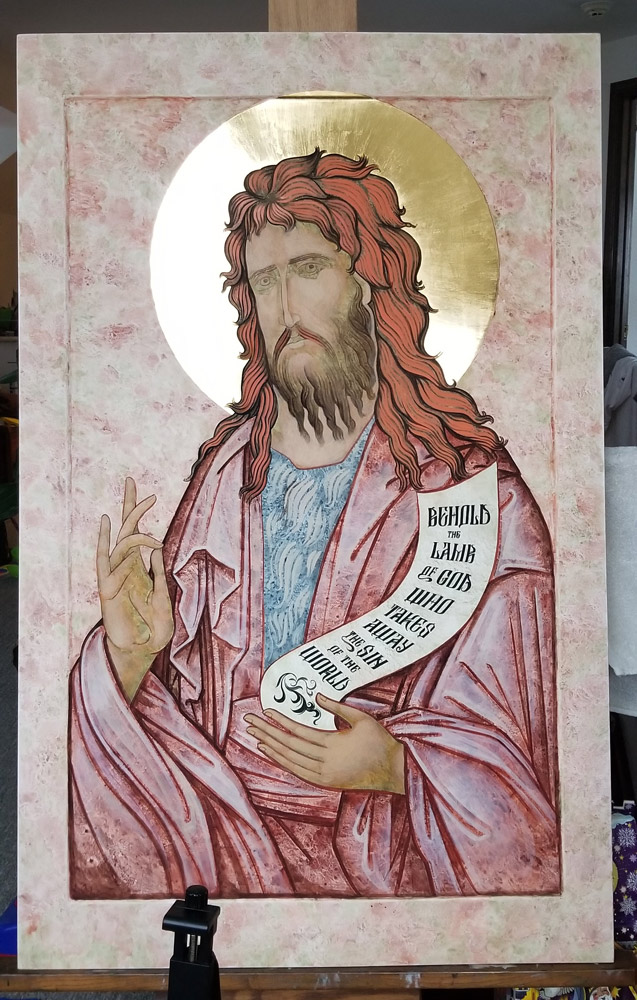
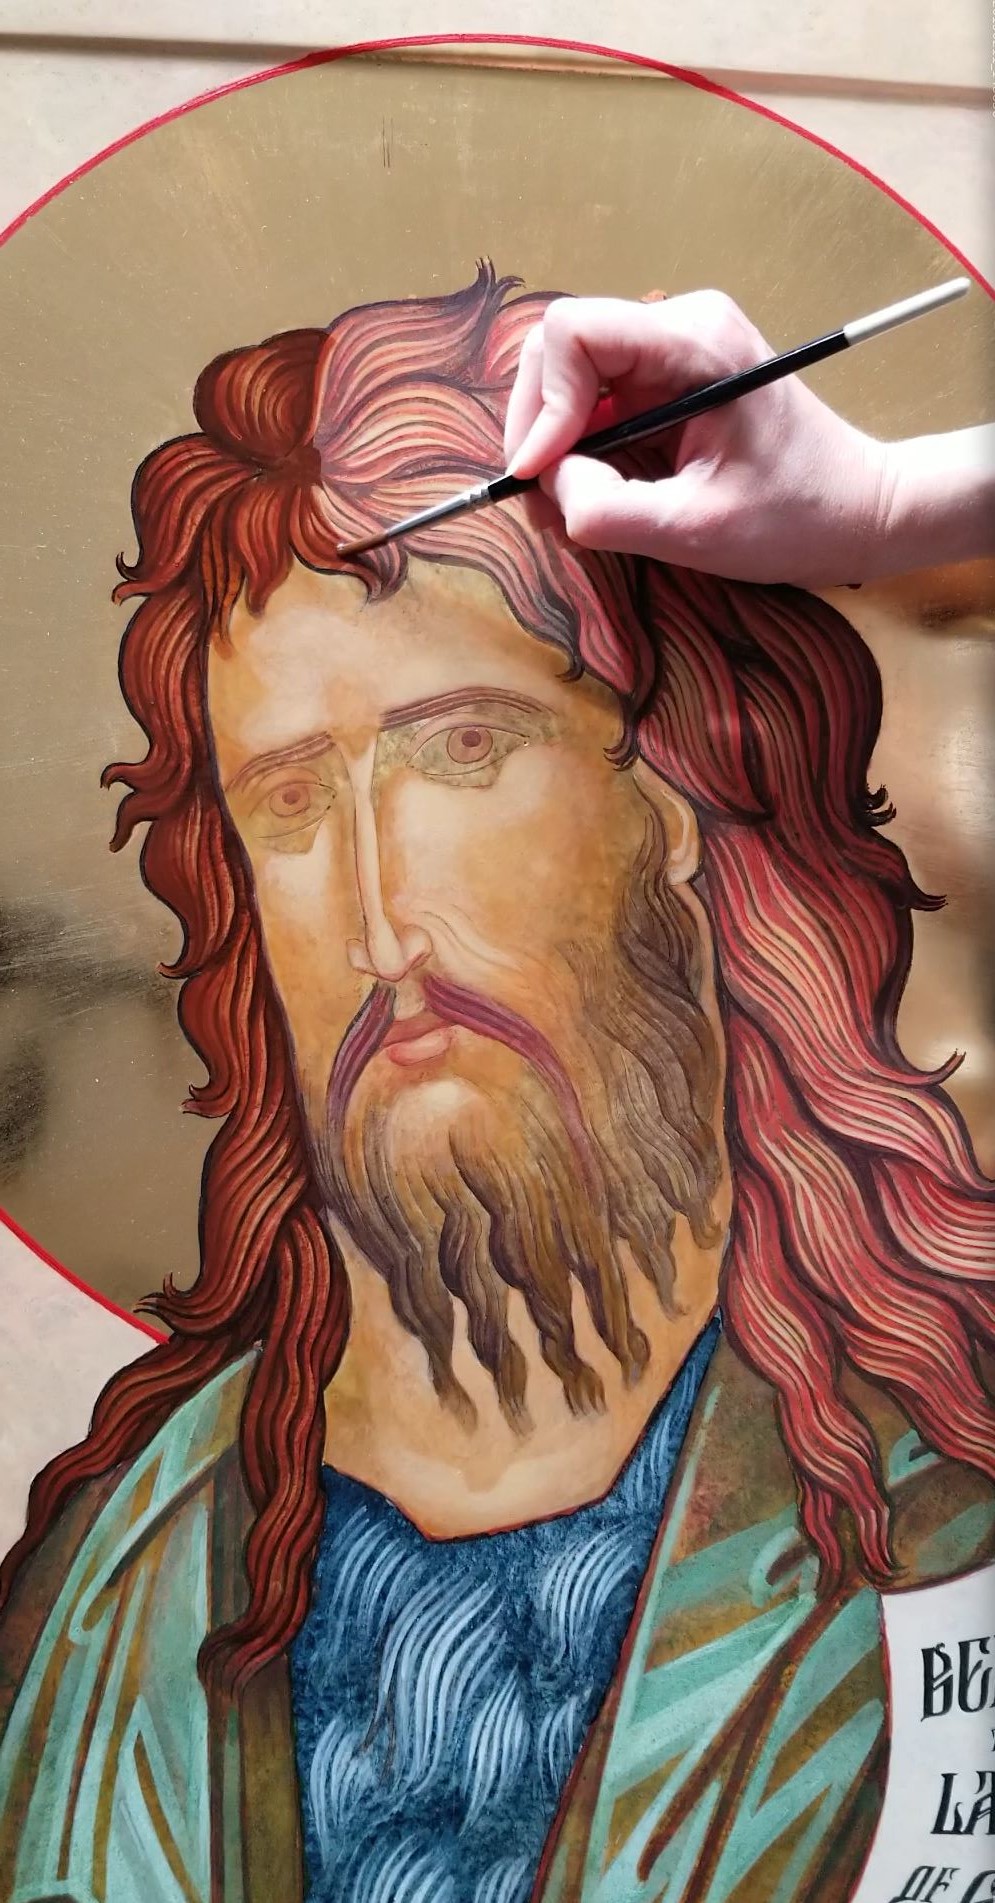
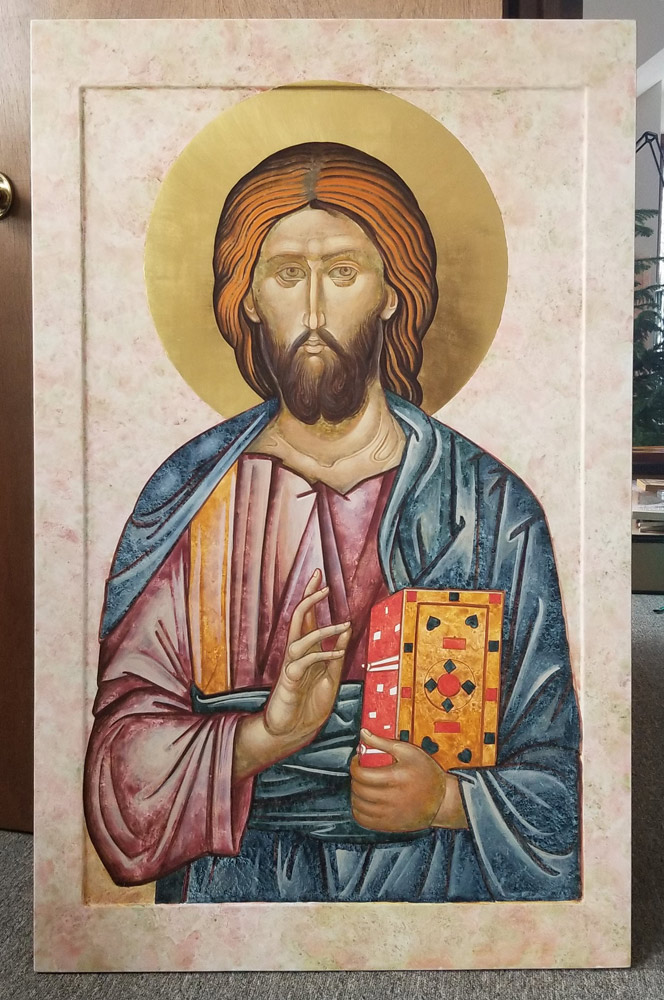
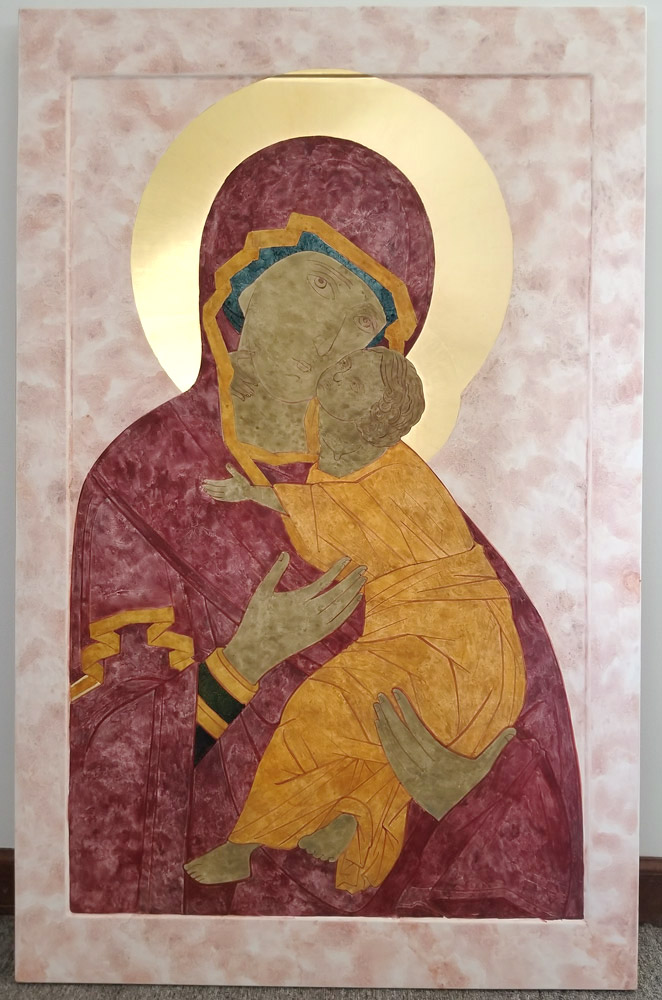
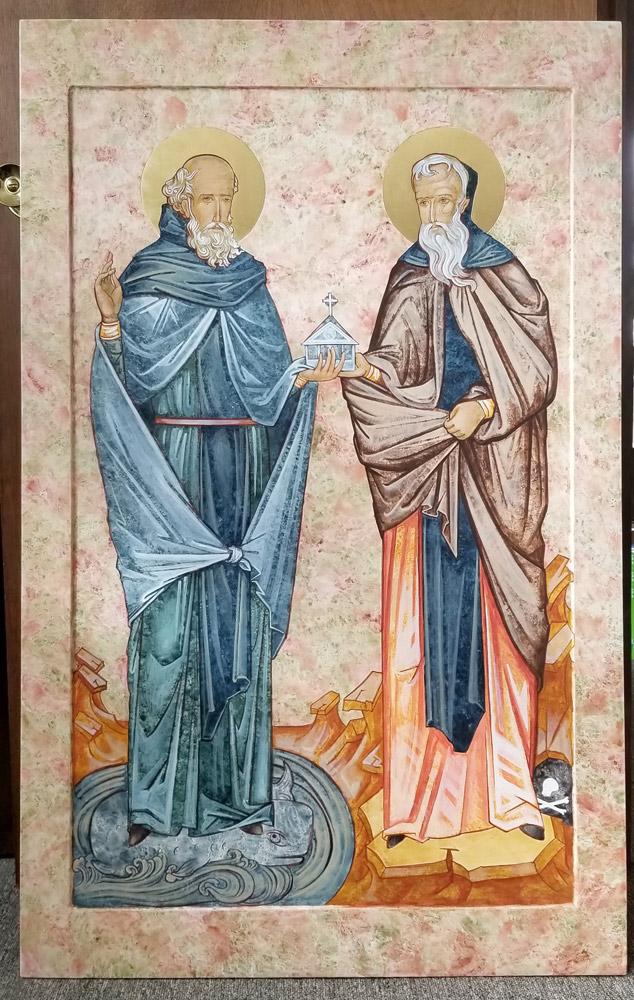
First Highlight
First highlight is denser, more opaque and much smoother. The paint is diluted with emulsion when necessary instead of water. It is applied very broadly over the surface, almost like a cubist painting, defining the basic volumes.
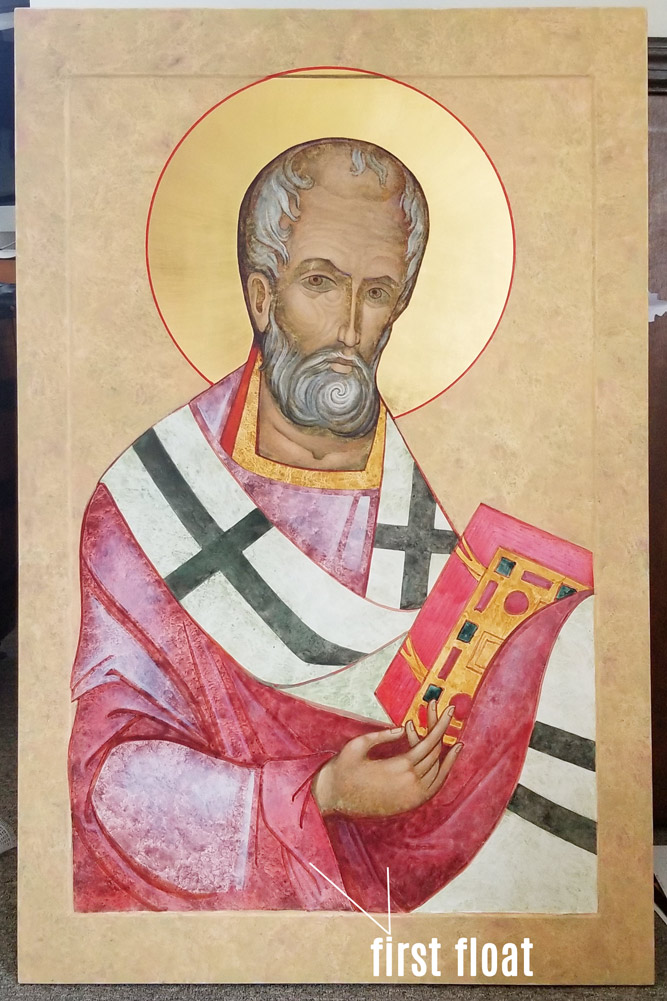
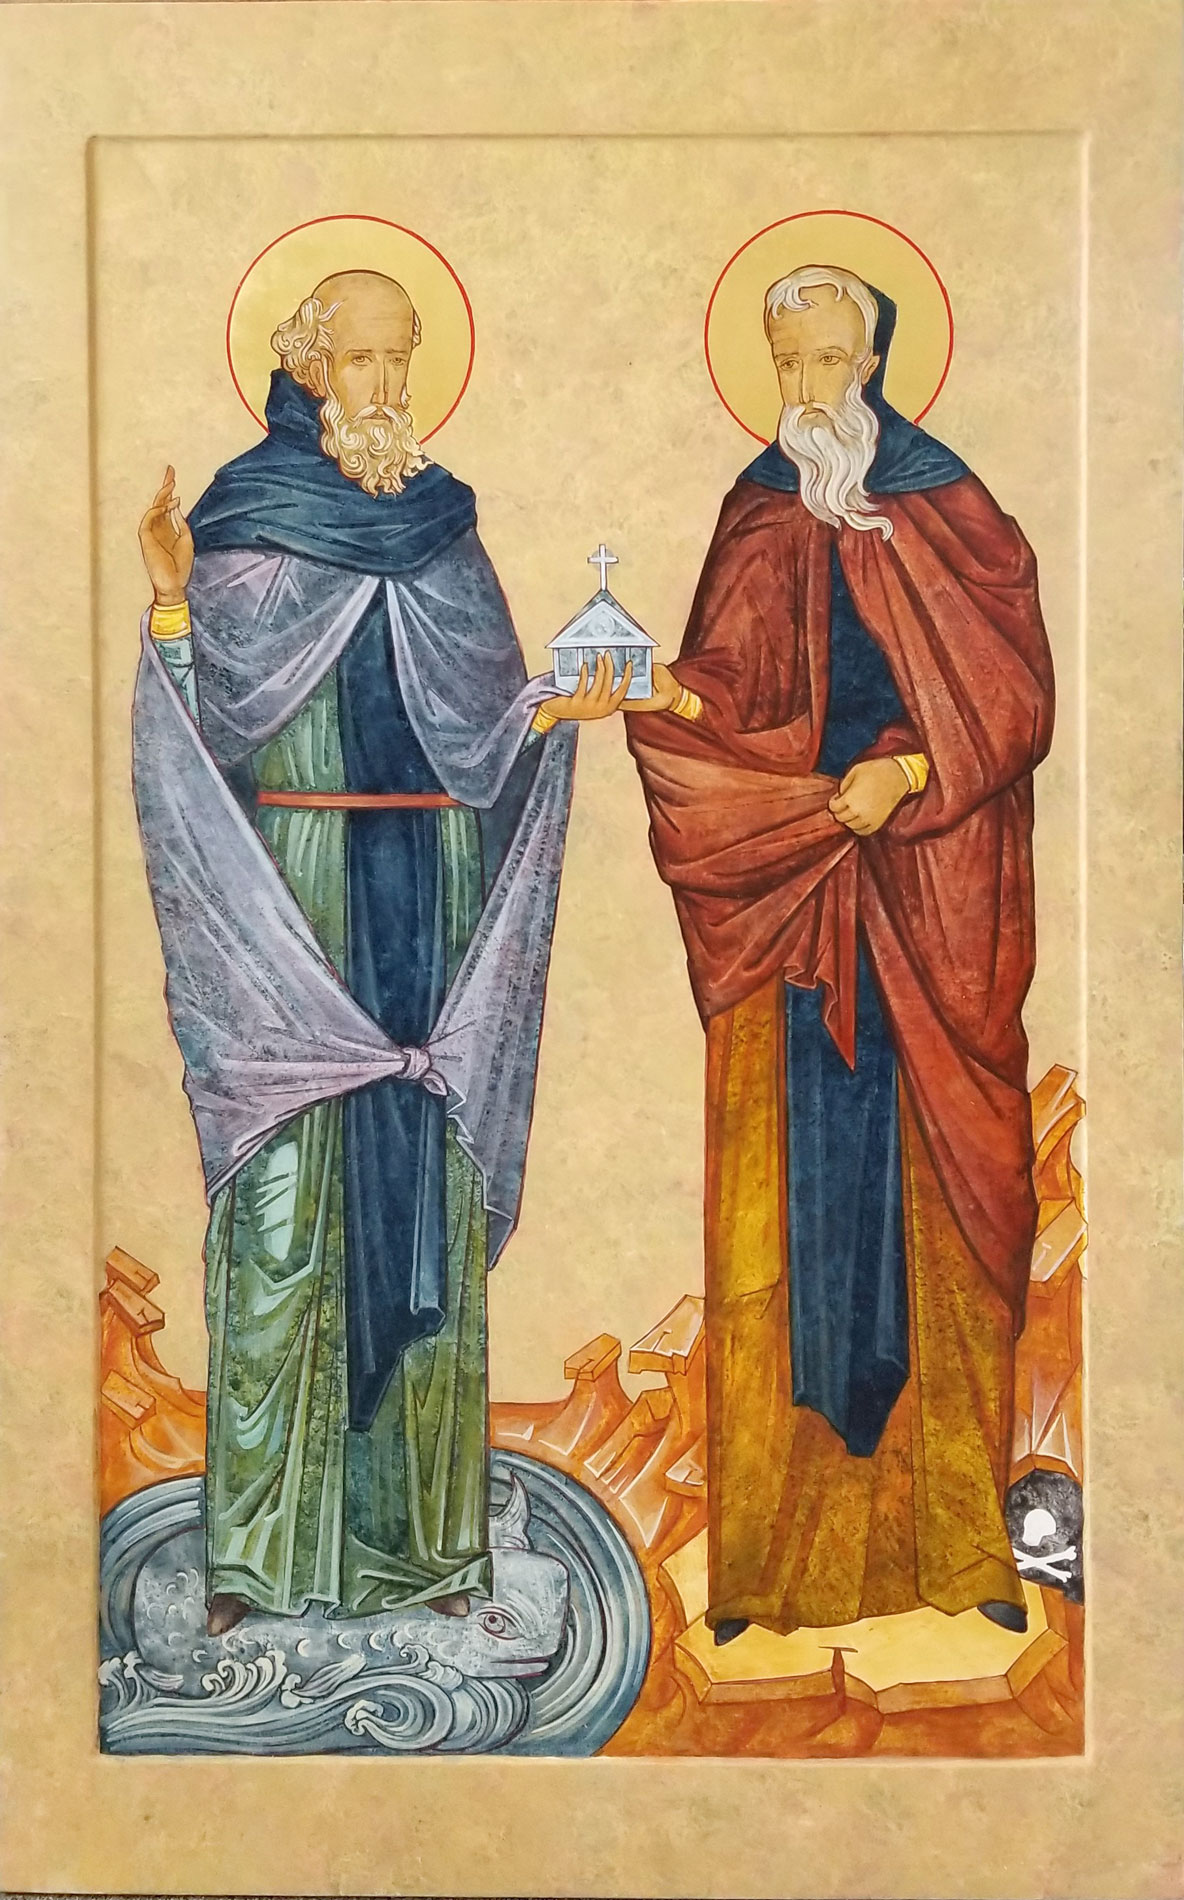
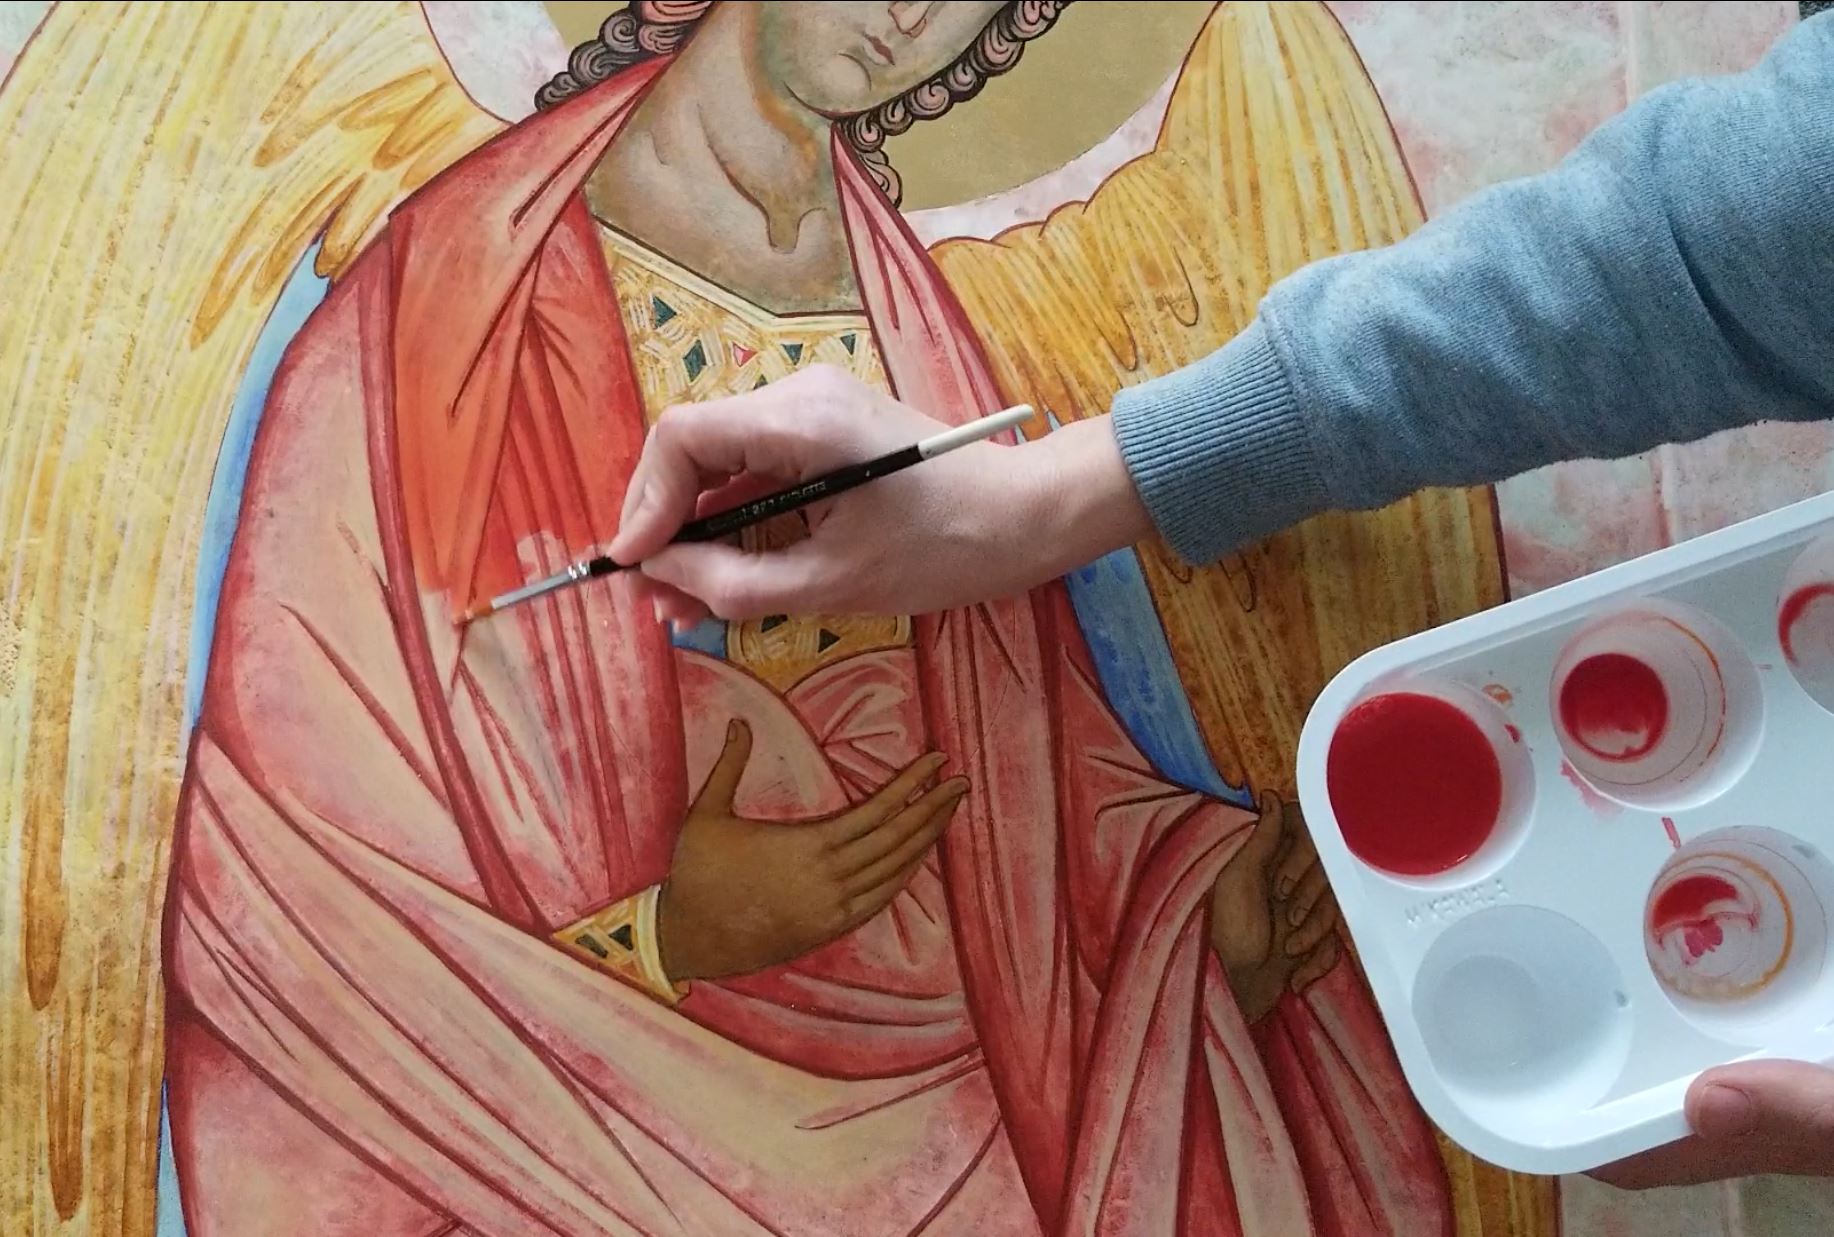
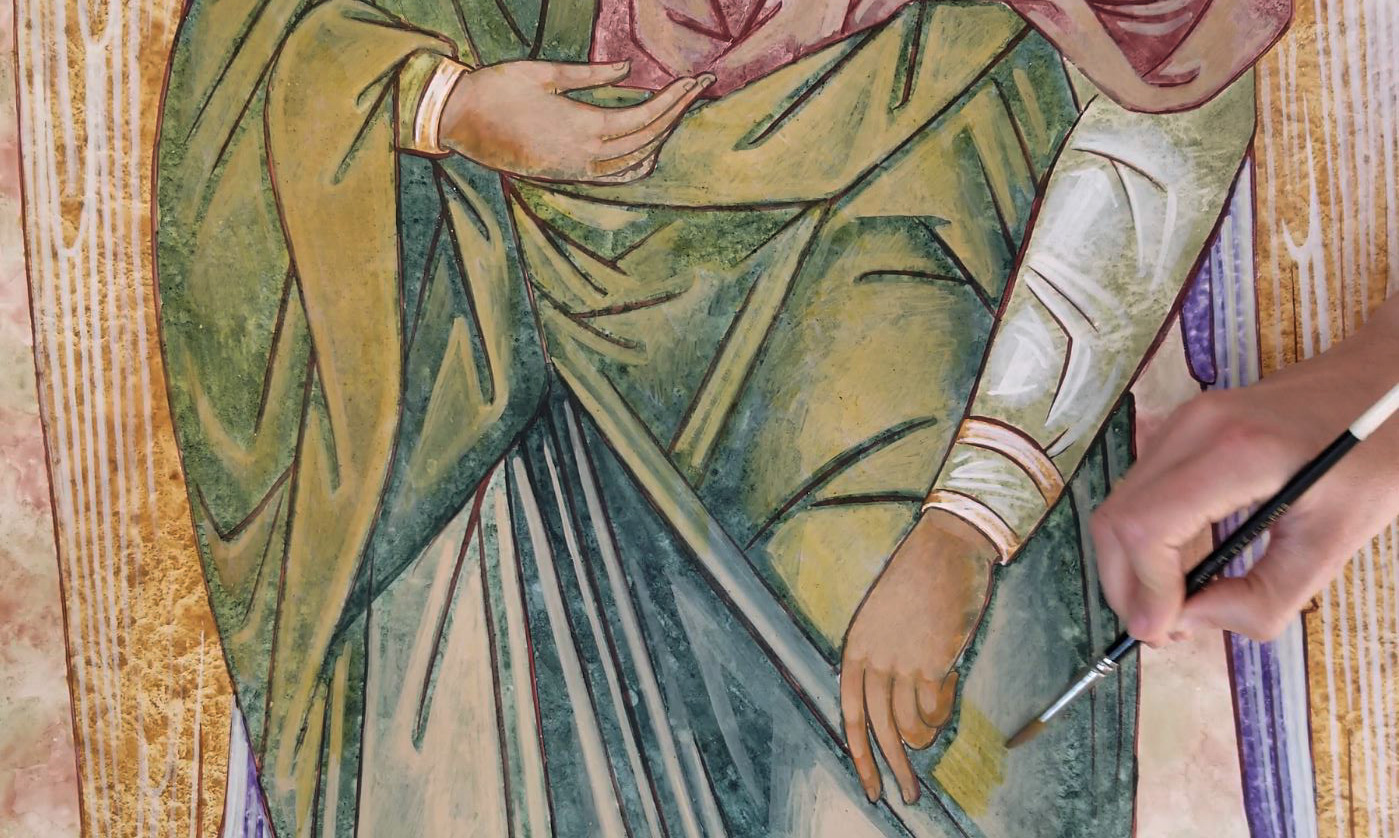
First Float
The floats are all highly transparent and diluted with water. It is important to choose pigments that have low coverage and brilliant color in order to let the highlight shine through. The pigments must also be progressively finer to reduce the appearance of their texture. The purpose of the float is to enhance the chroma – or saturation – that is lost by mixing white into the pigment. Light passes through the float layer as it would through a piece of stained glass, giving it extra brilliance. Without it, the highlights would look chalky.
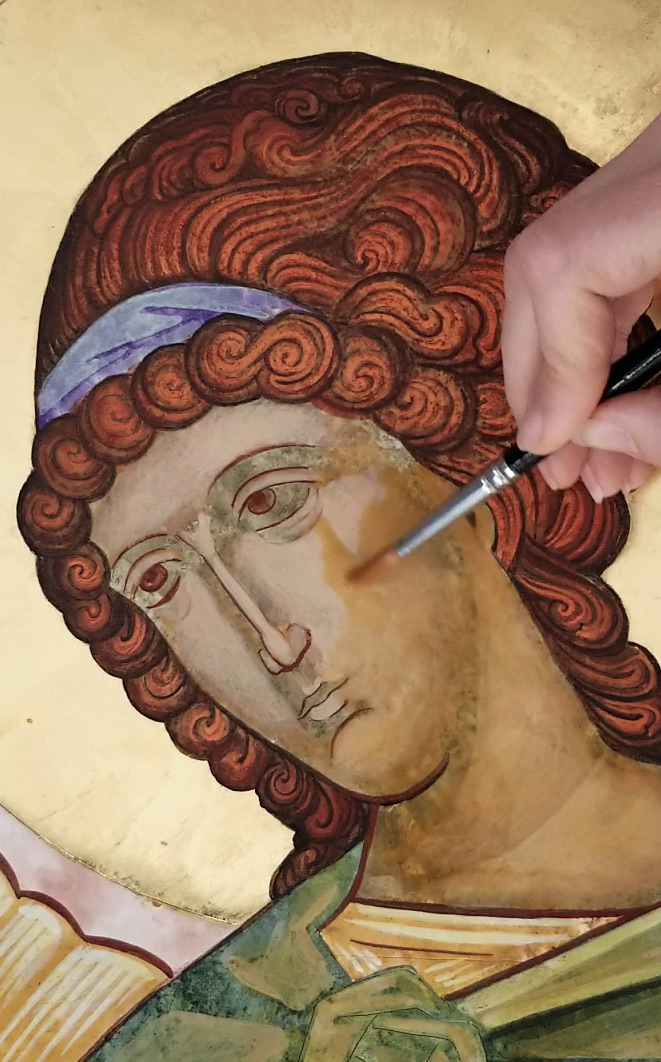

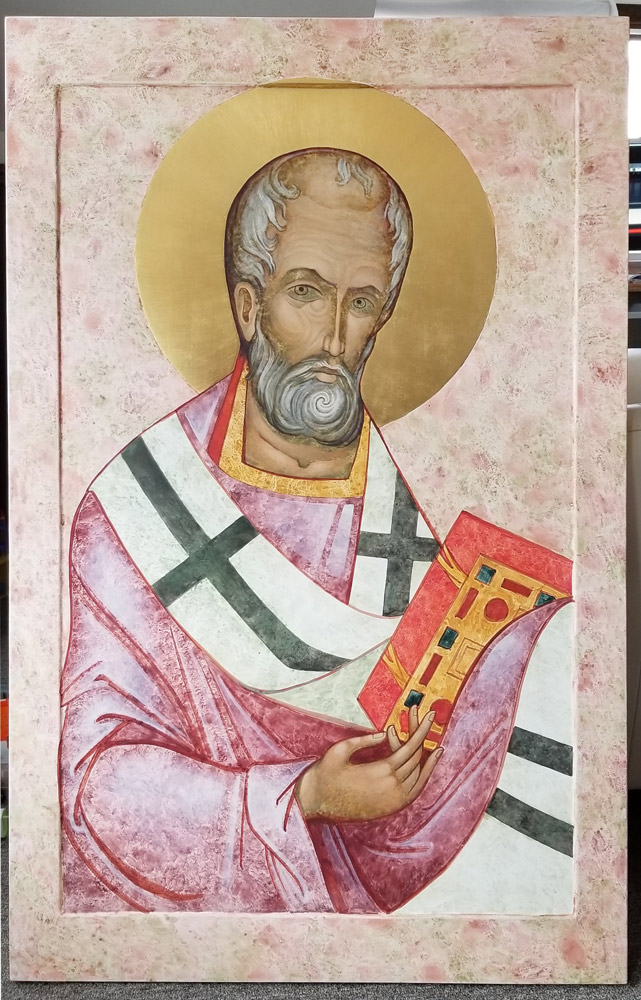
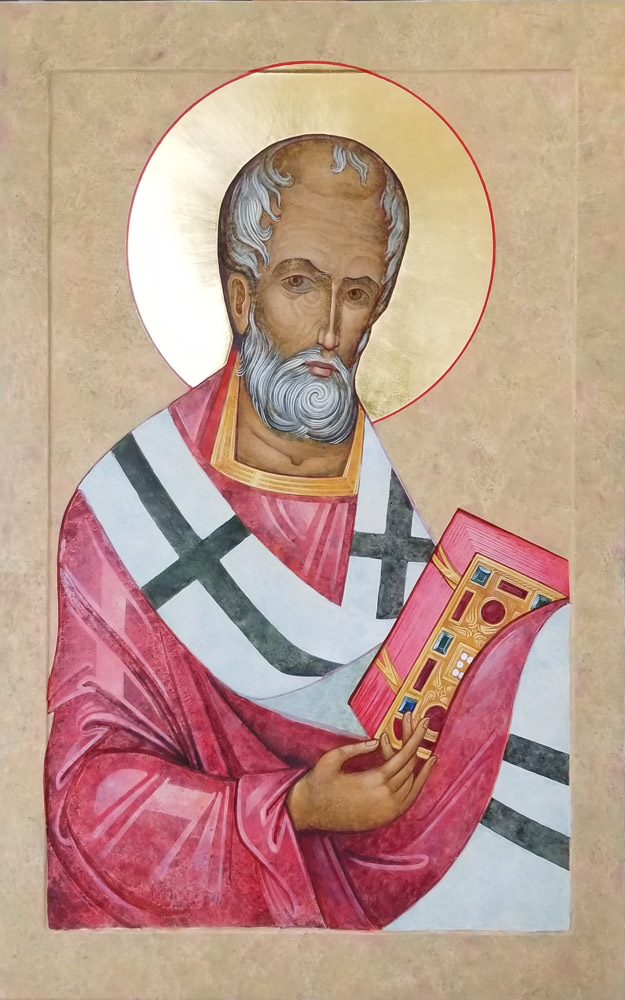
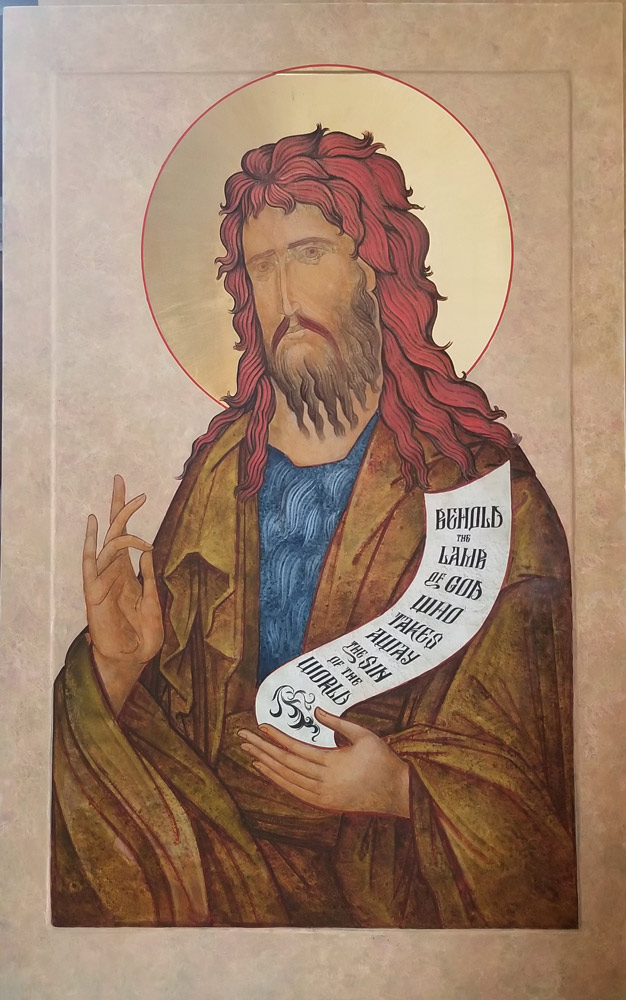
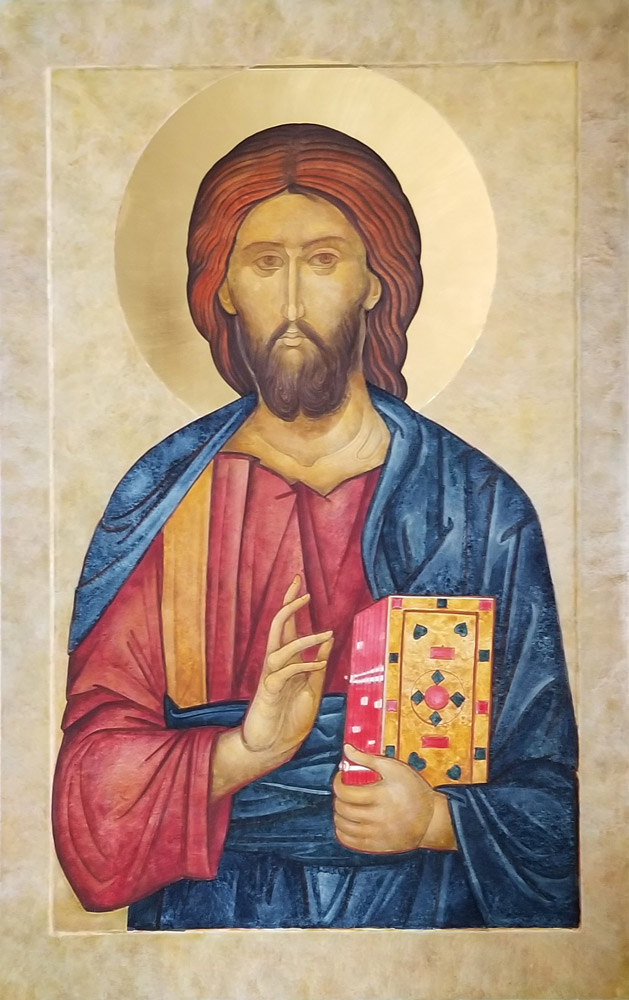
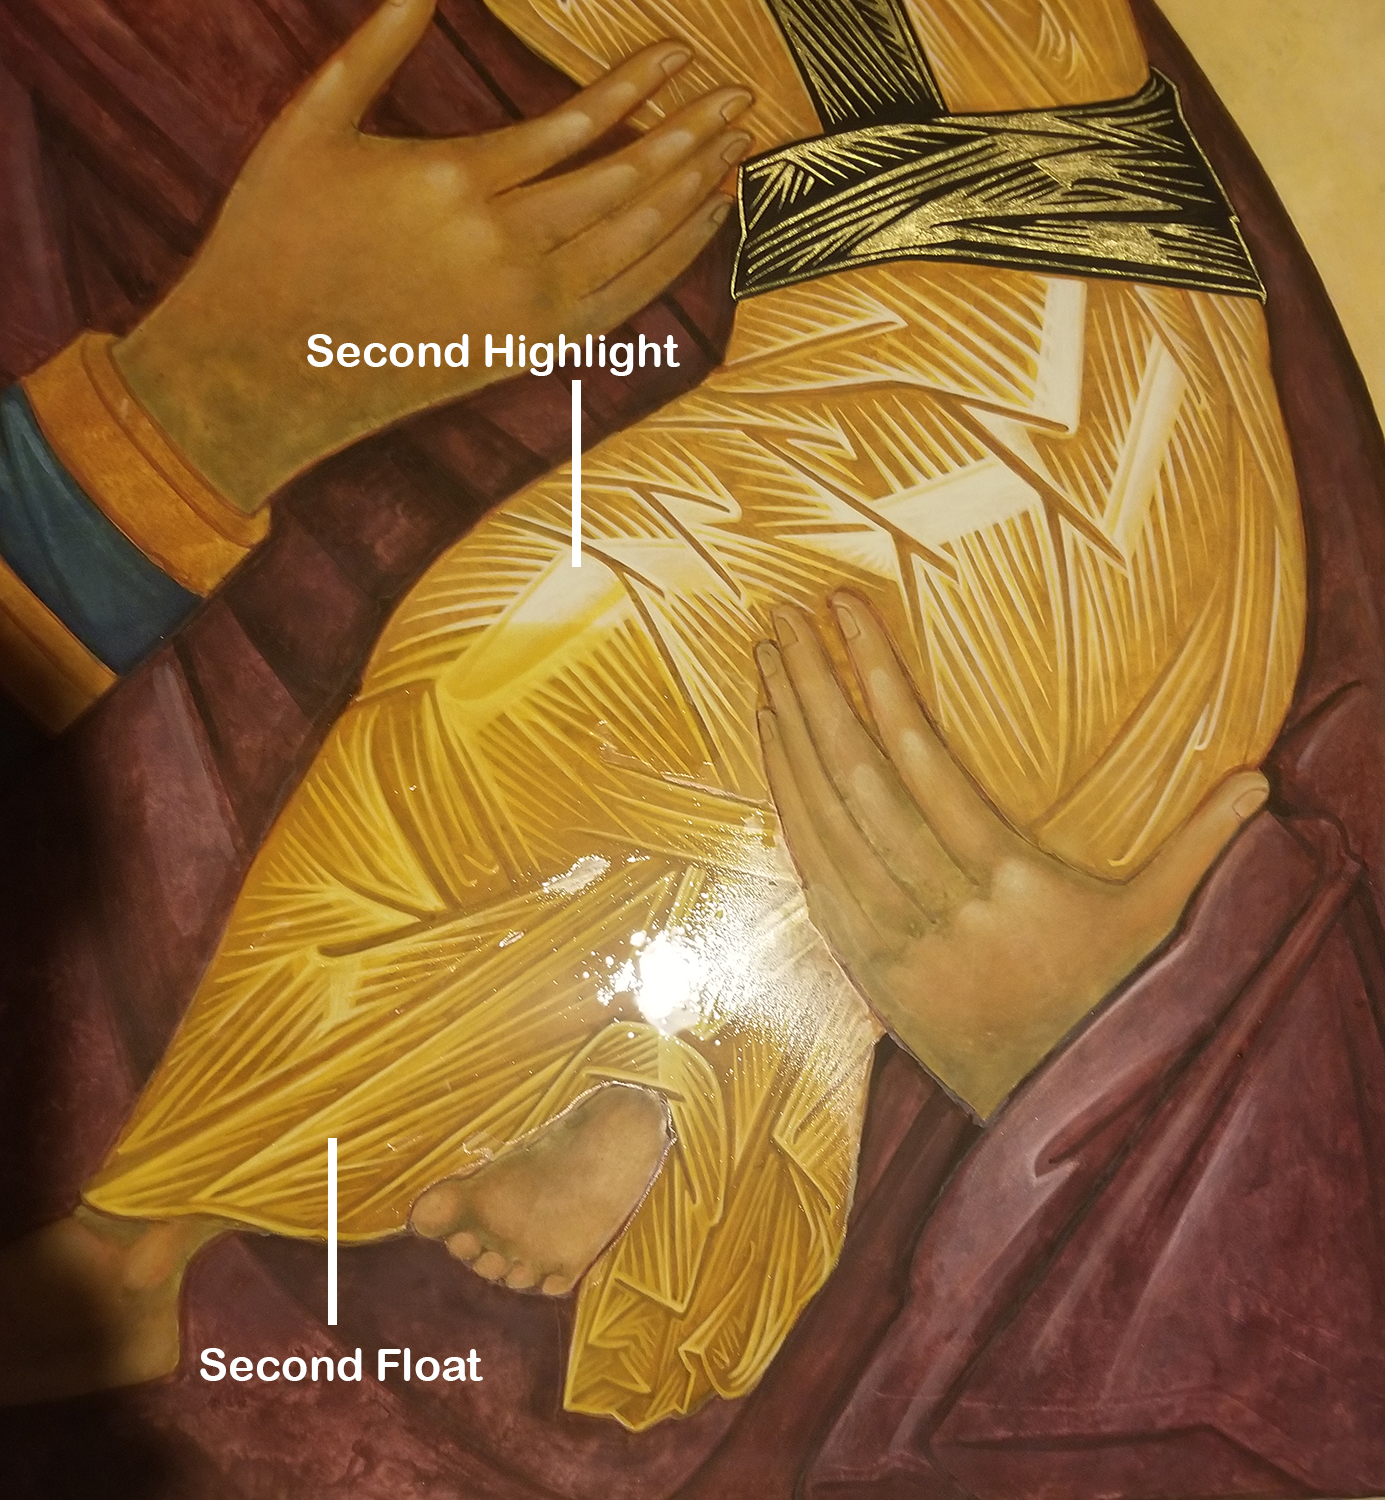
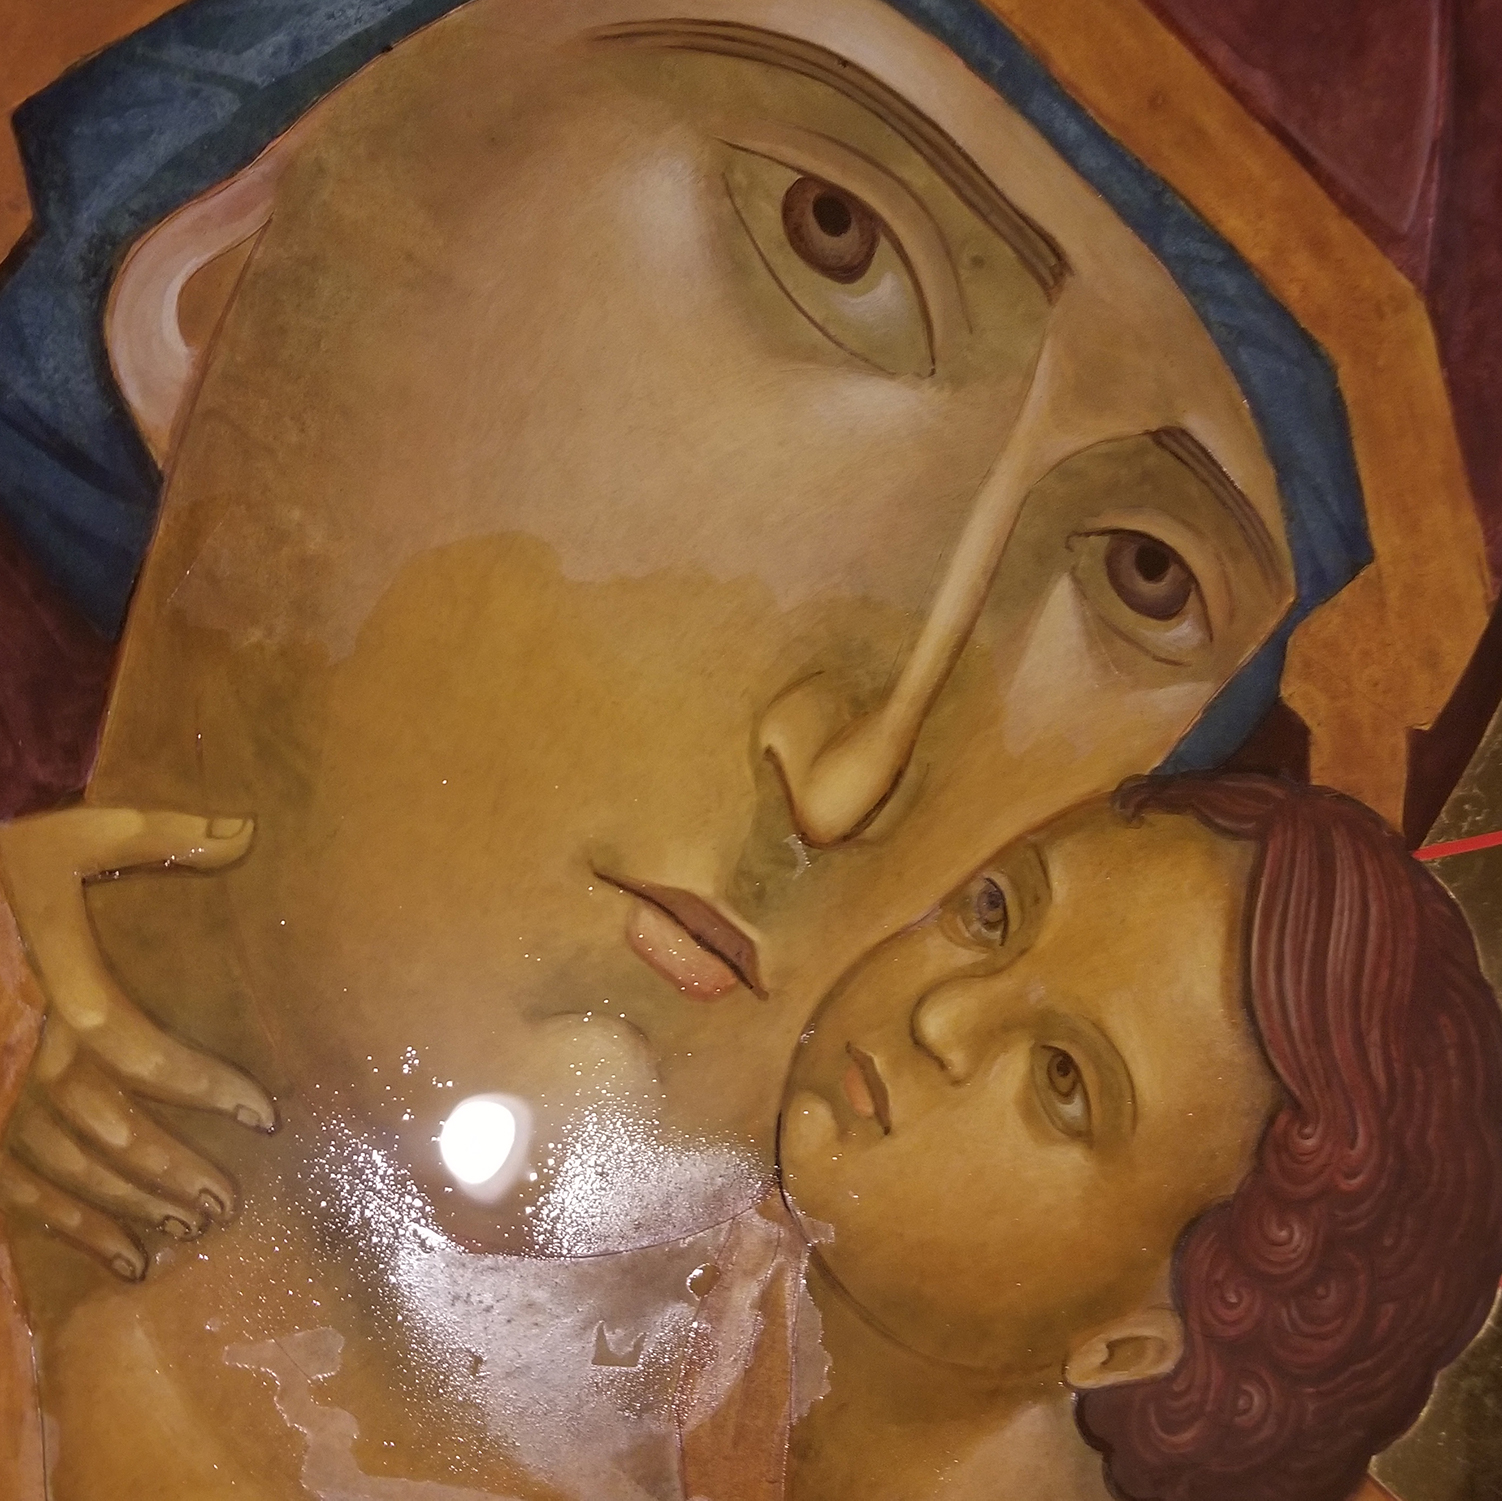
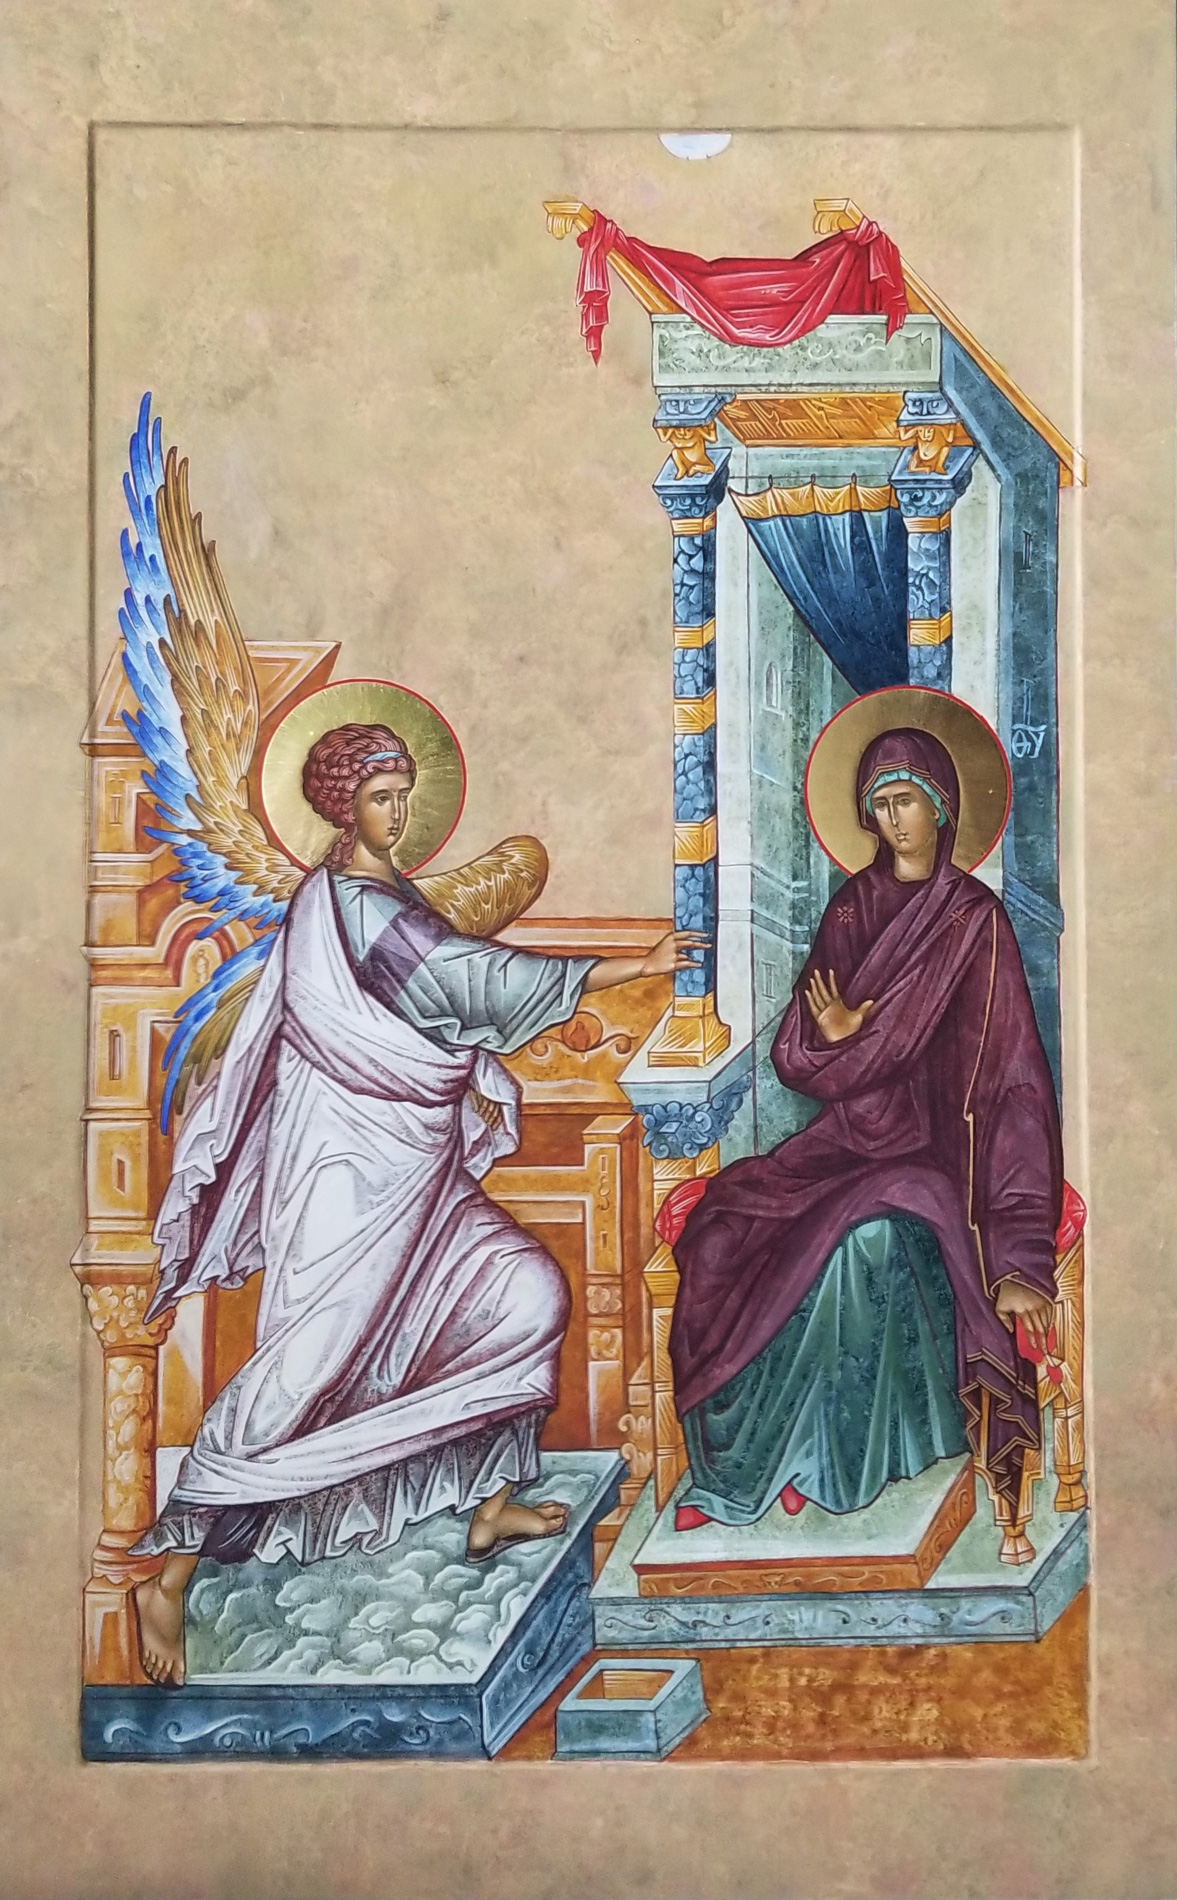
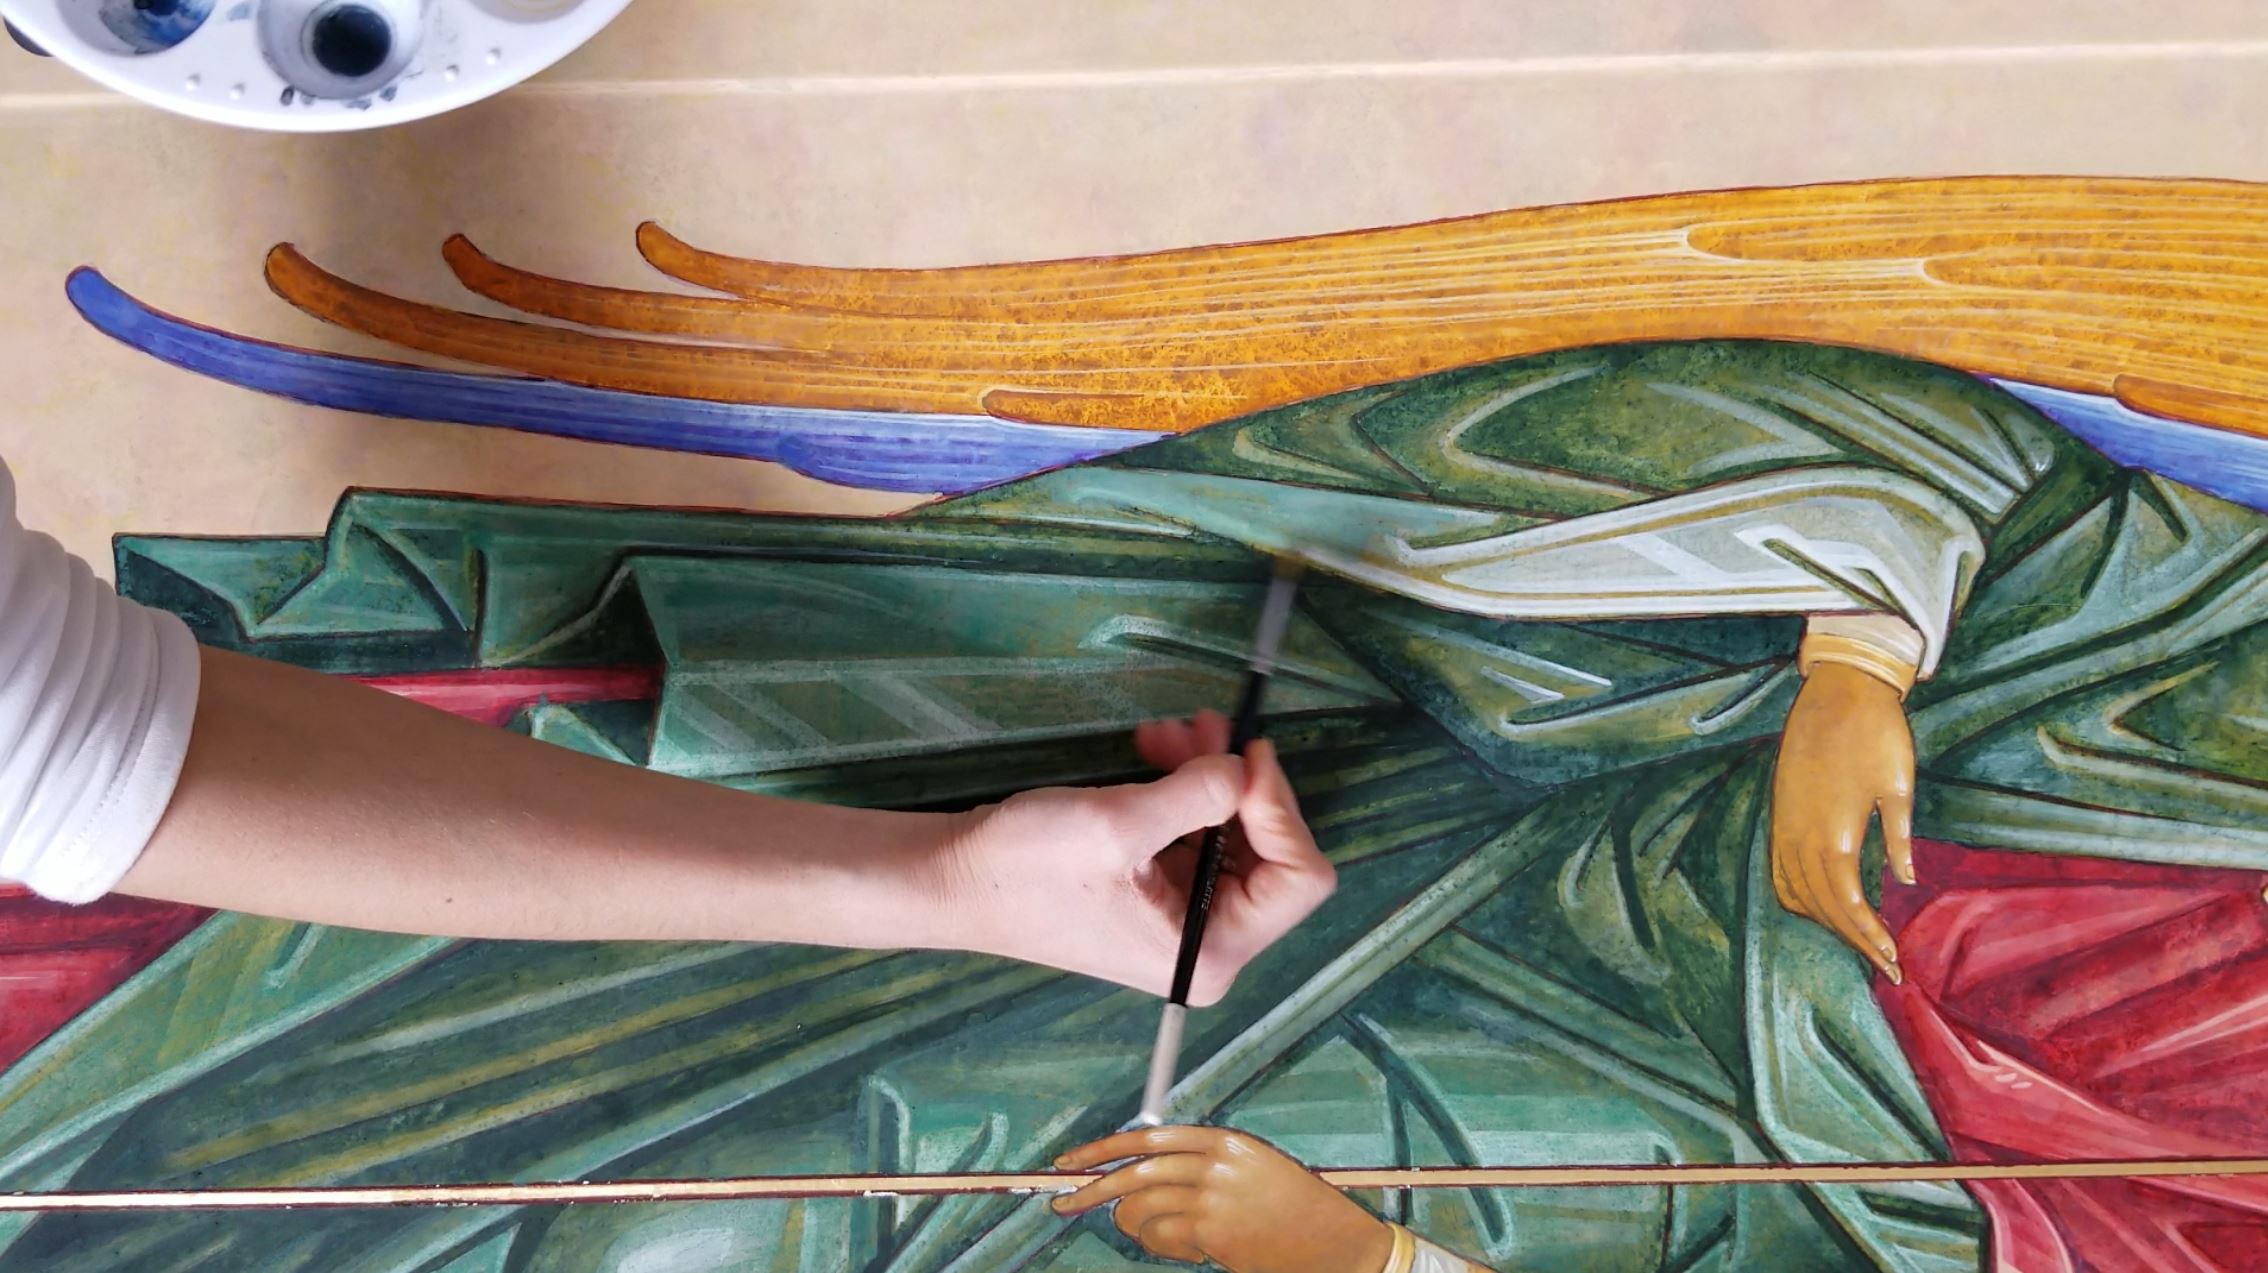
Second Higlight
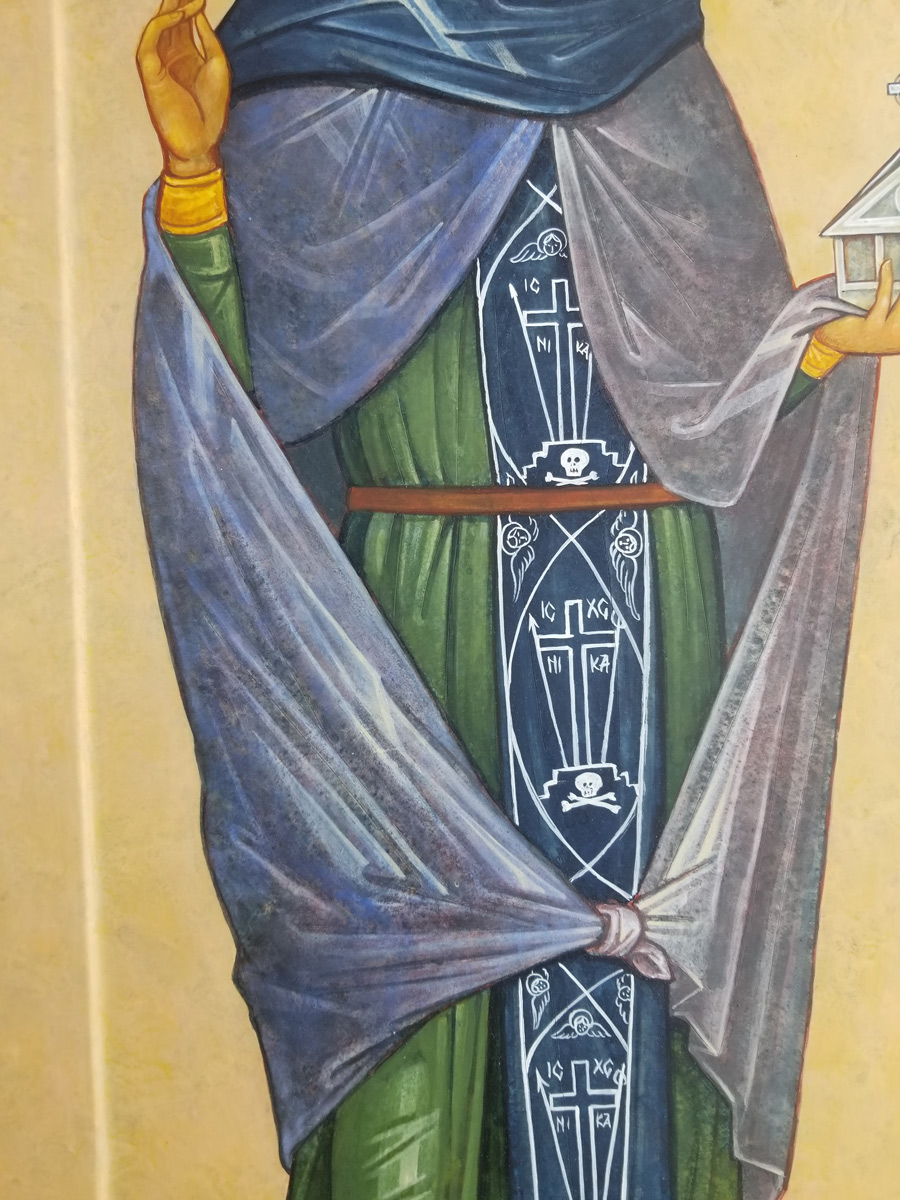
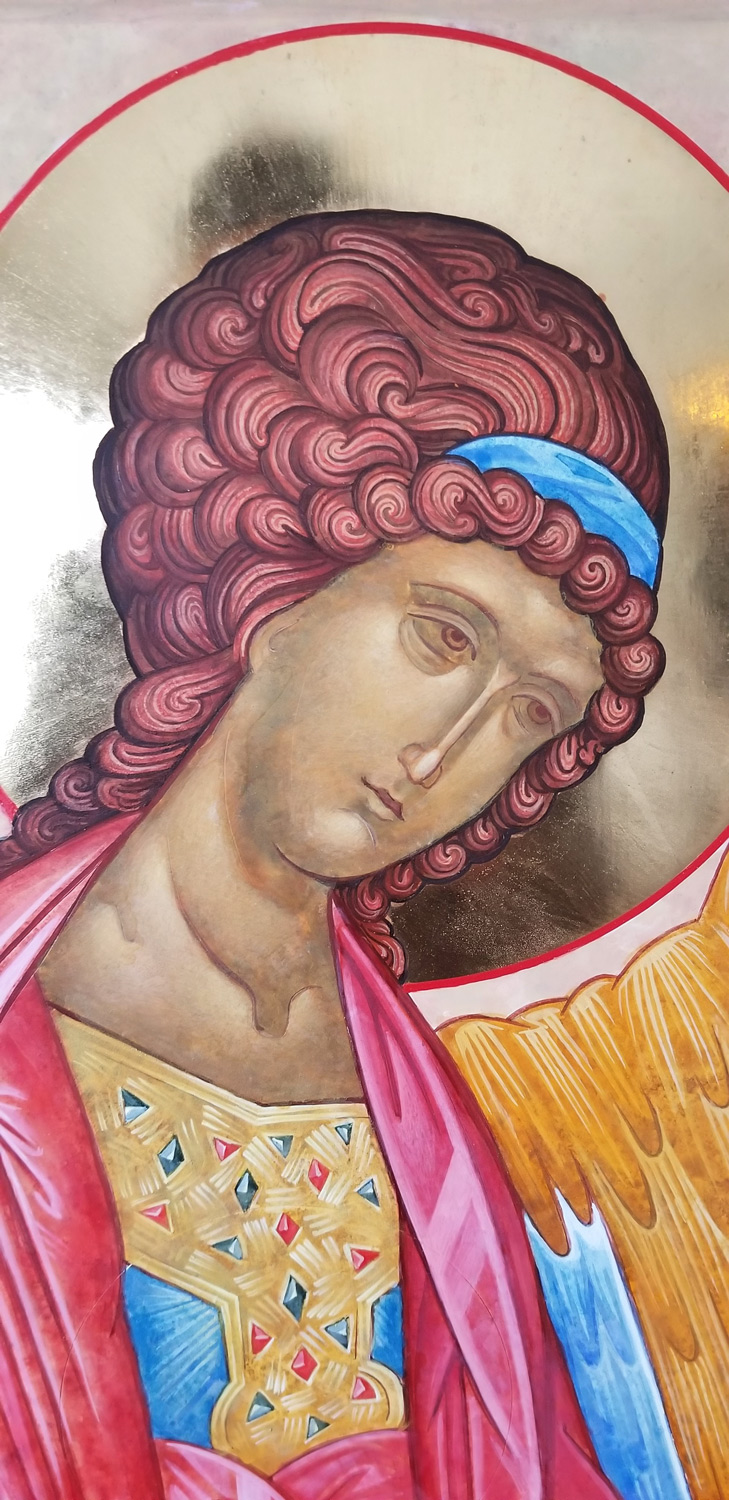
The second highlight becomes more narrow, in an attempt to focus the light towards an imagined source. On the face, the source is meant to look life a softly glowing candle. on the fabric, the light is broken up like a gemstone into geometric facets.
Second Float
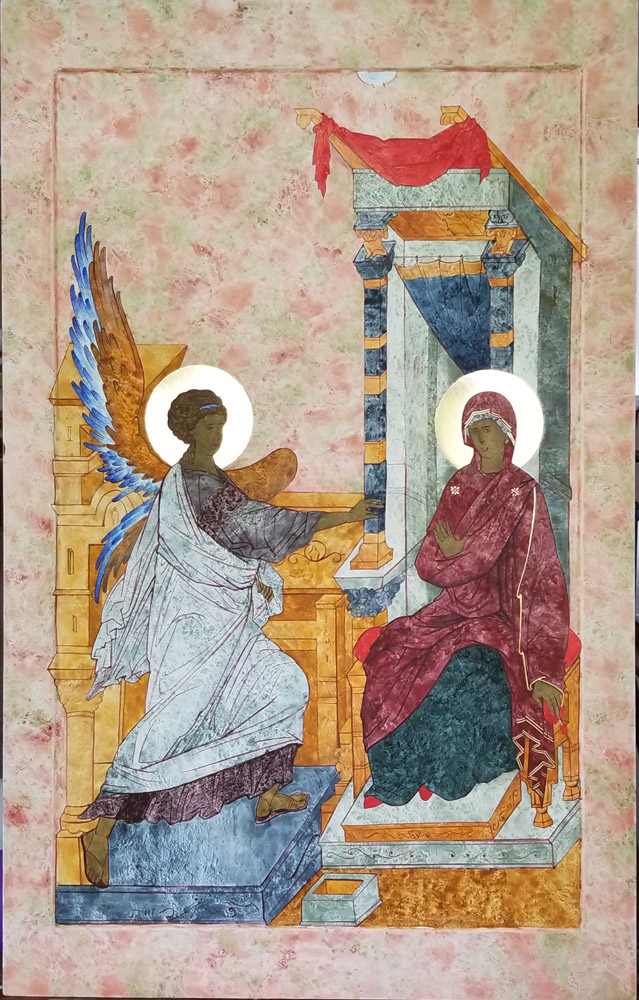
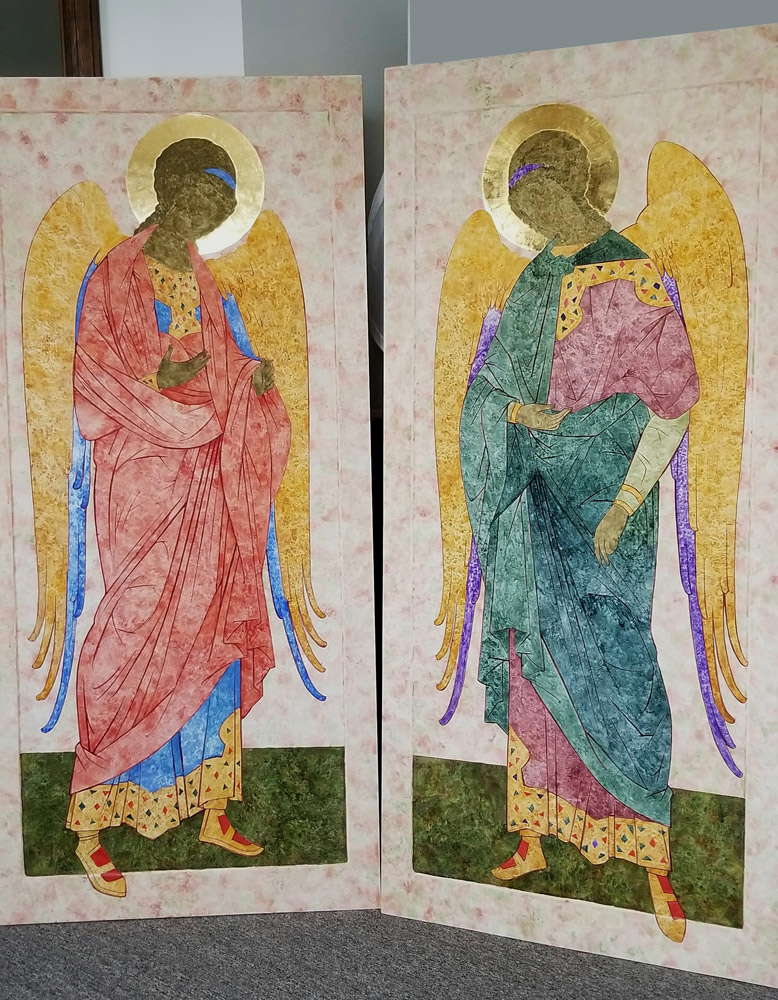
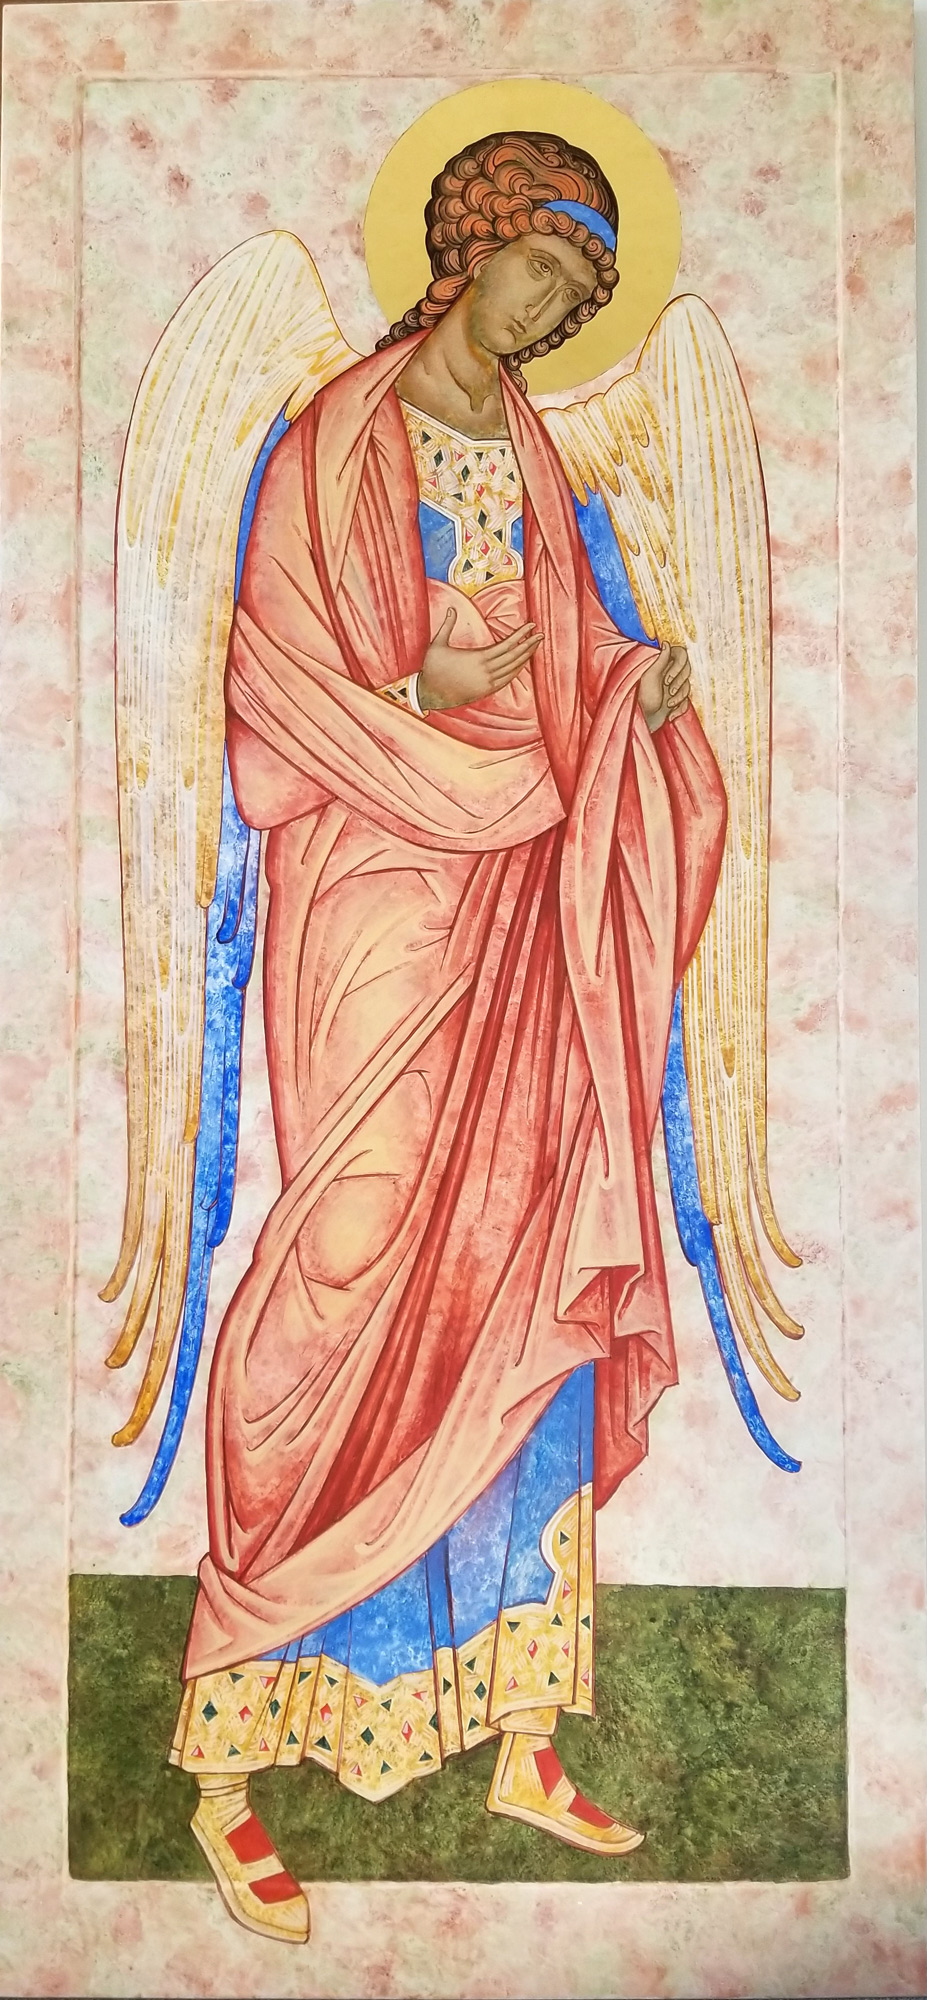
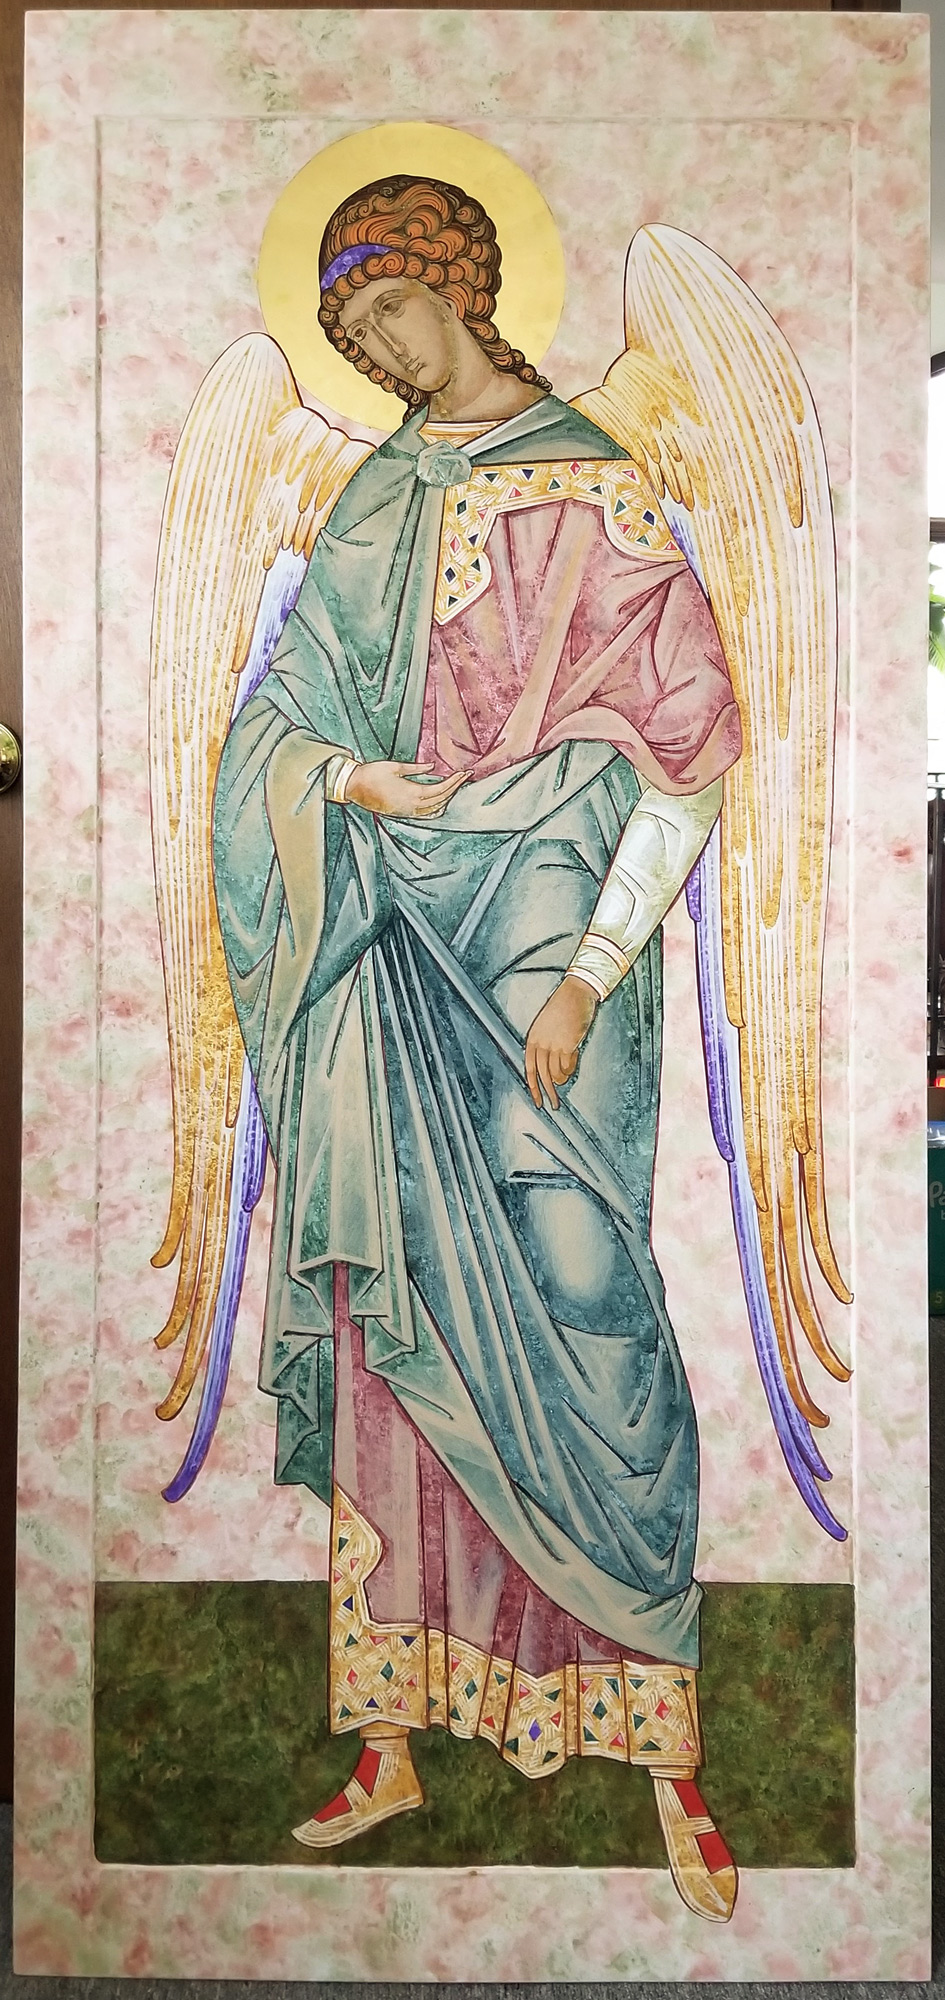
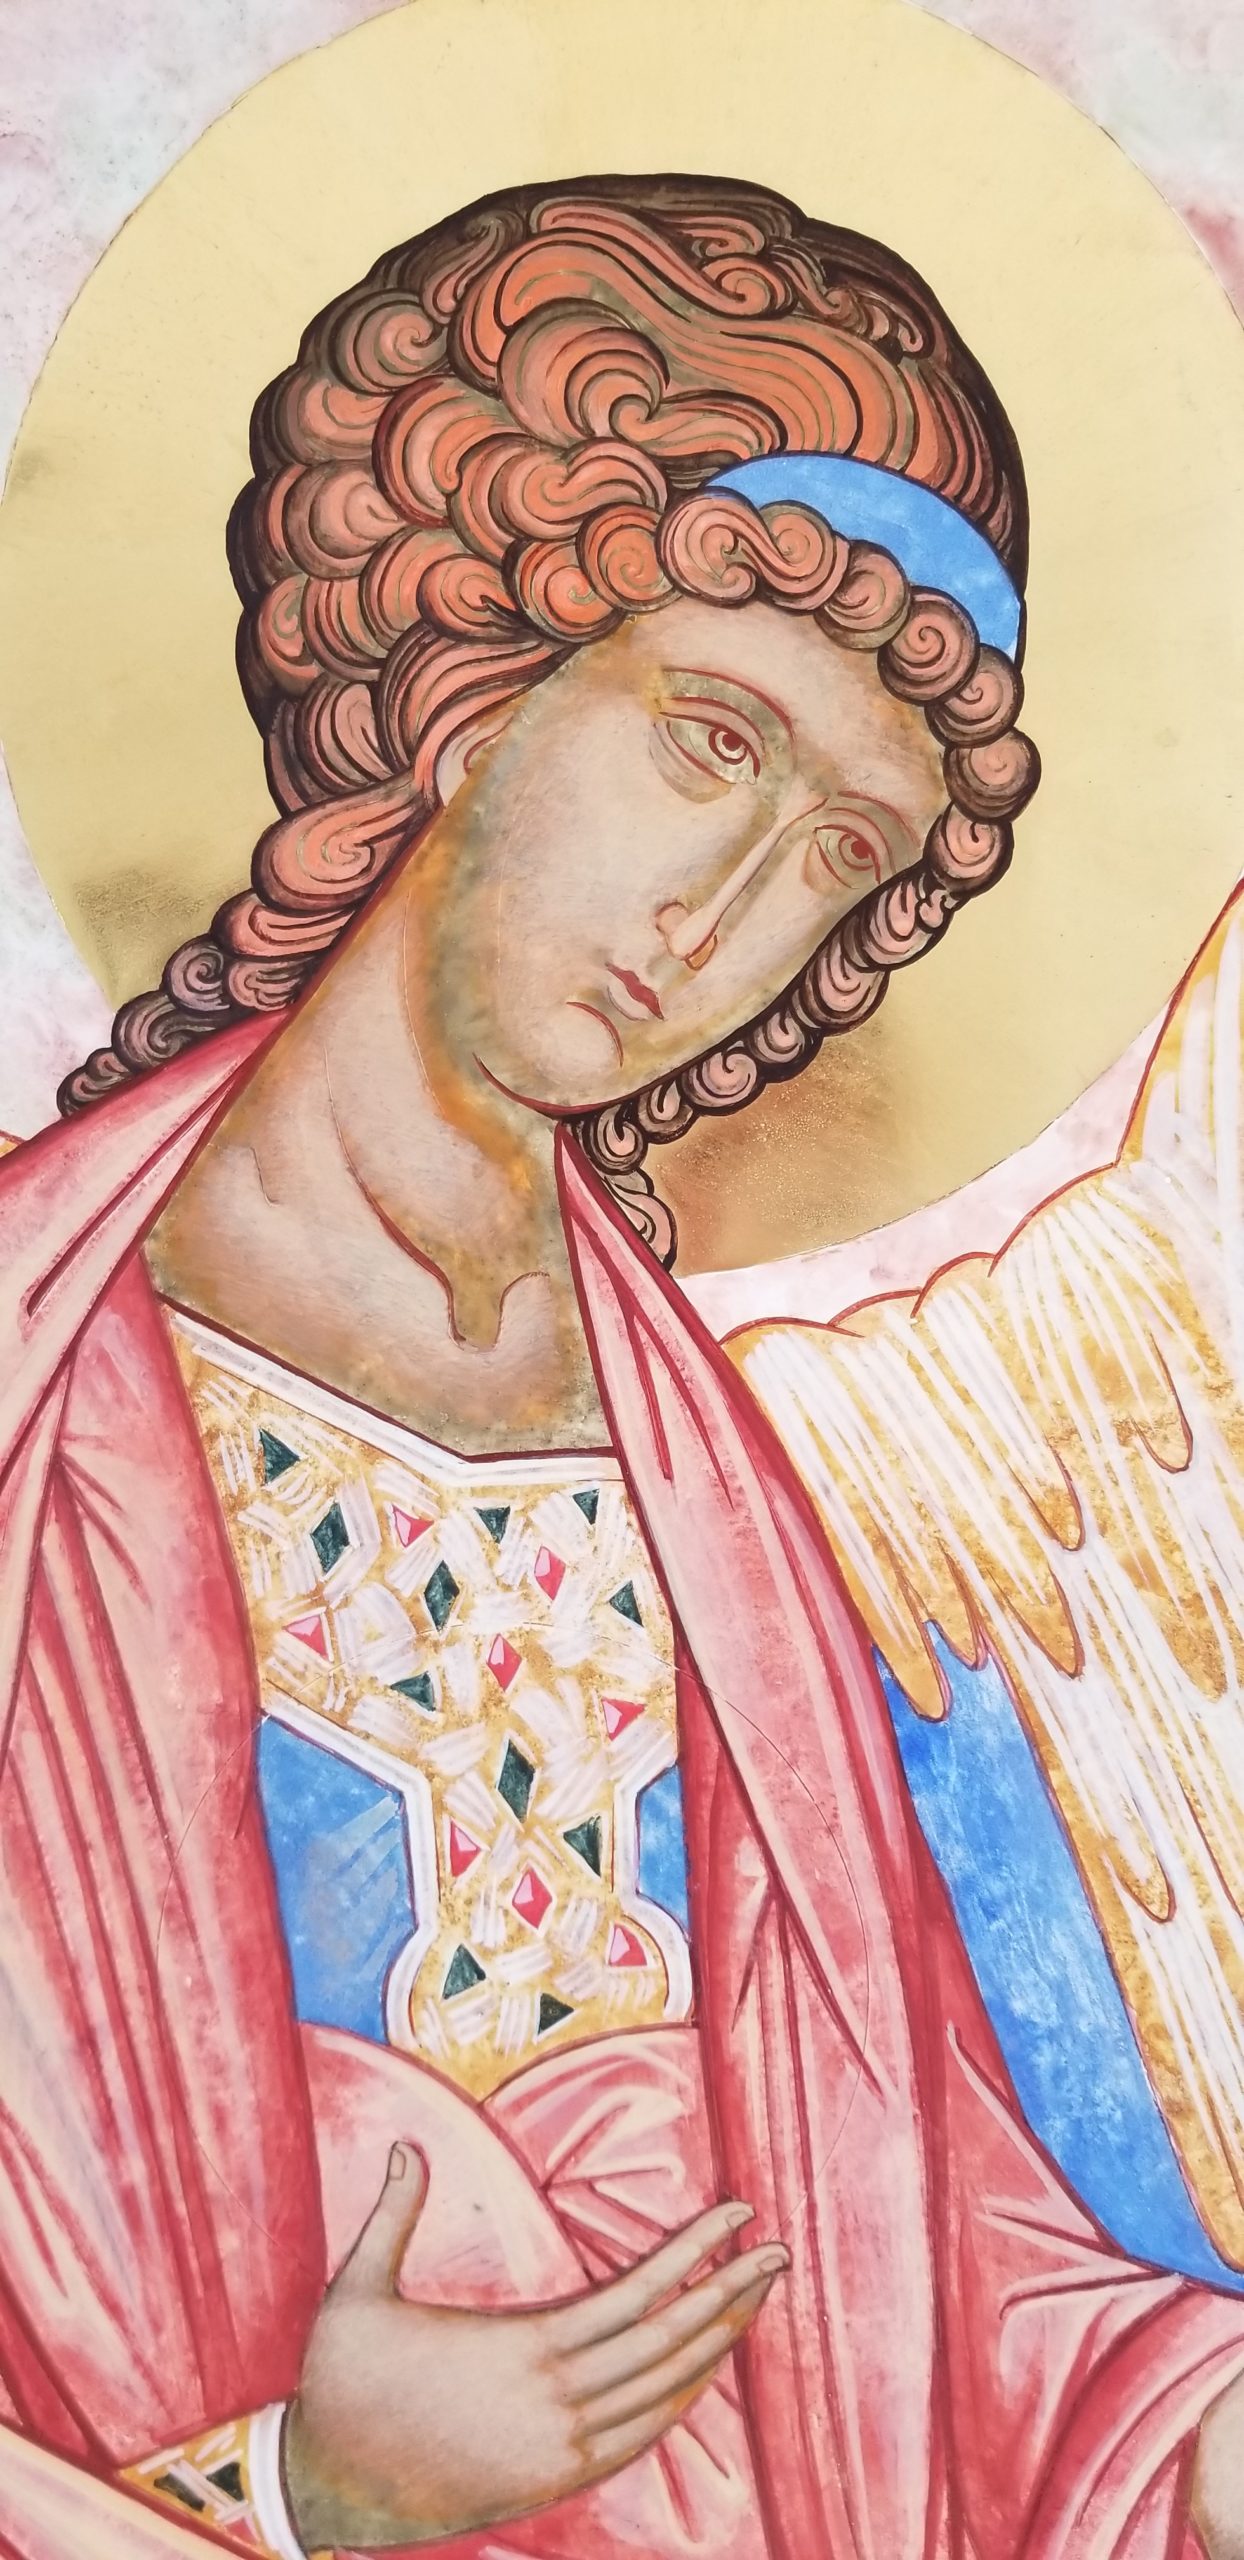
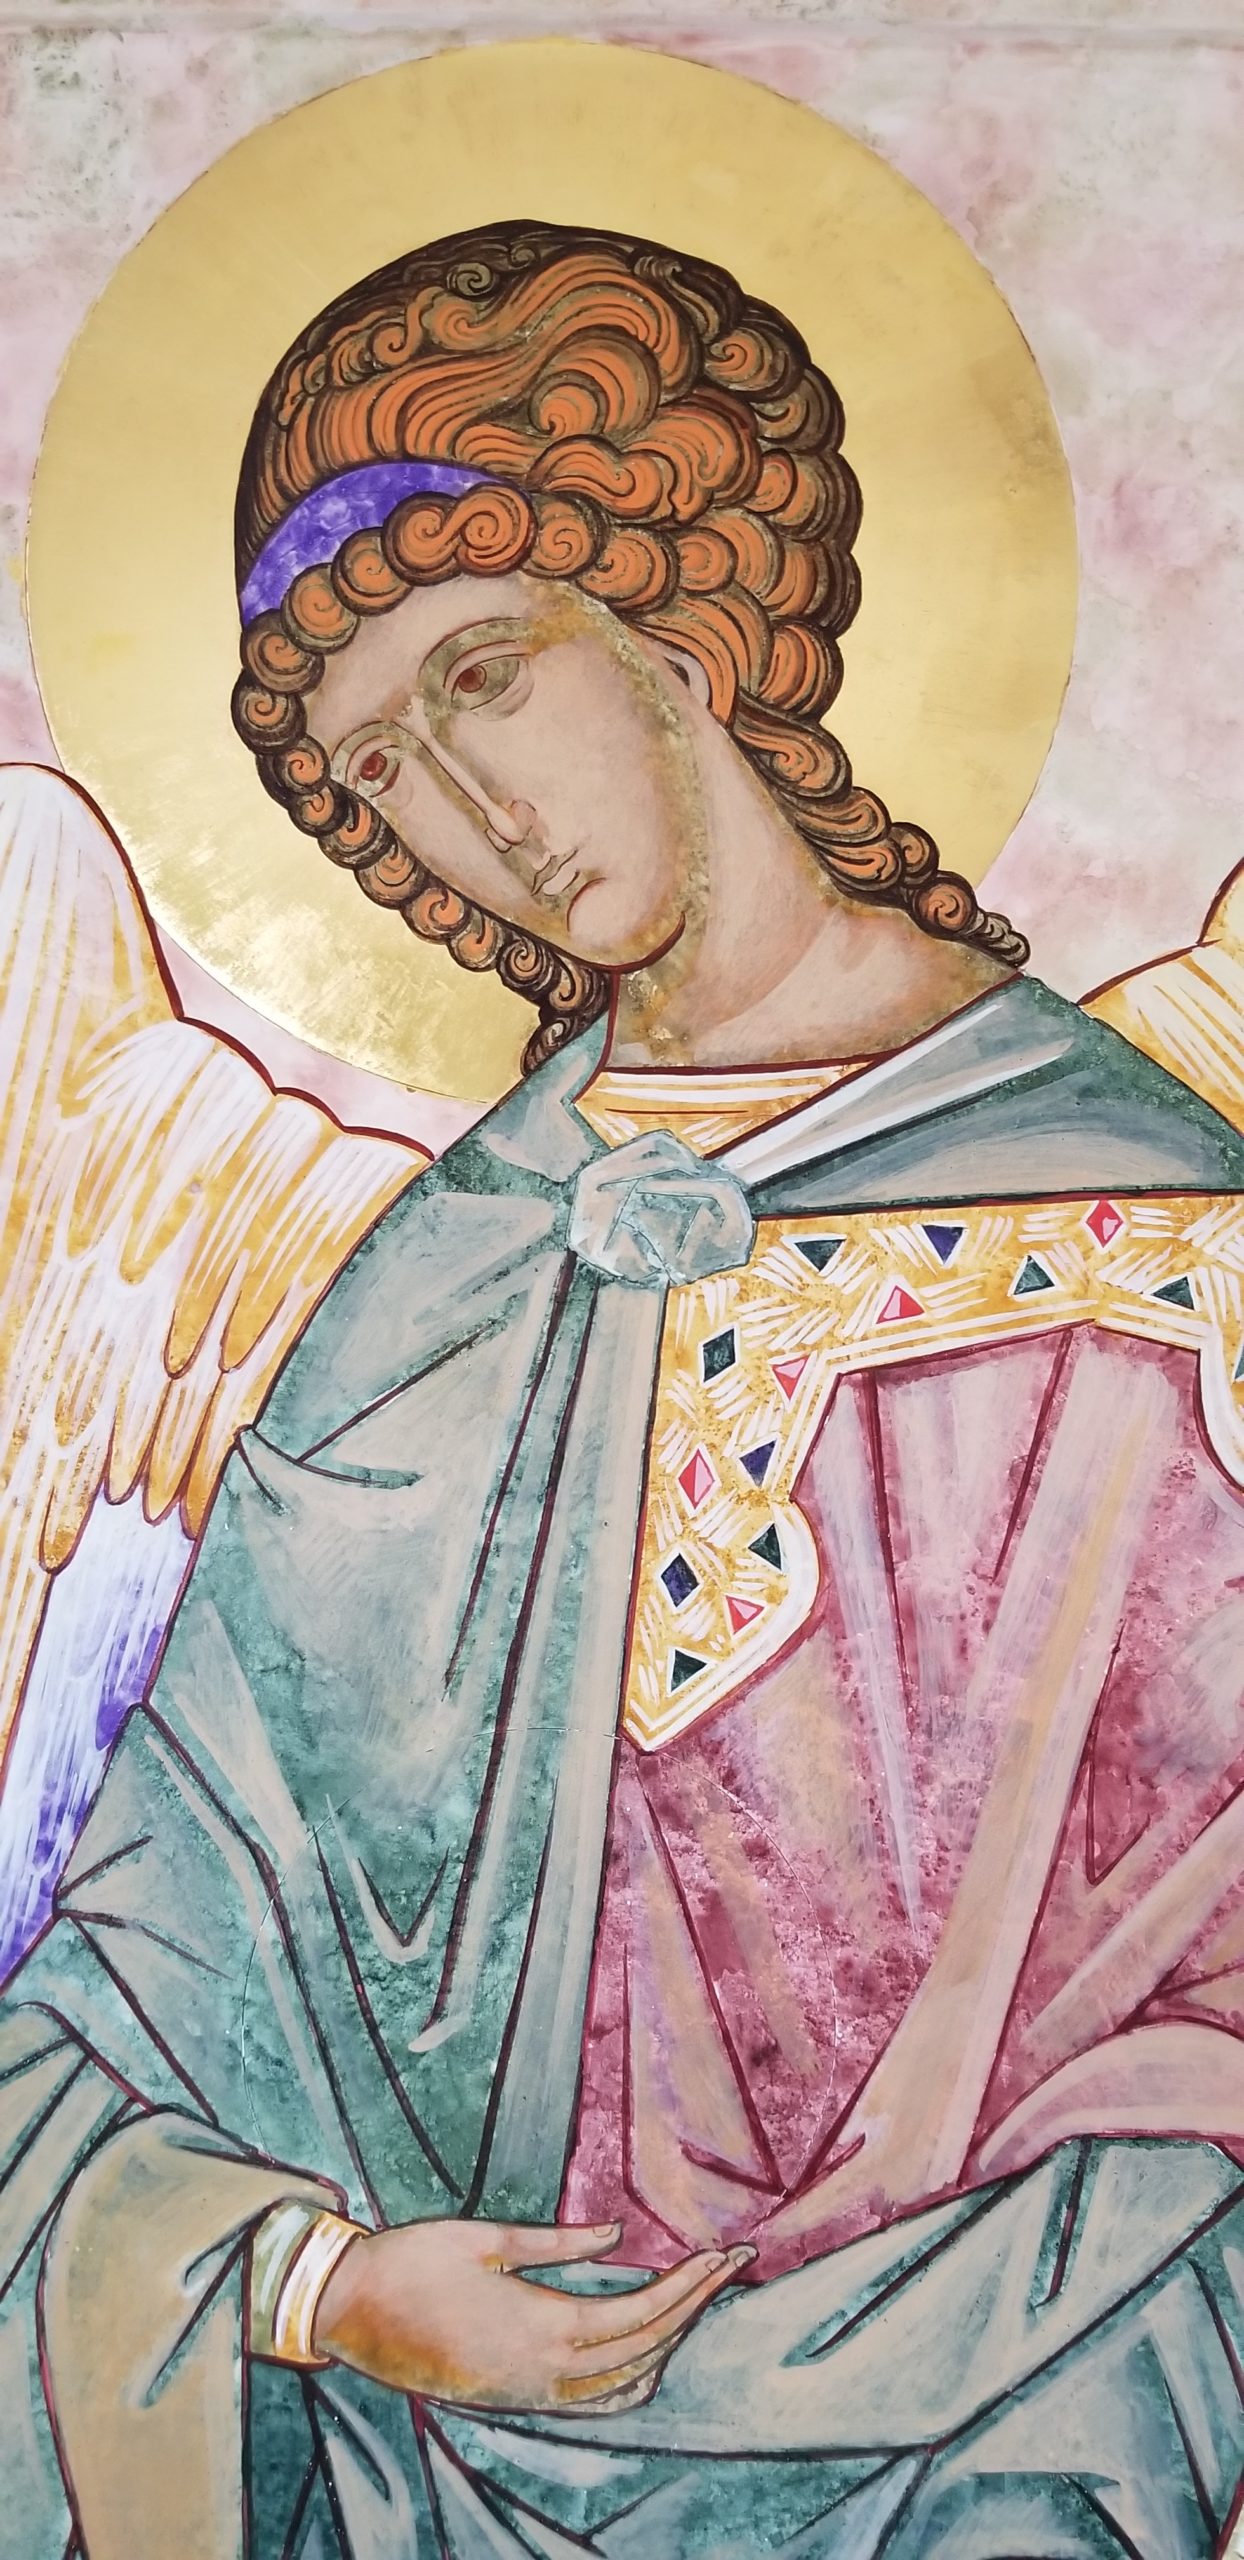
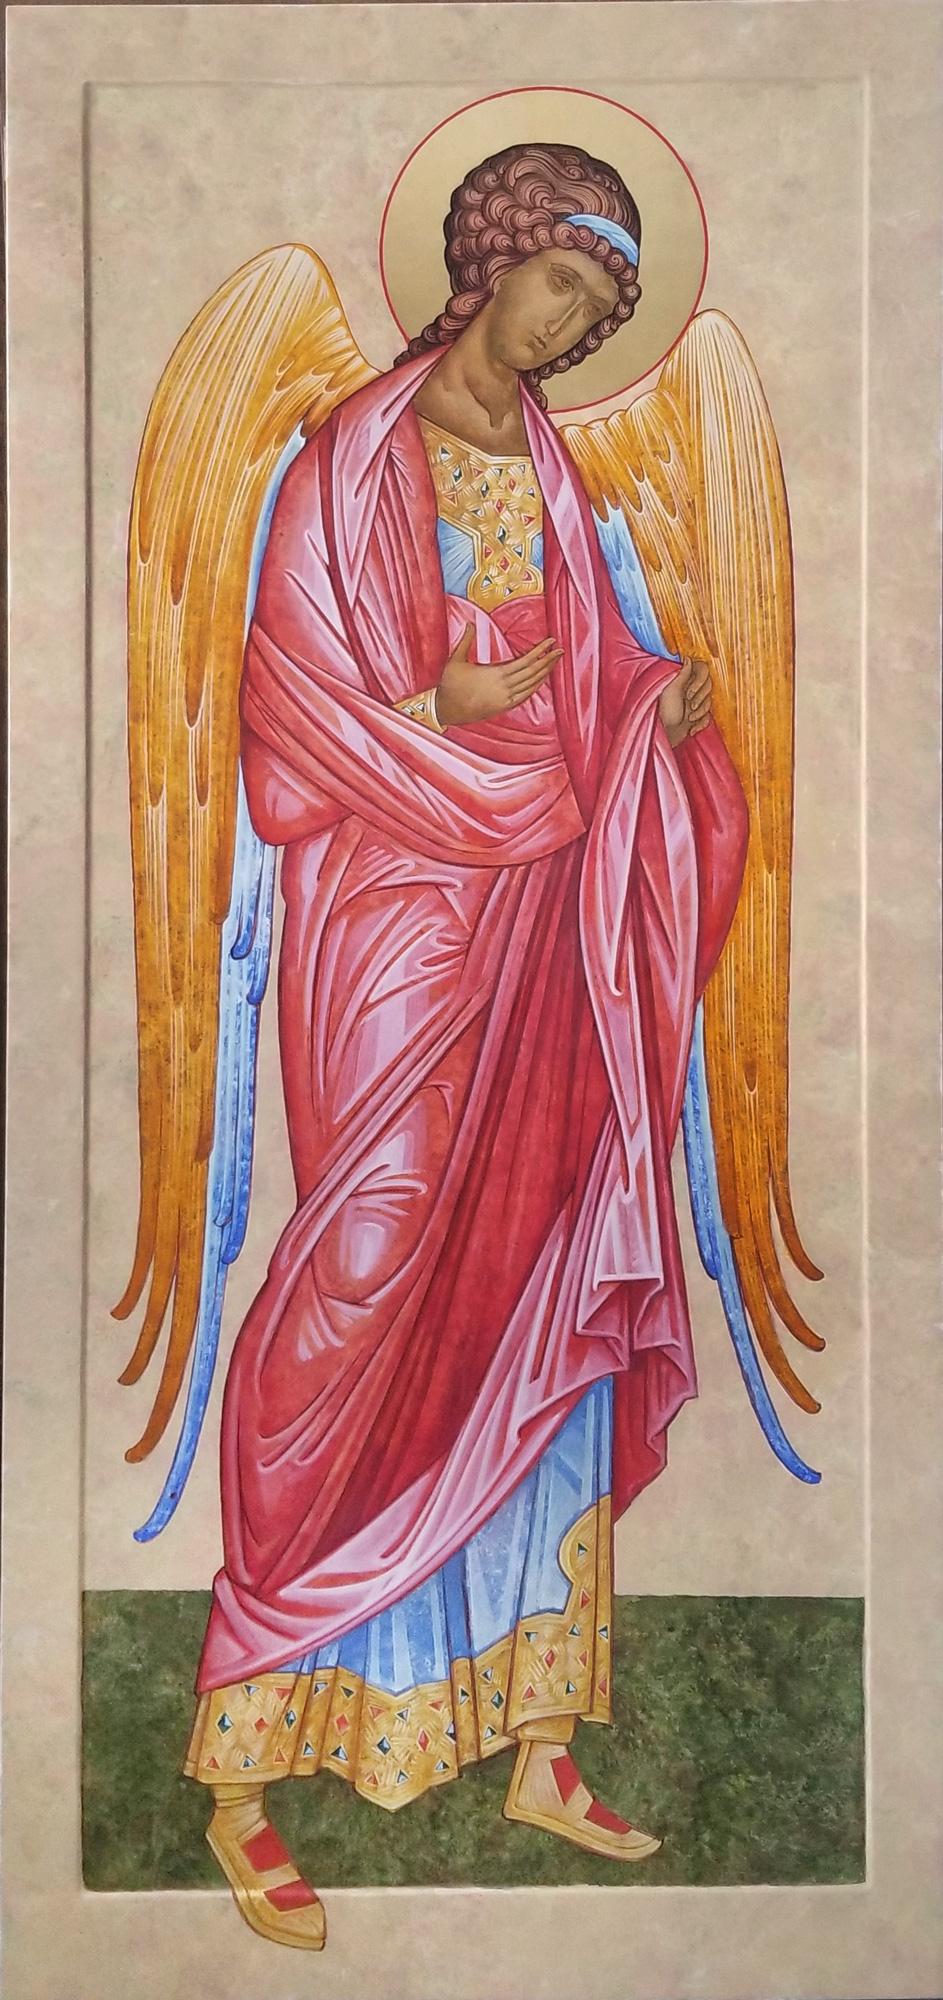
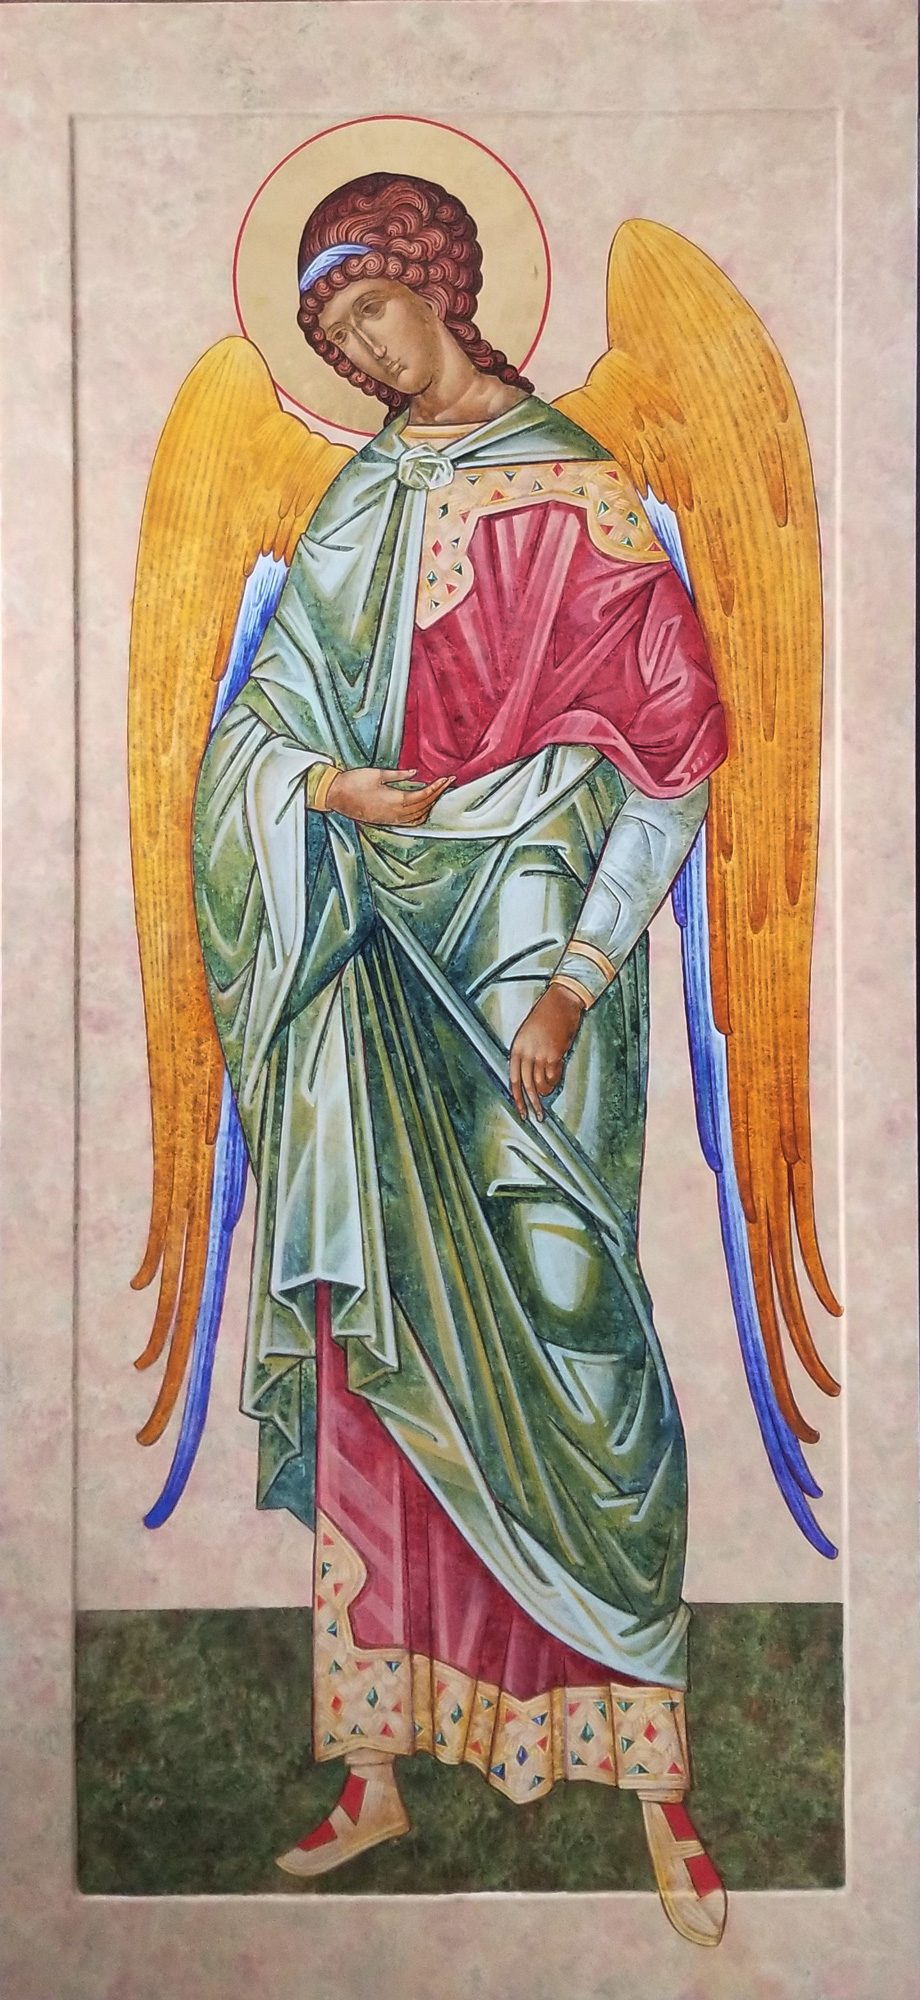
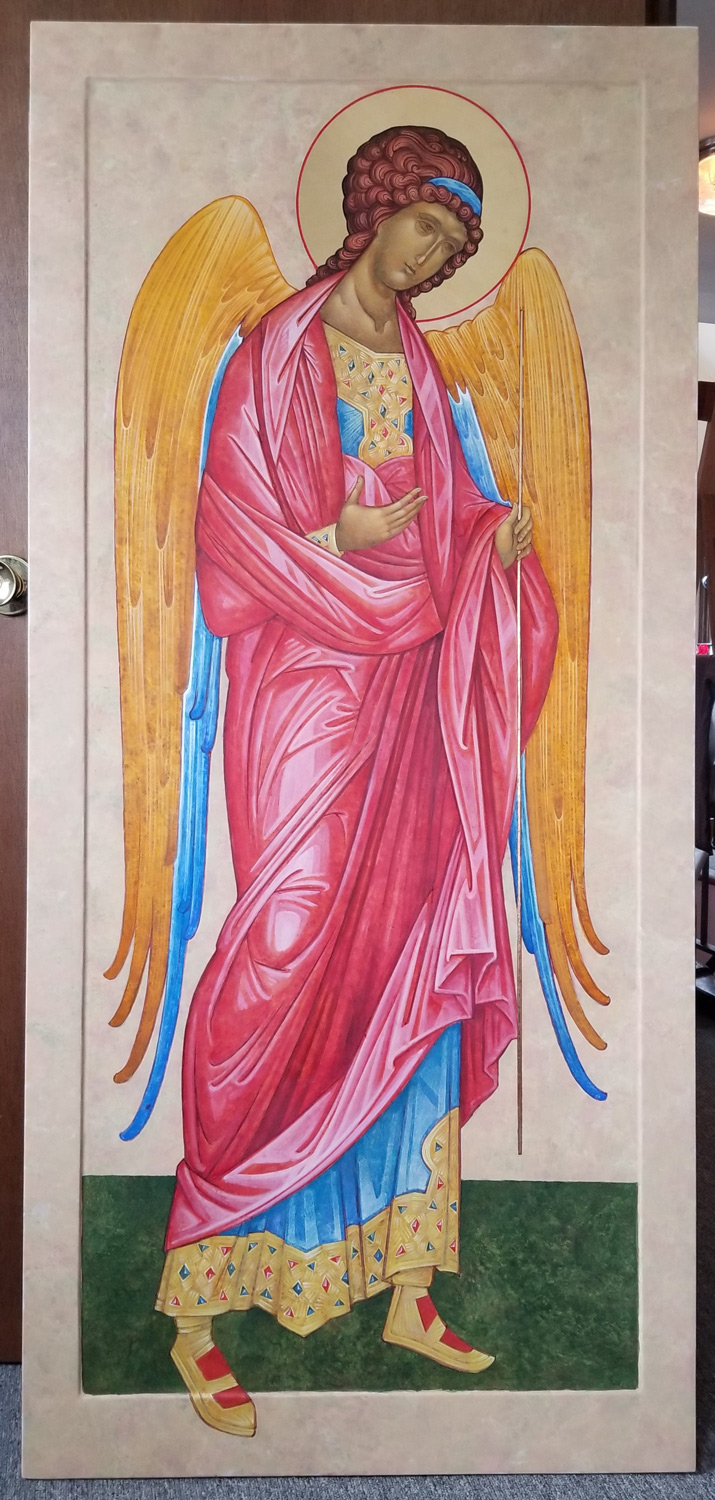
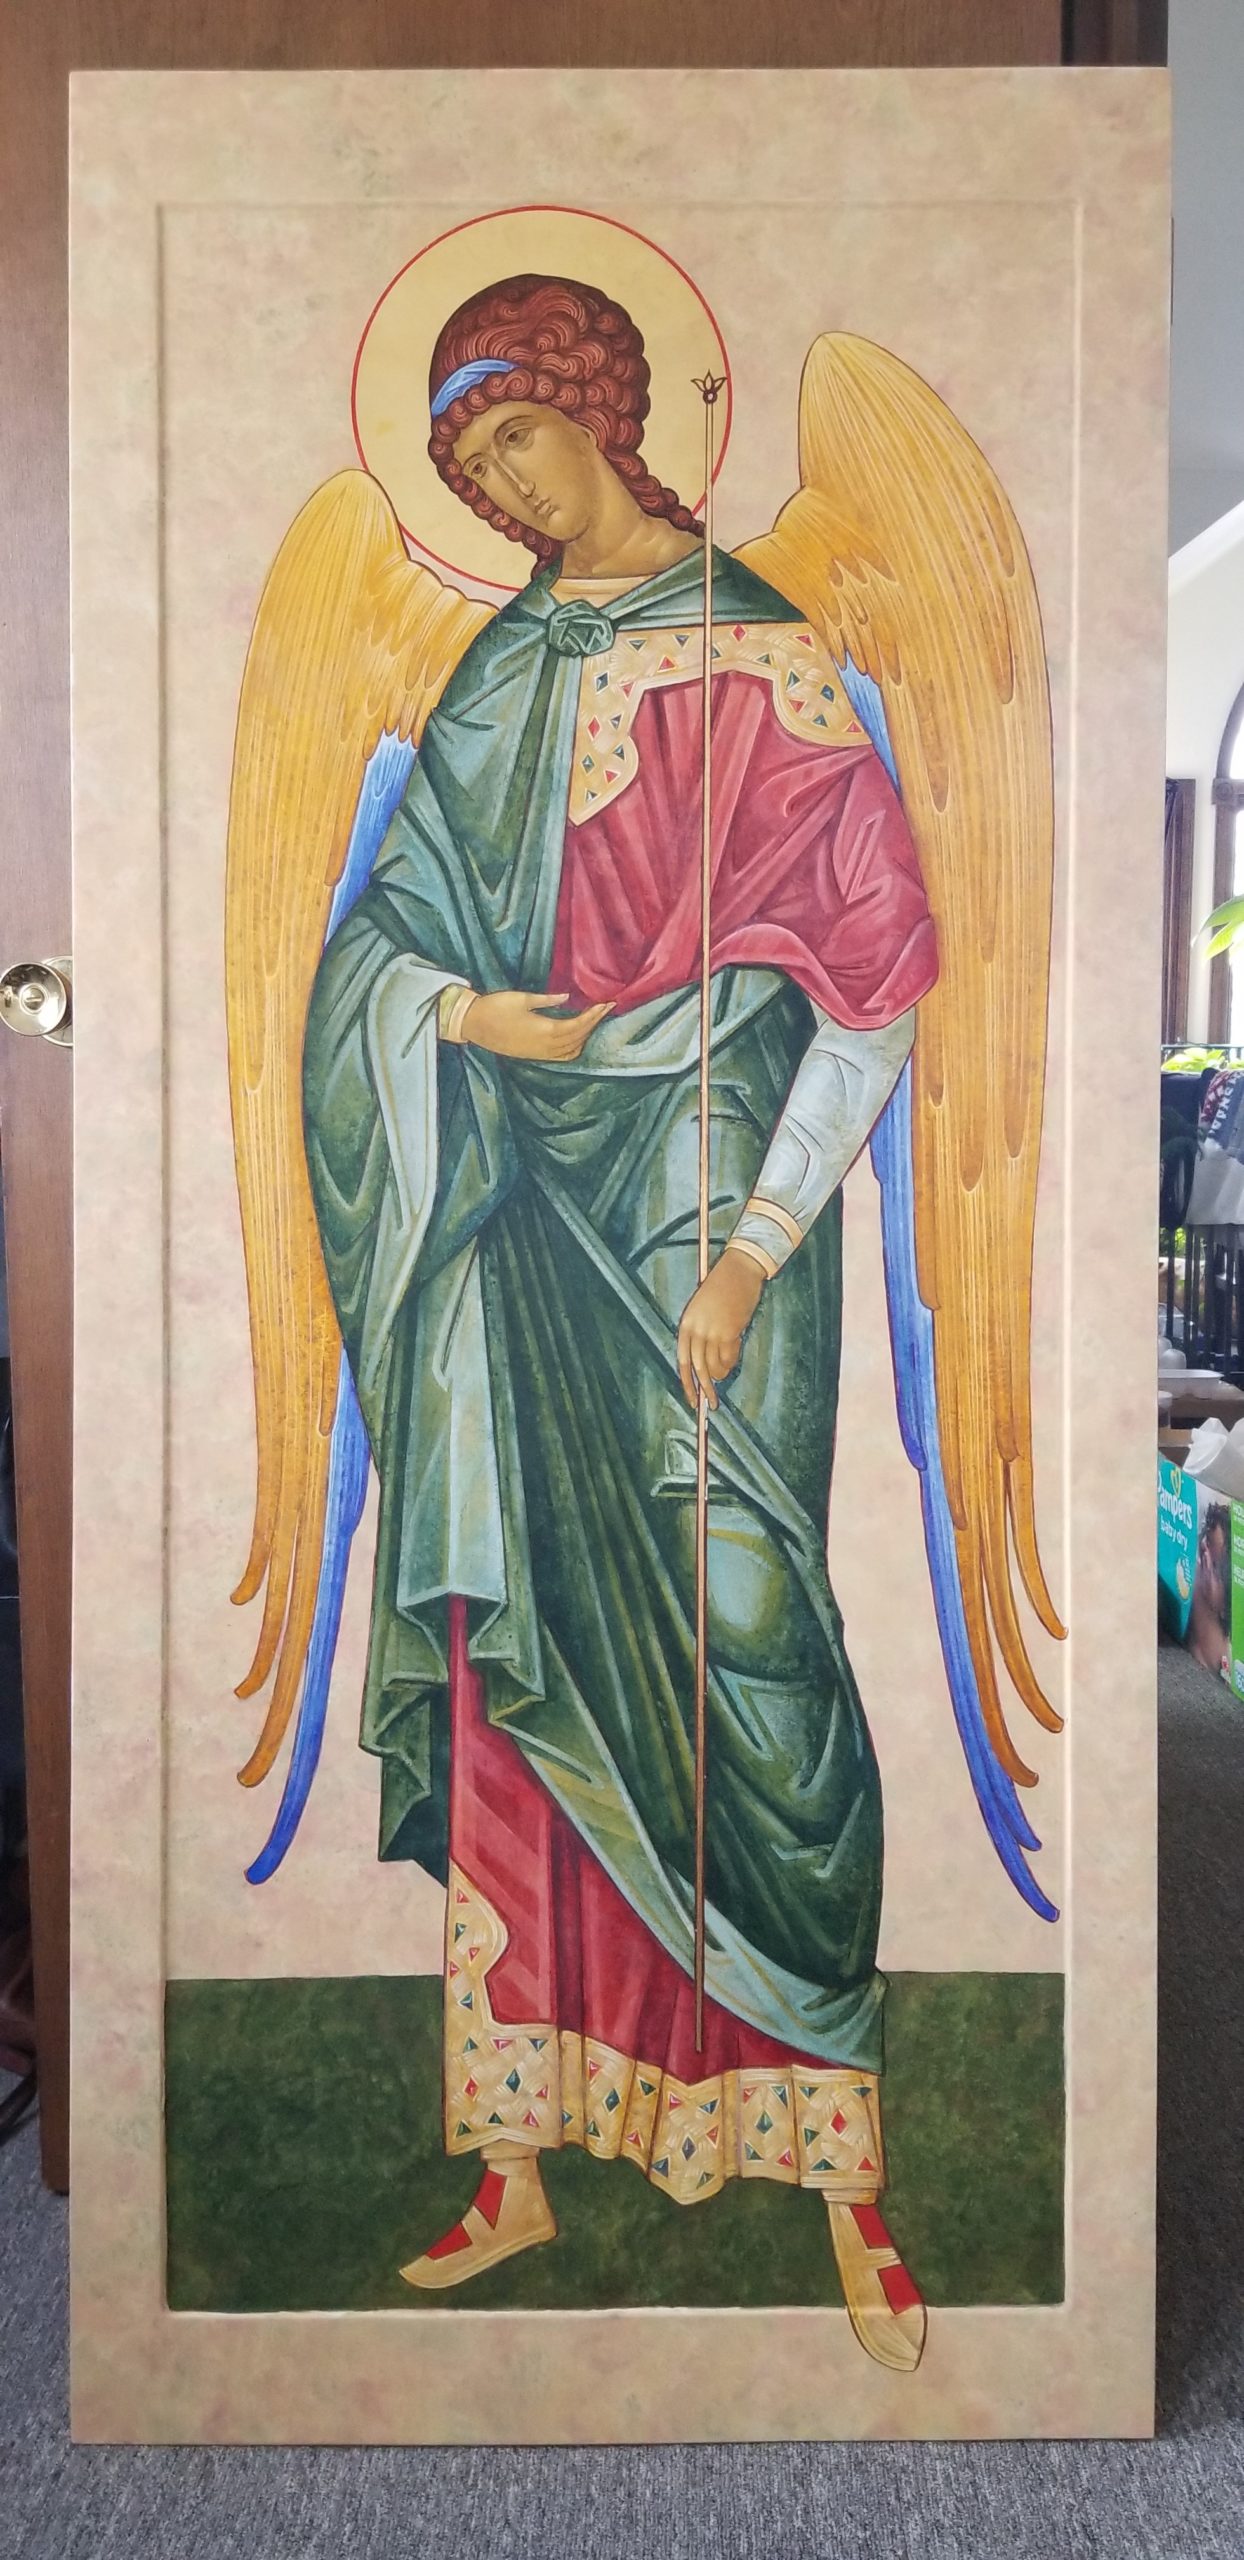
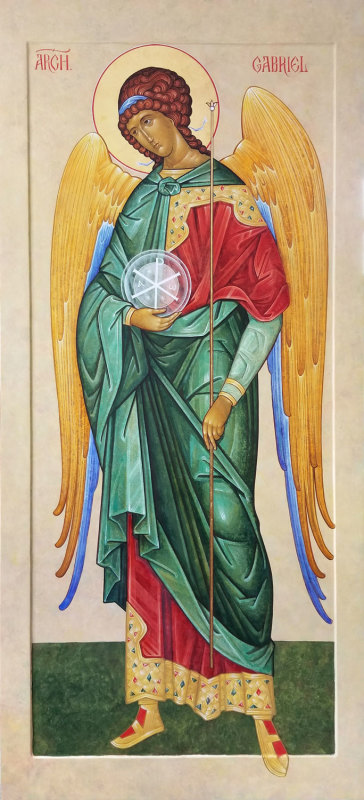
The floats can be very subtle or very strong. For Achangel Michael they are difficult to picture, but for Archangel Gabriel they are very apparent.
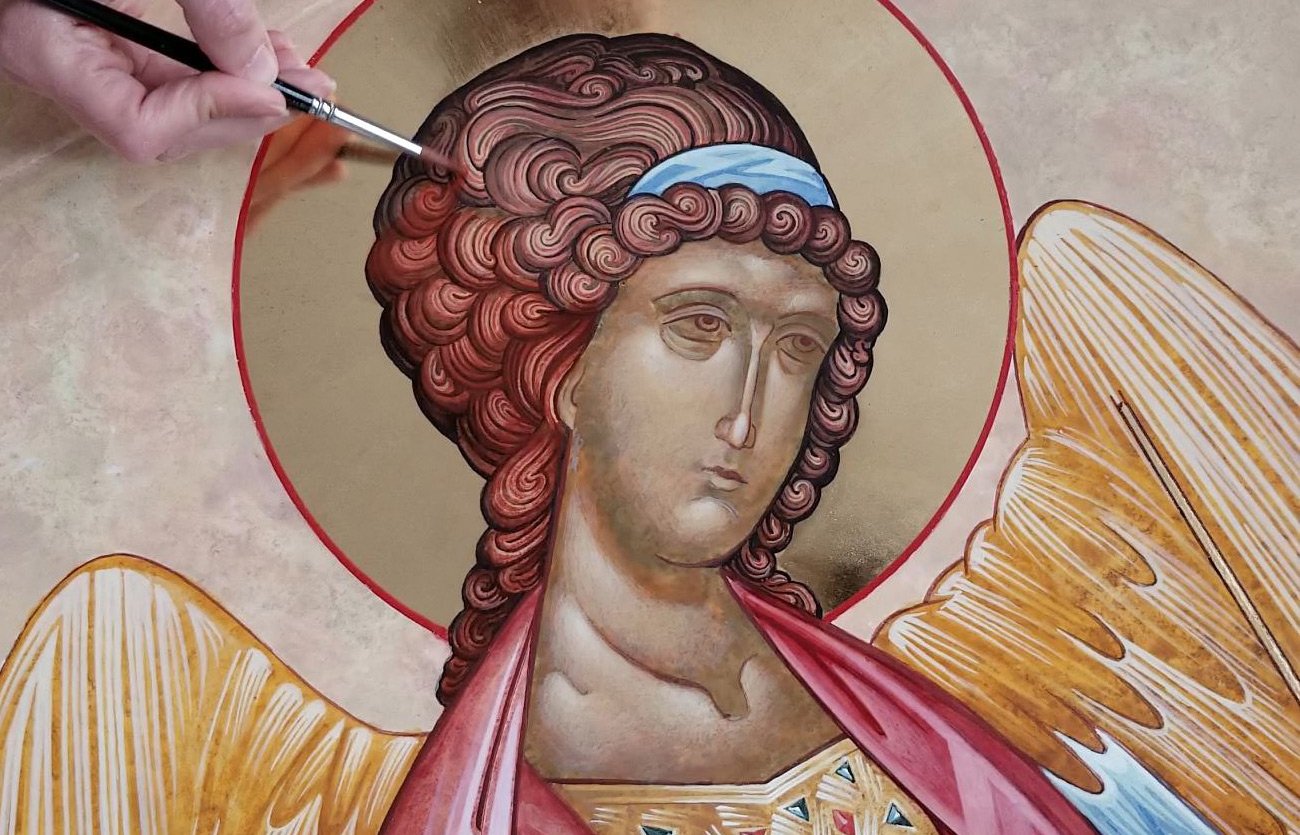
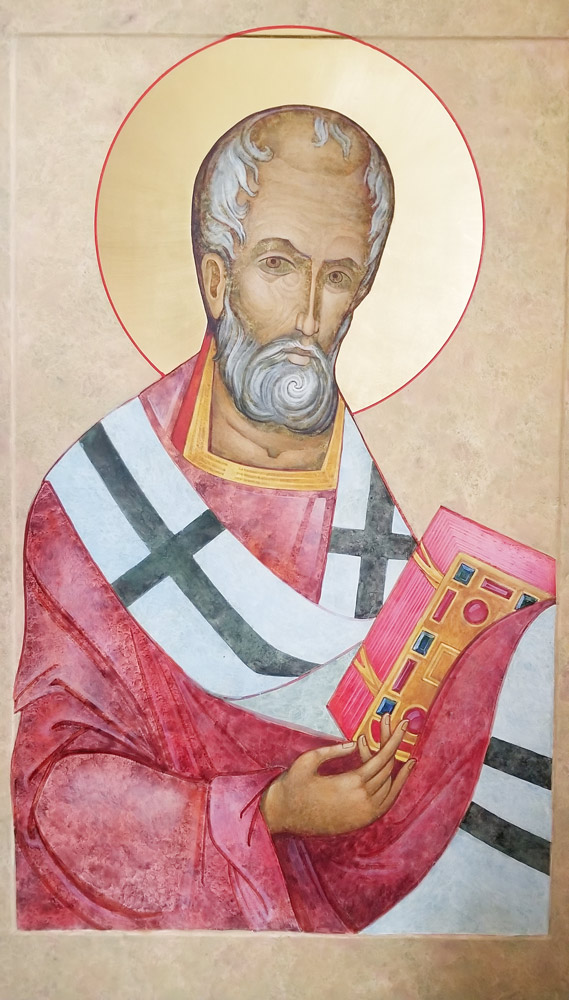
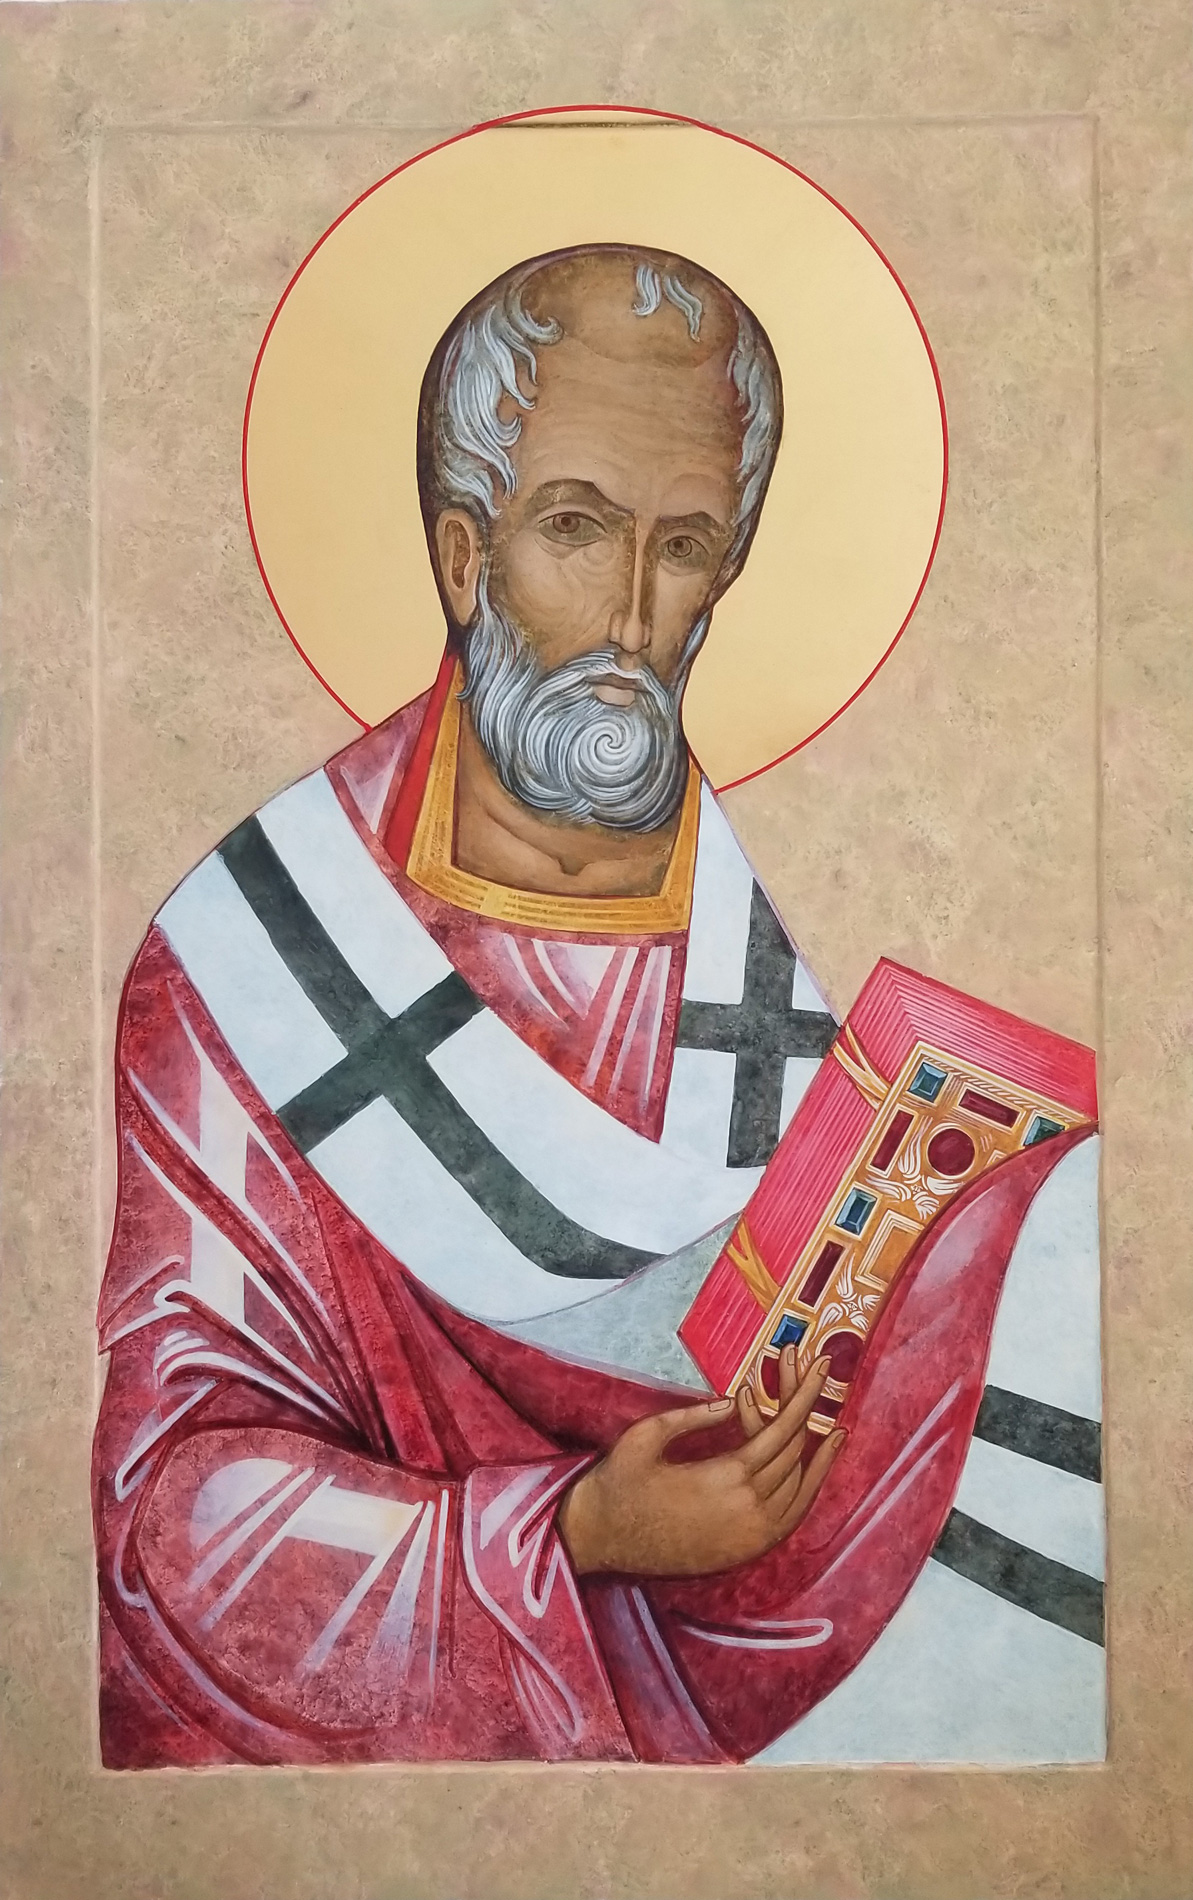
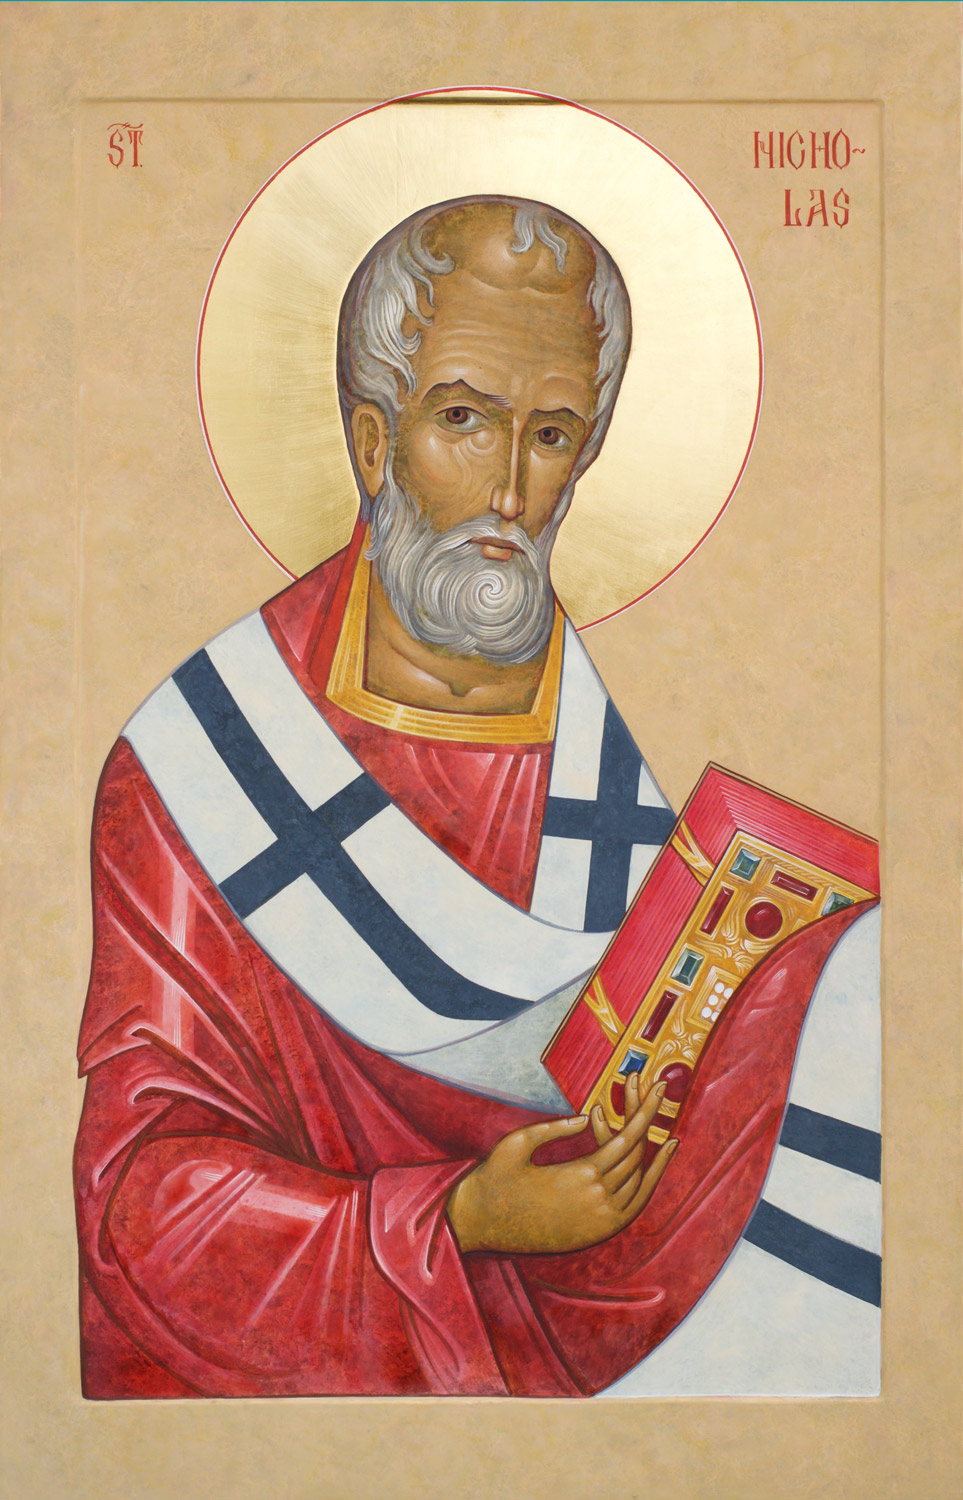
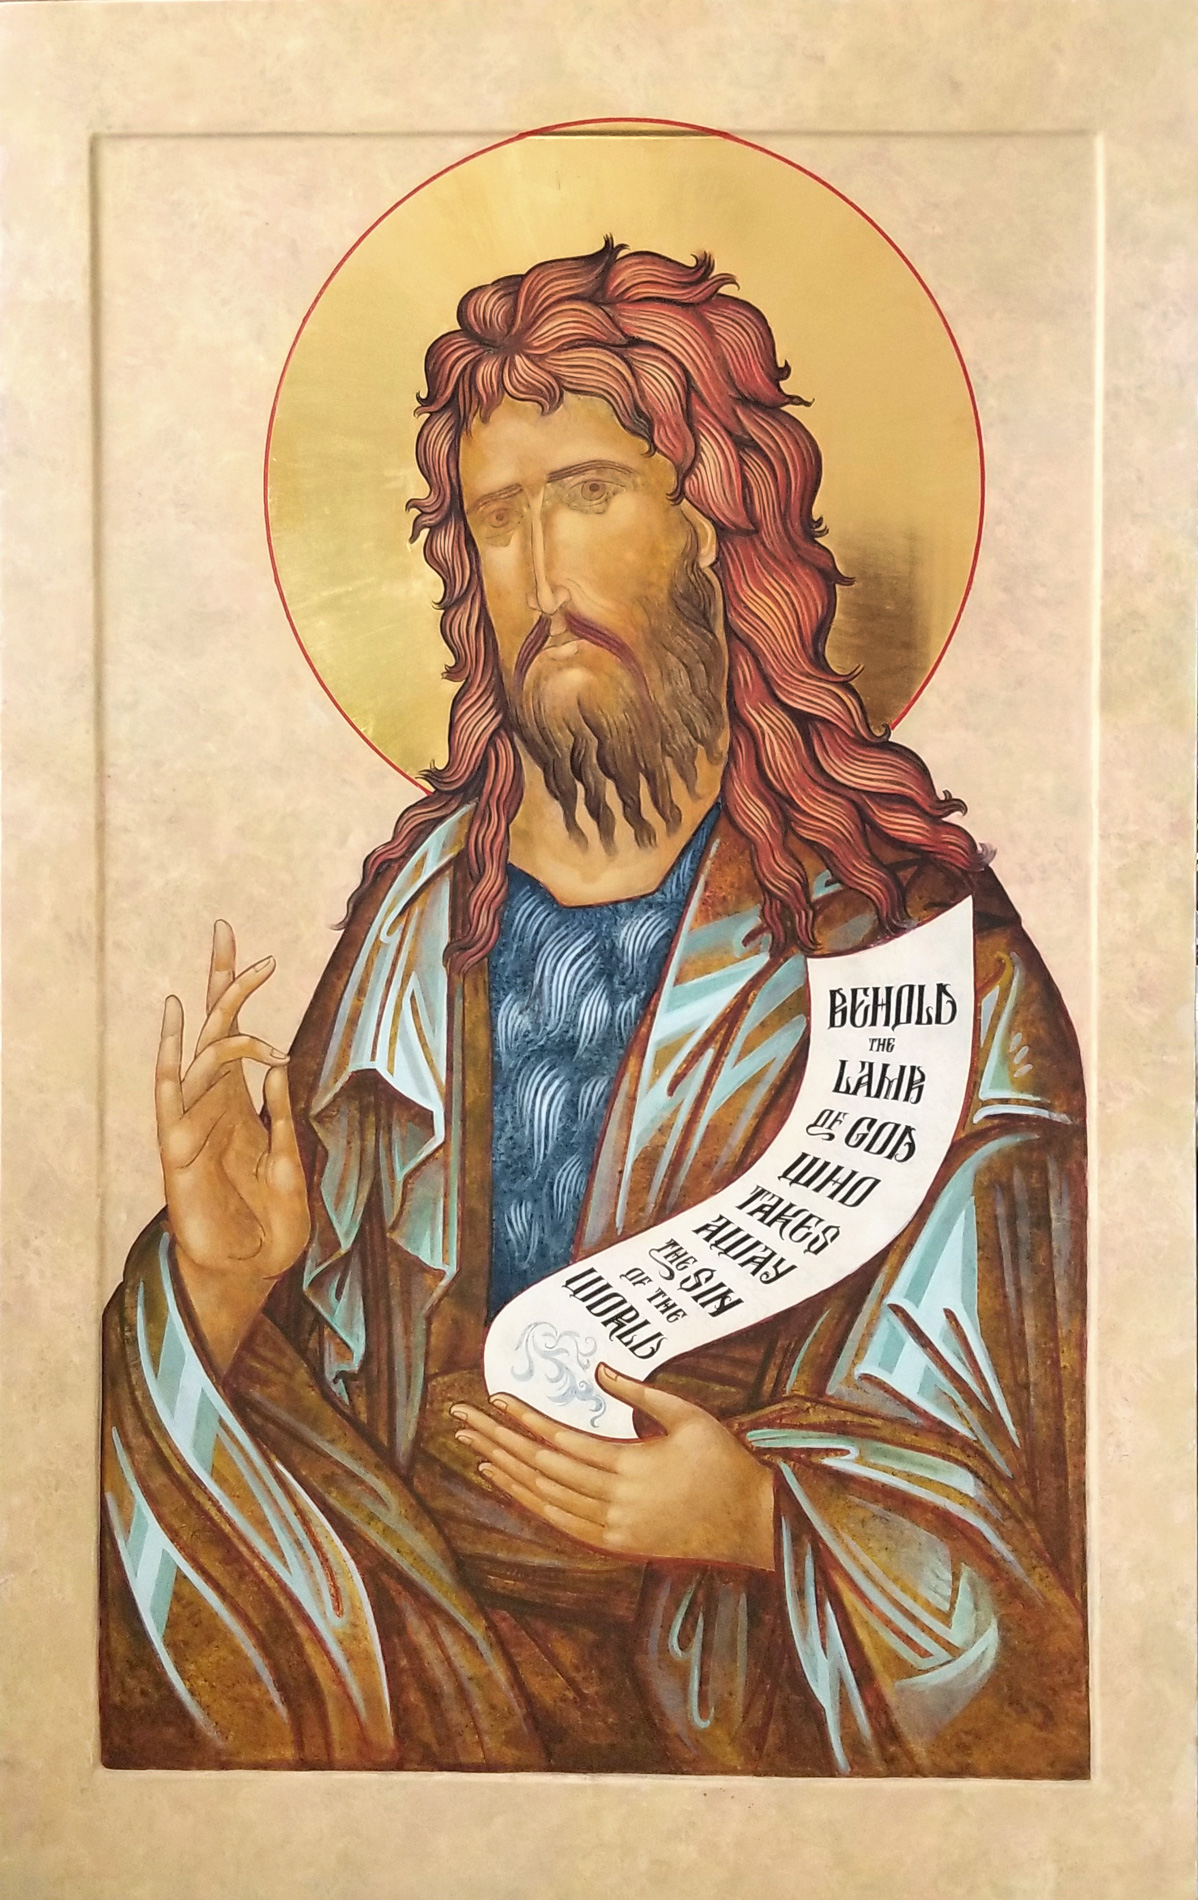
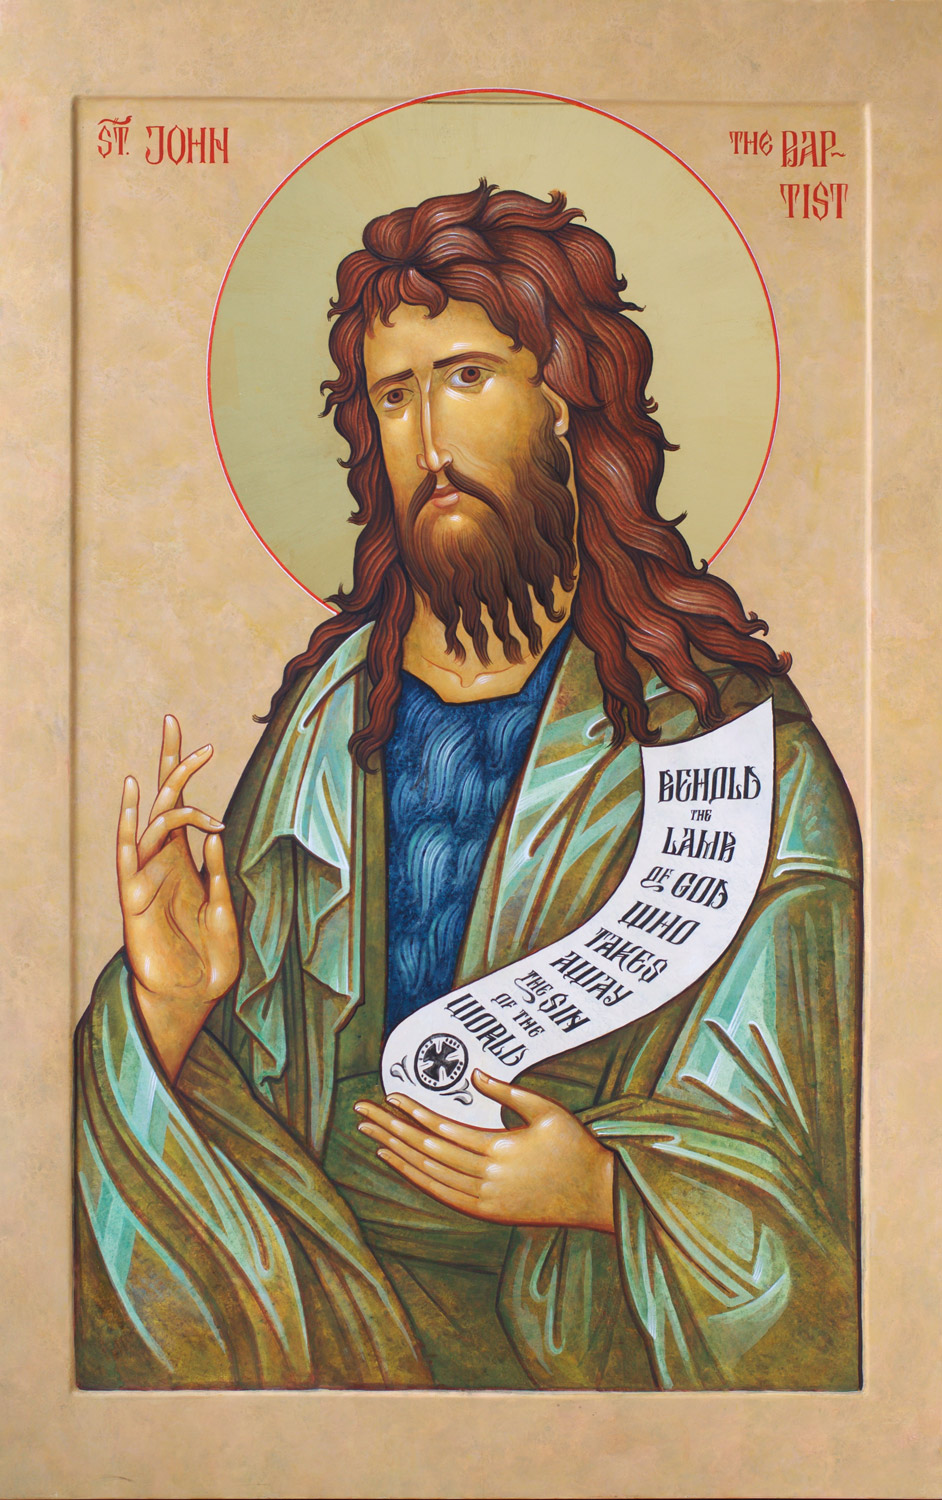
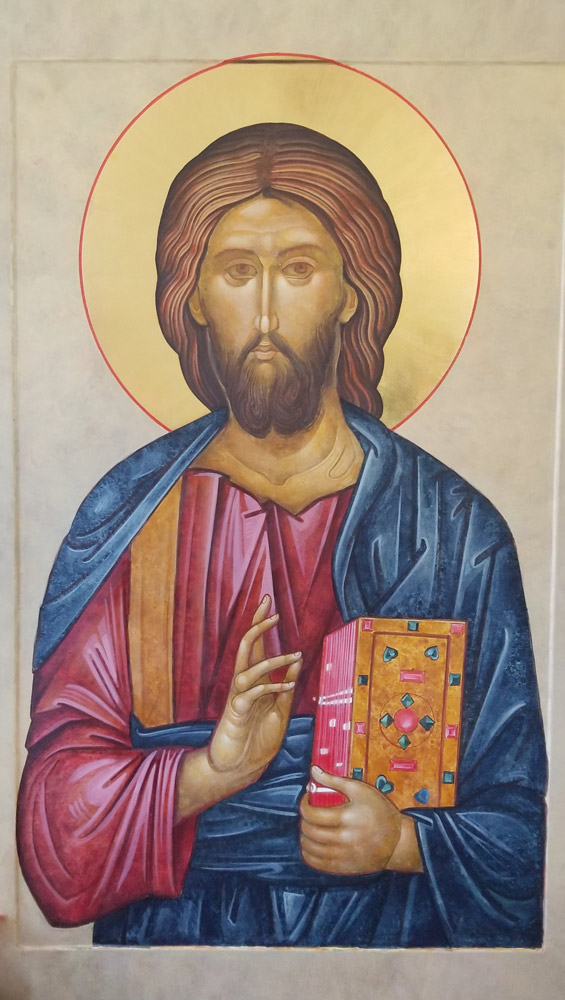
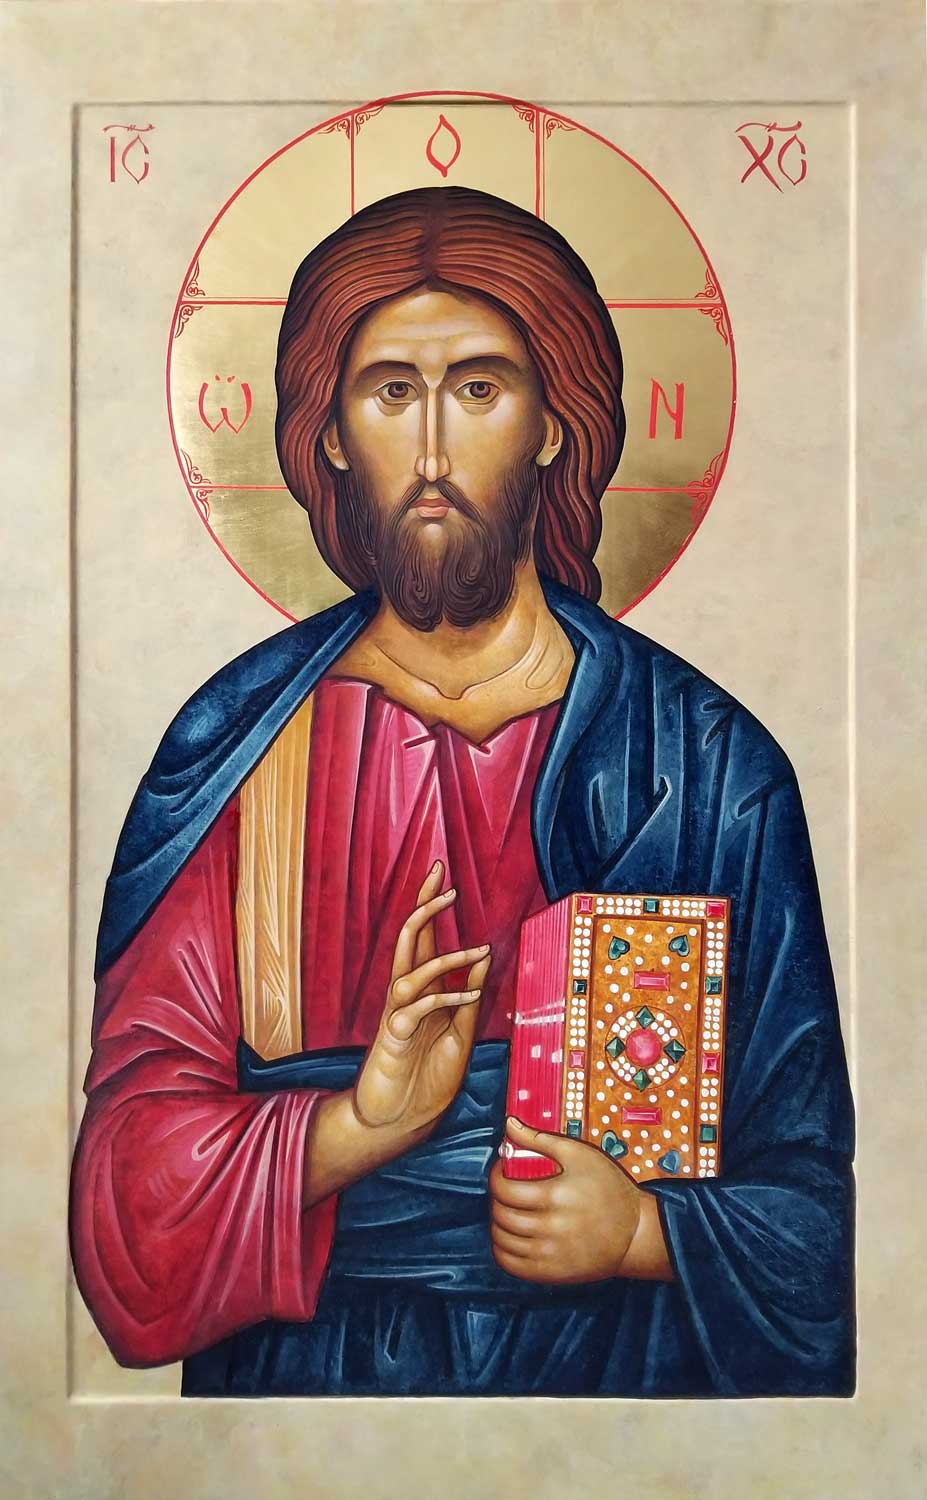
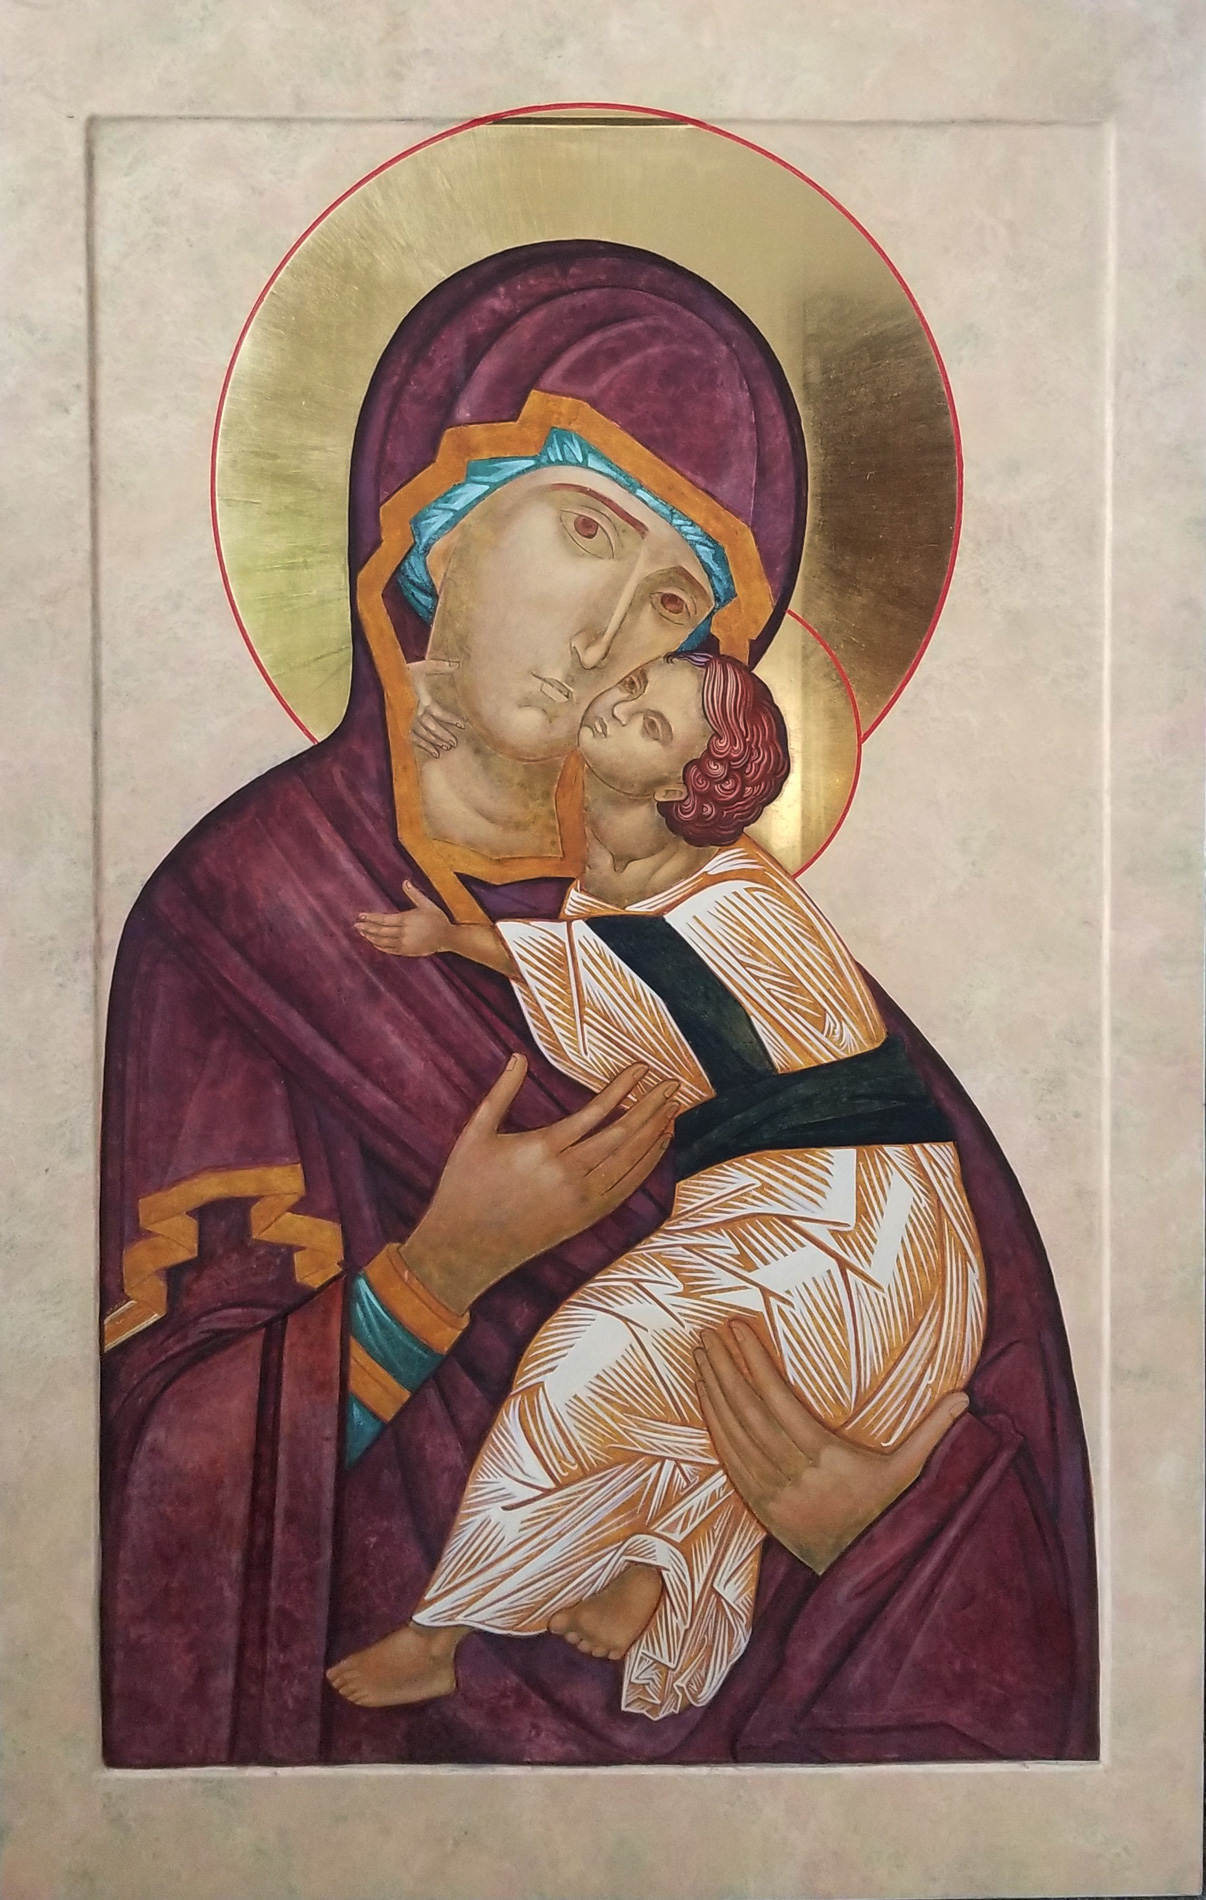
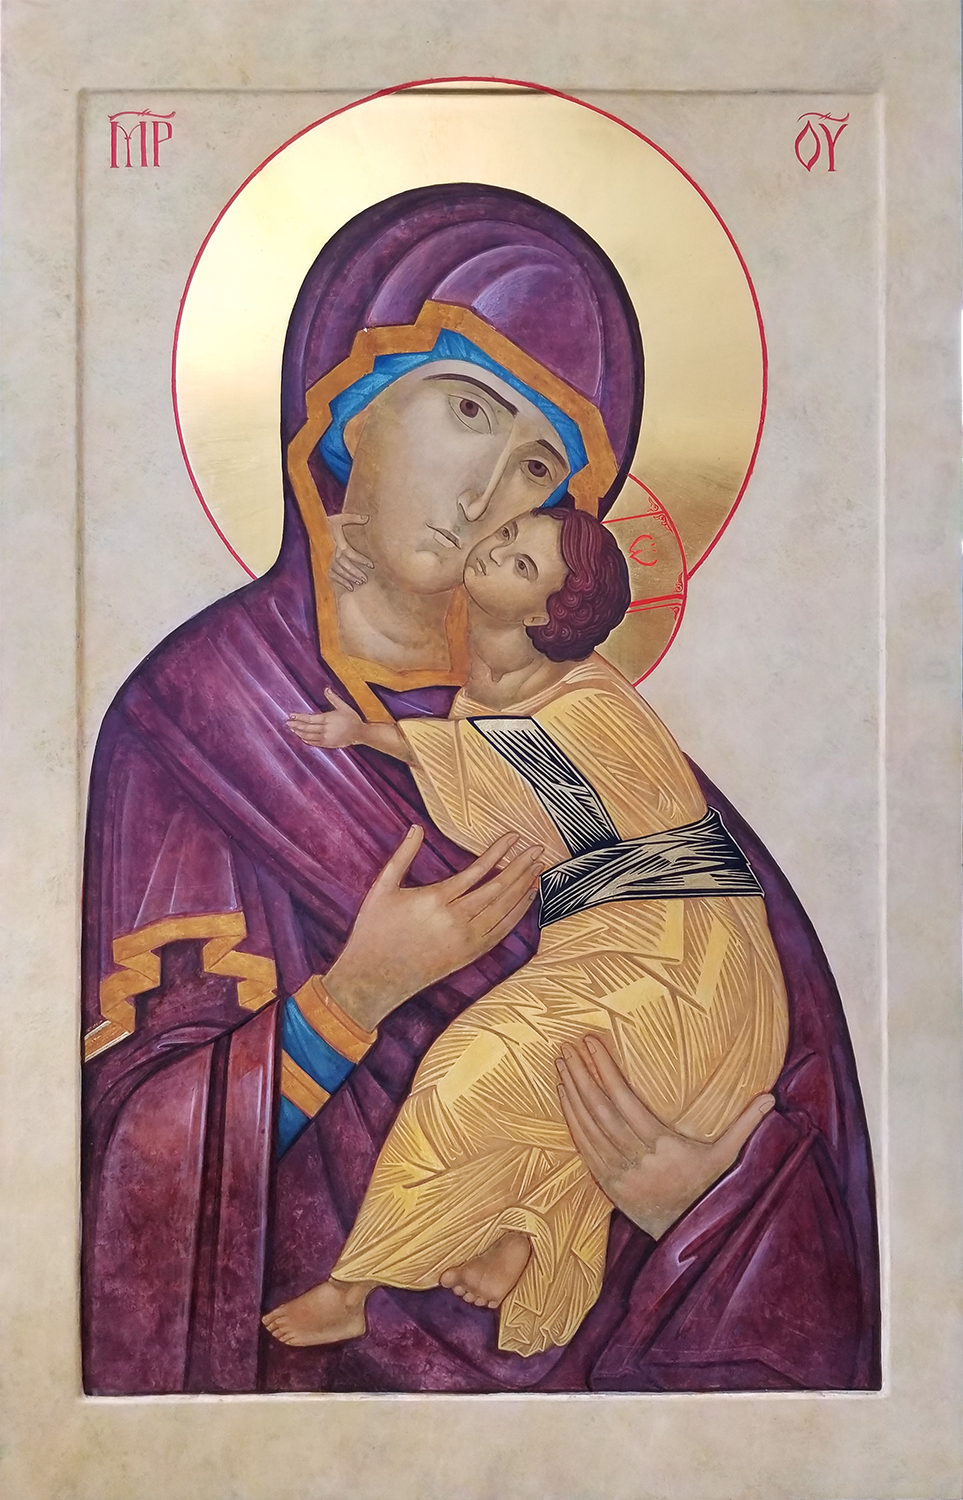
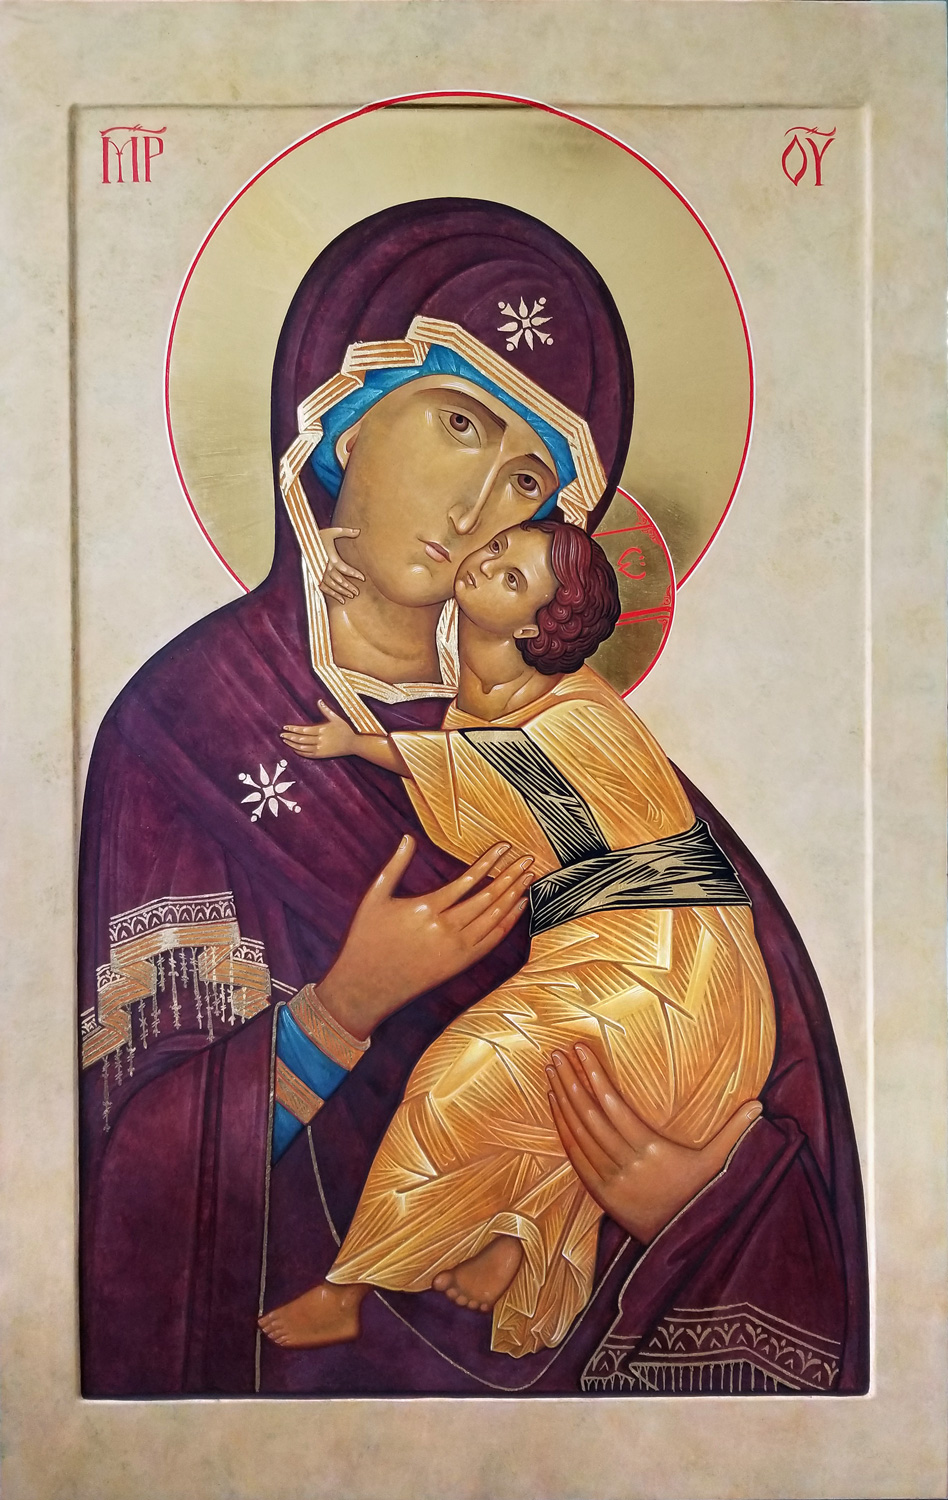
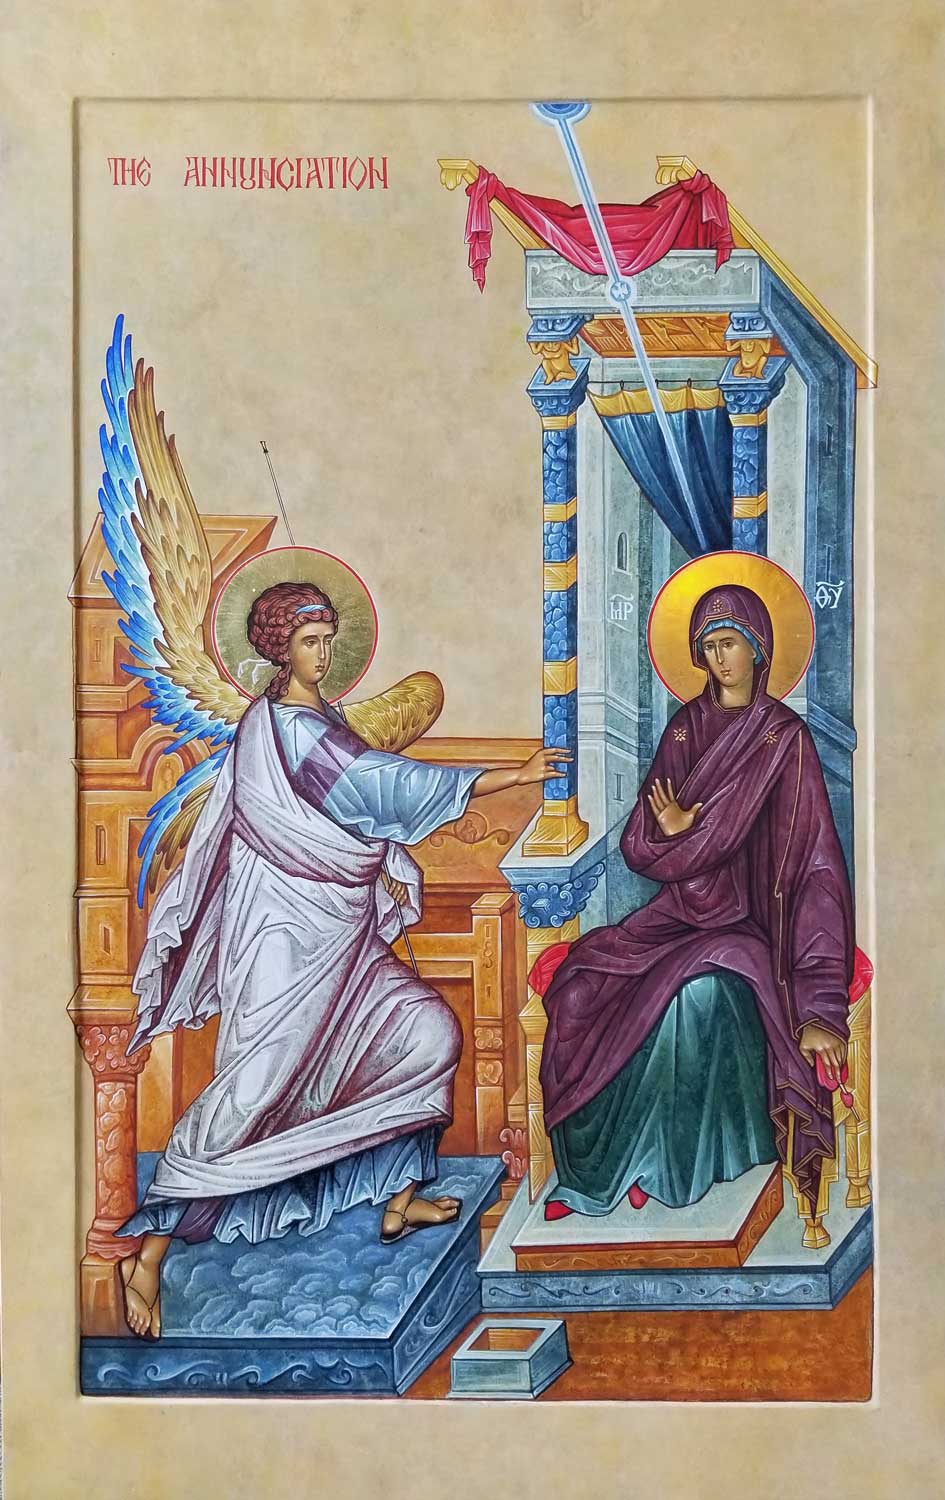
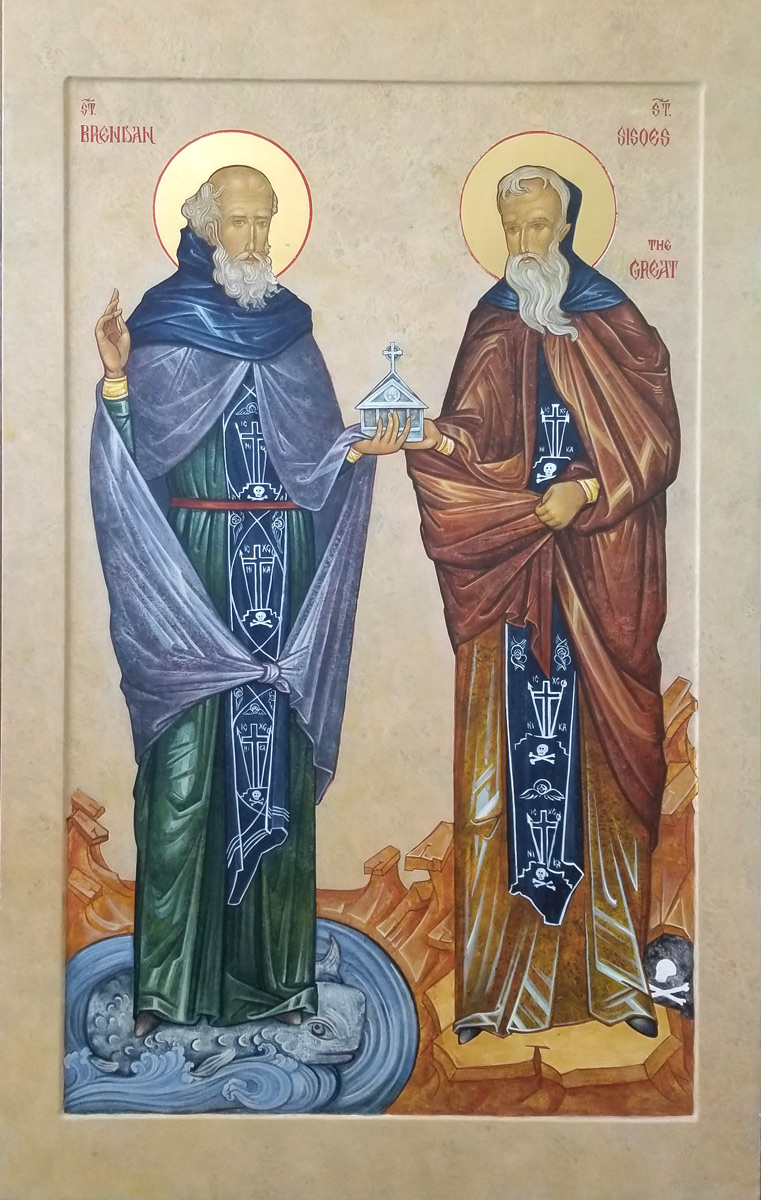
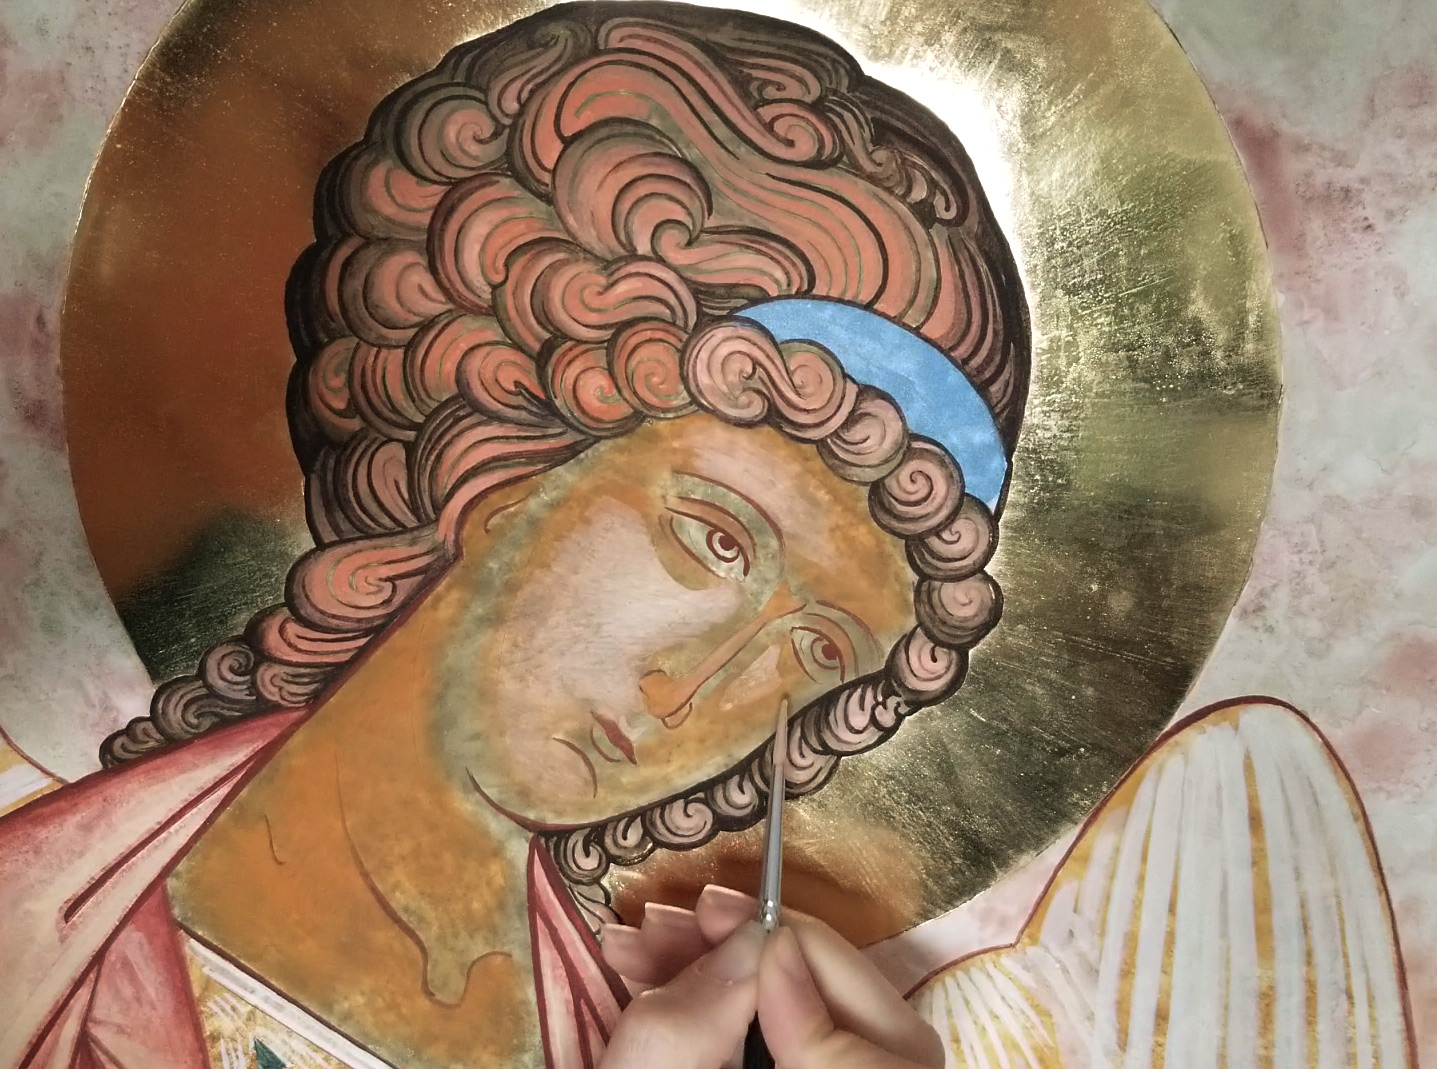
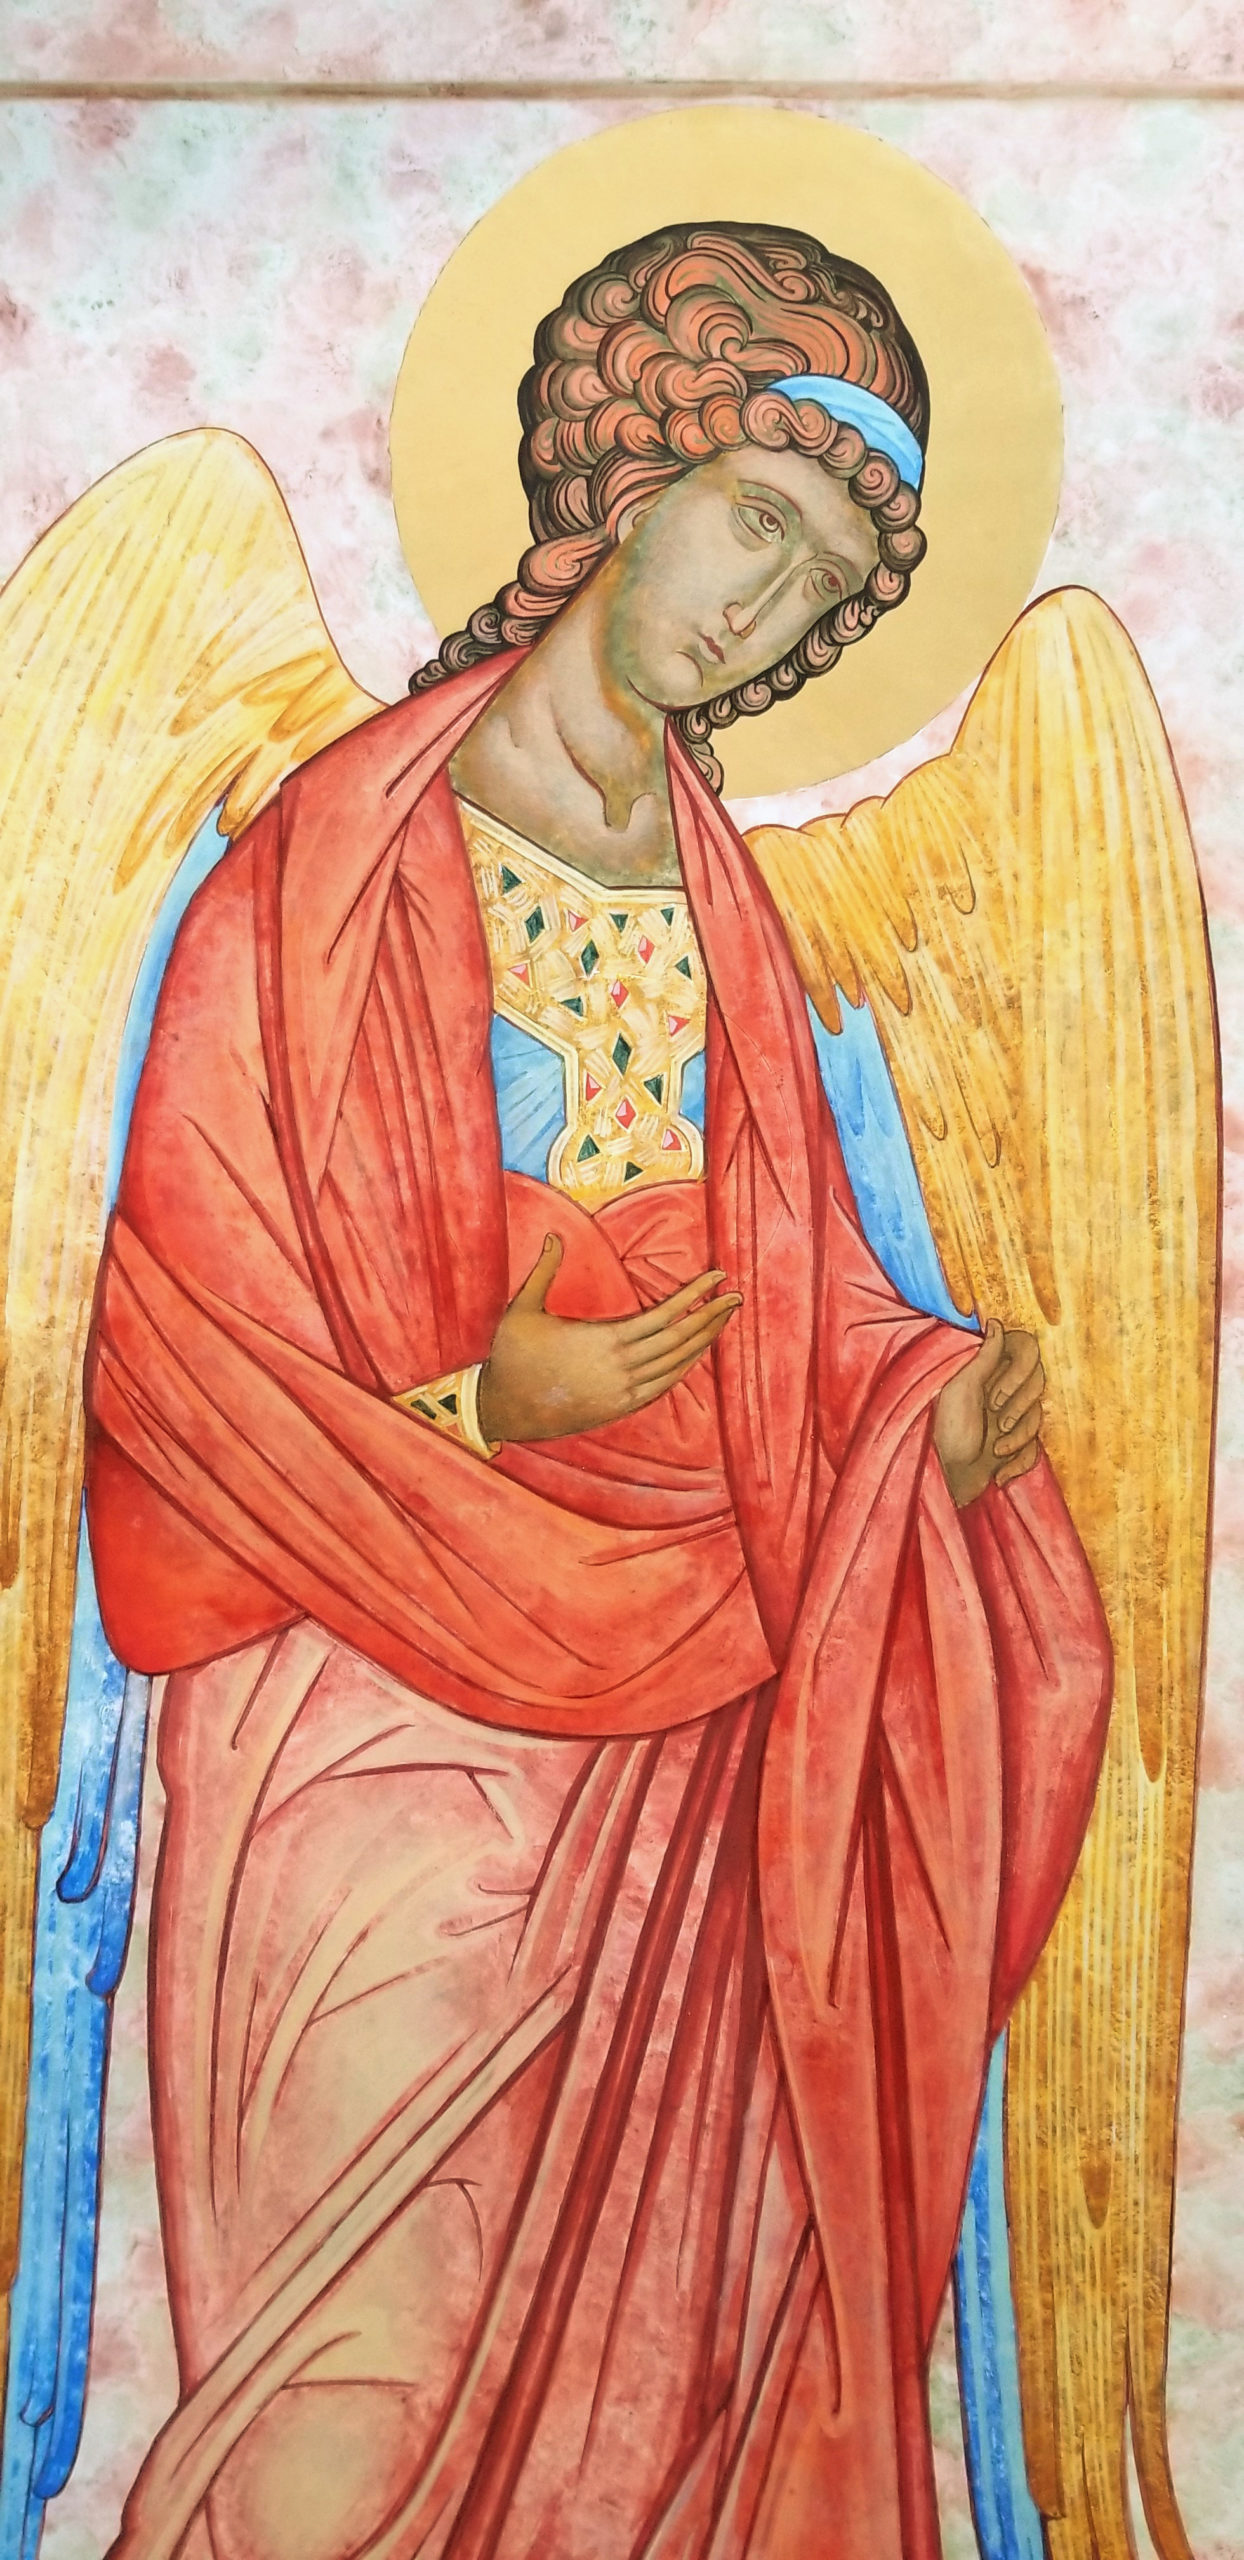
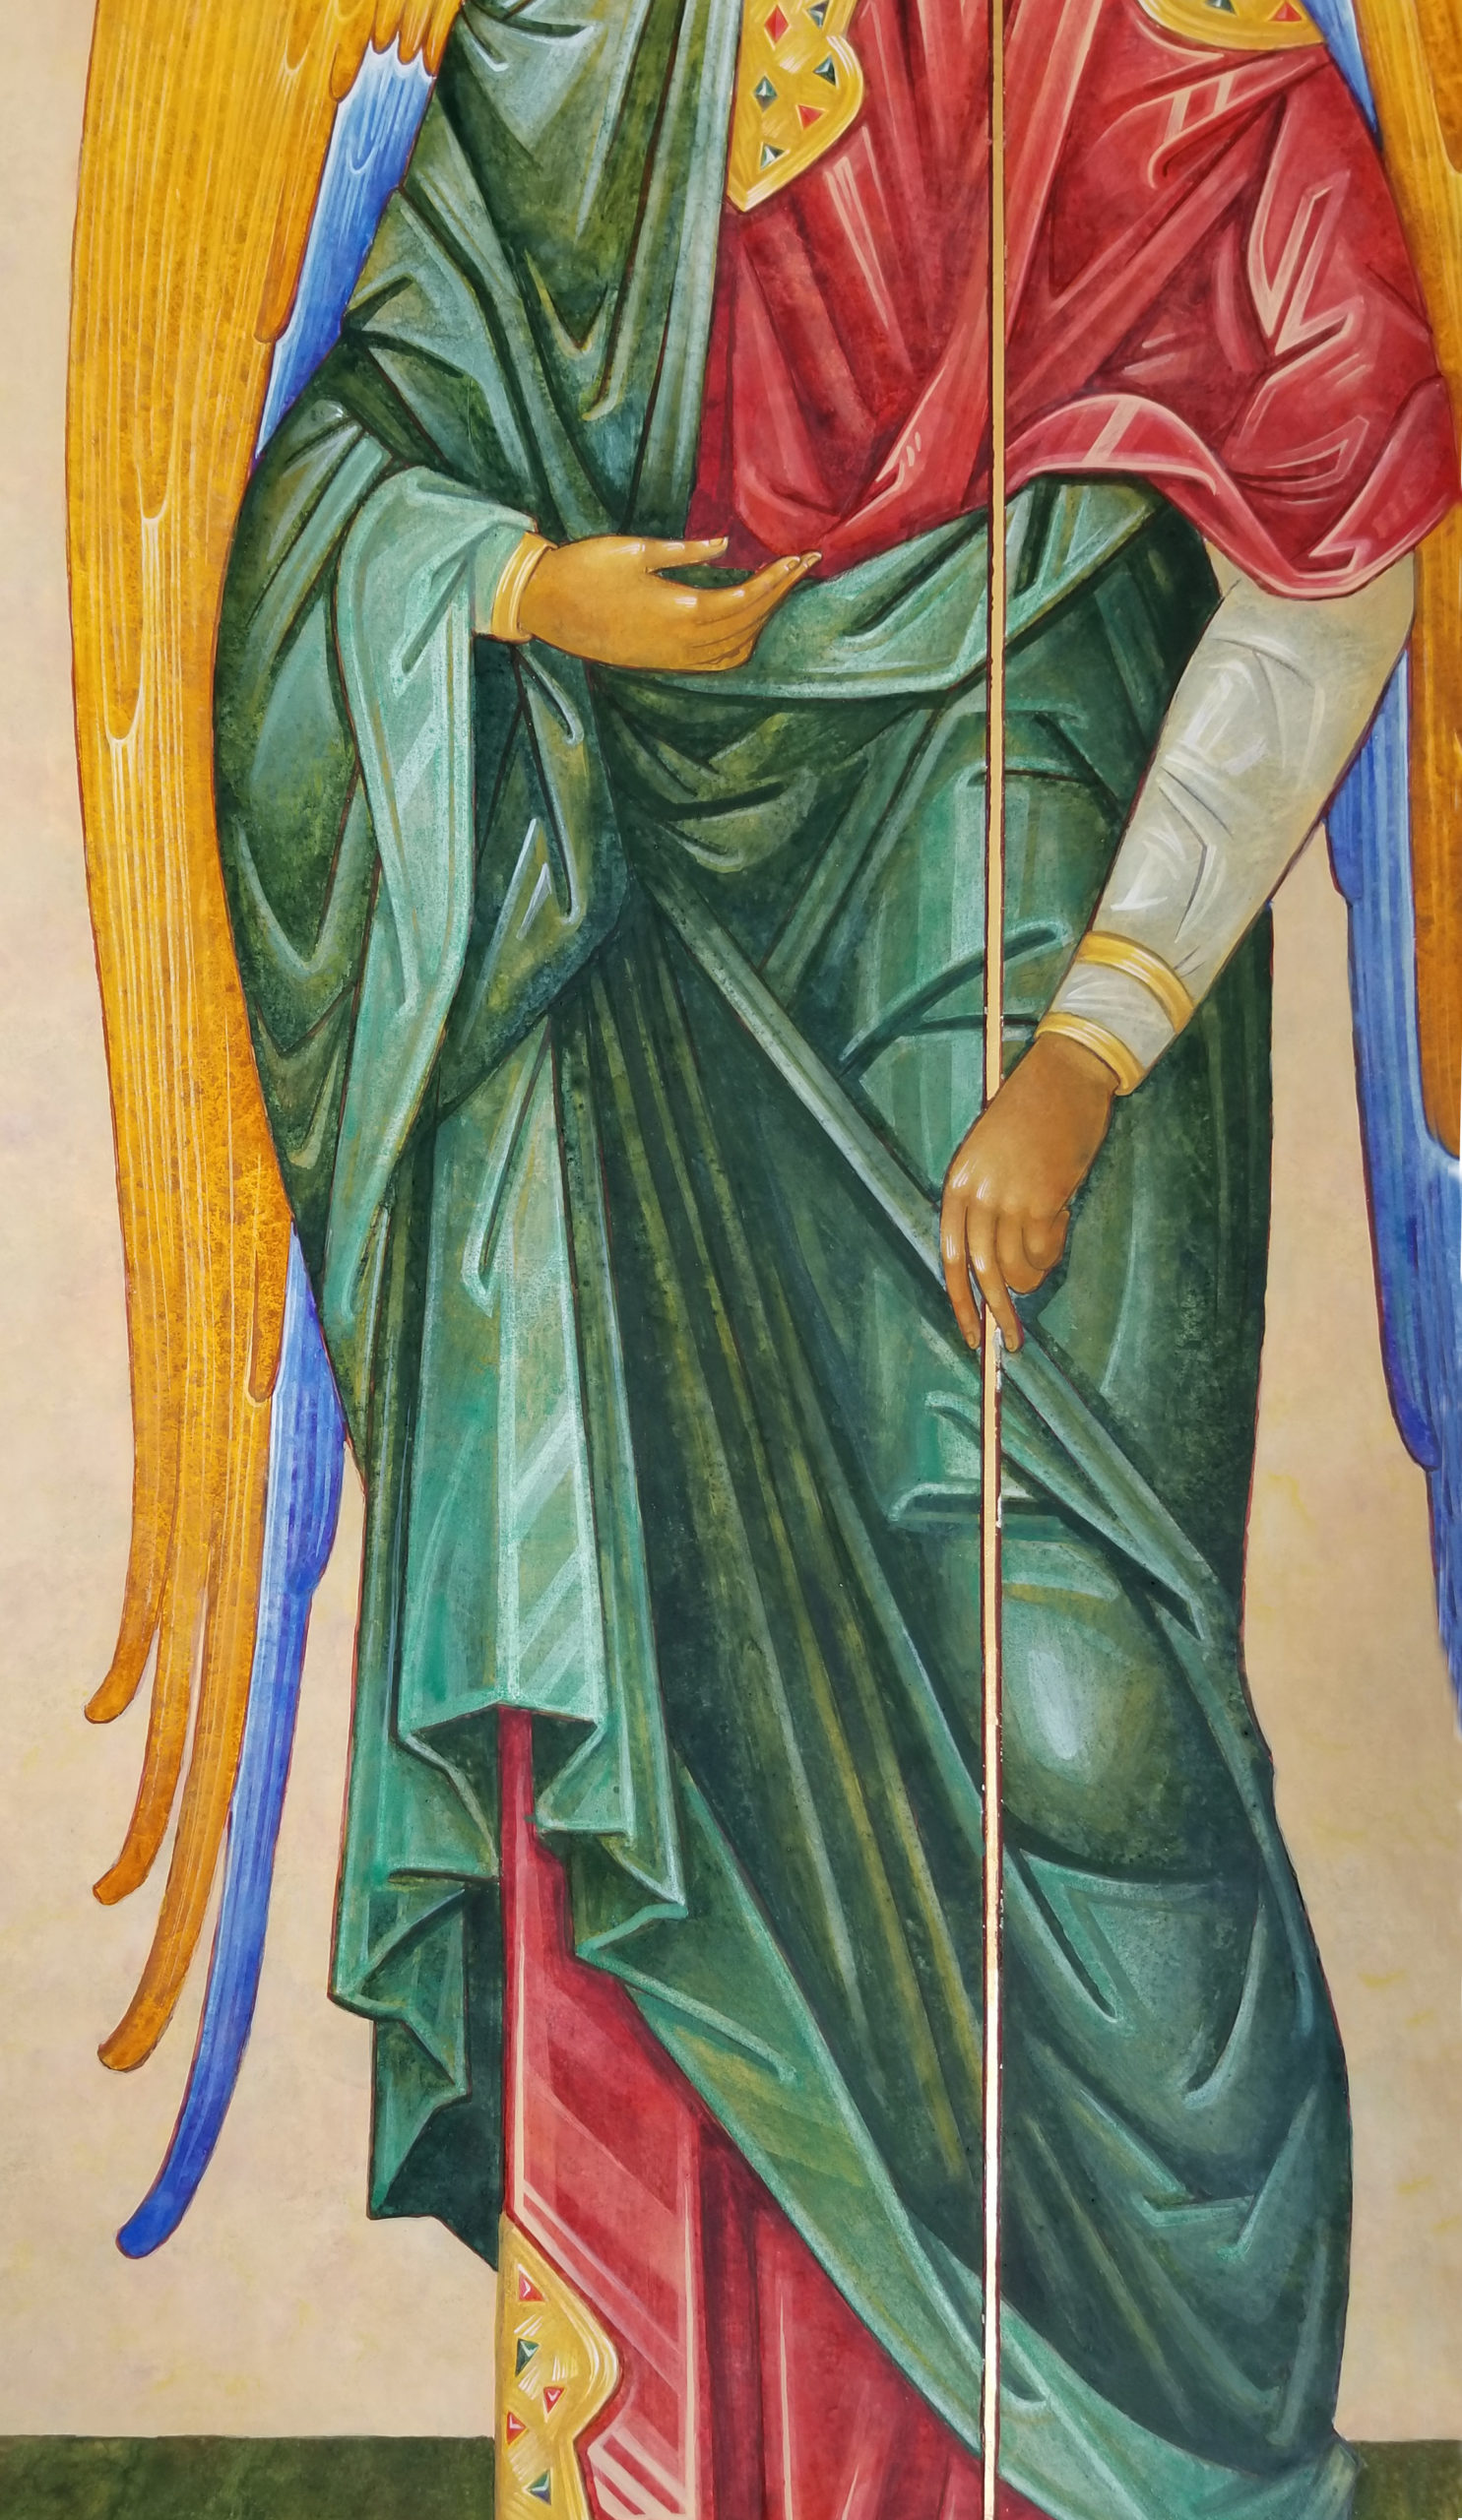
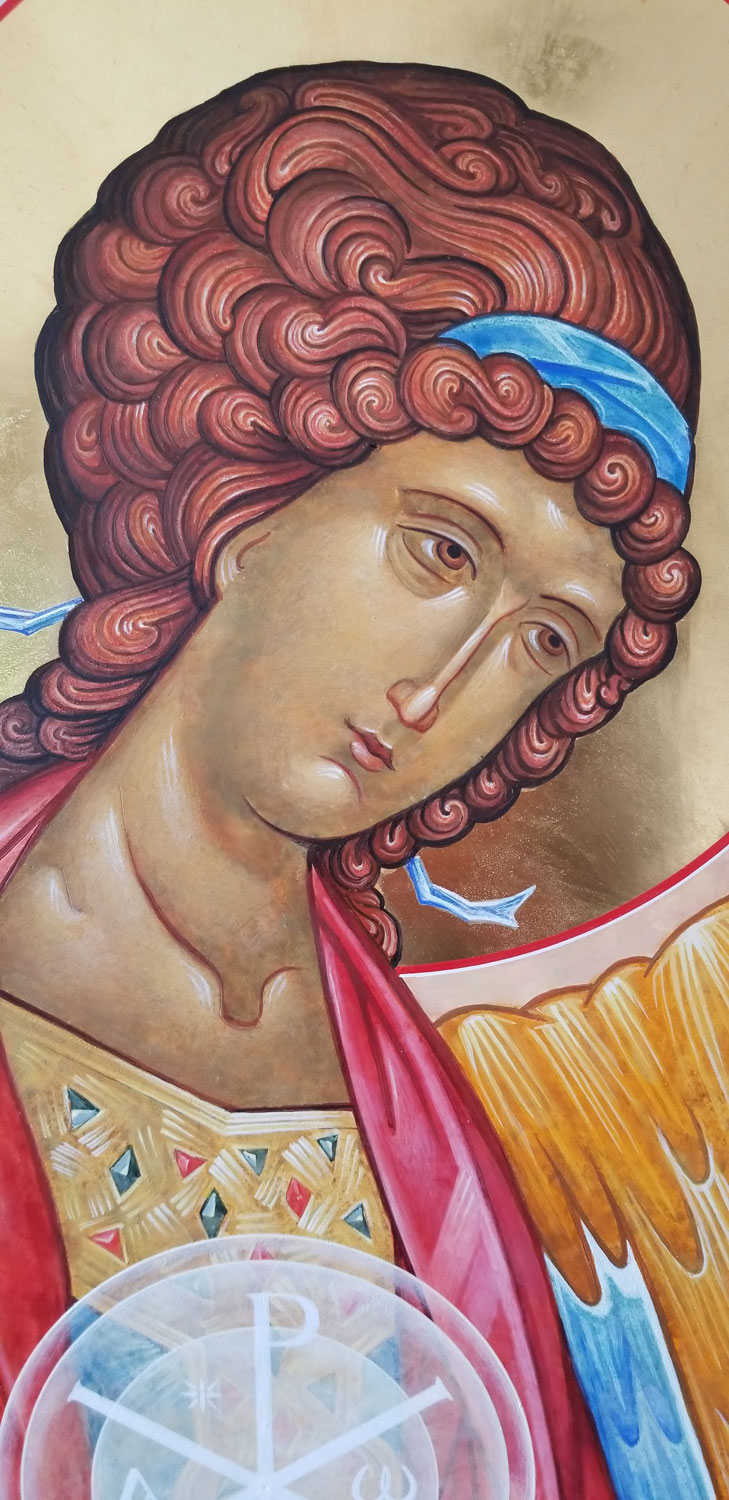
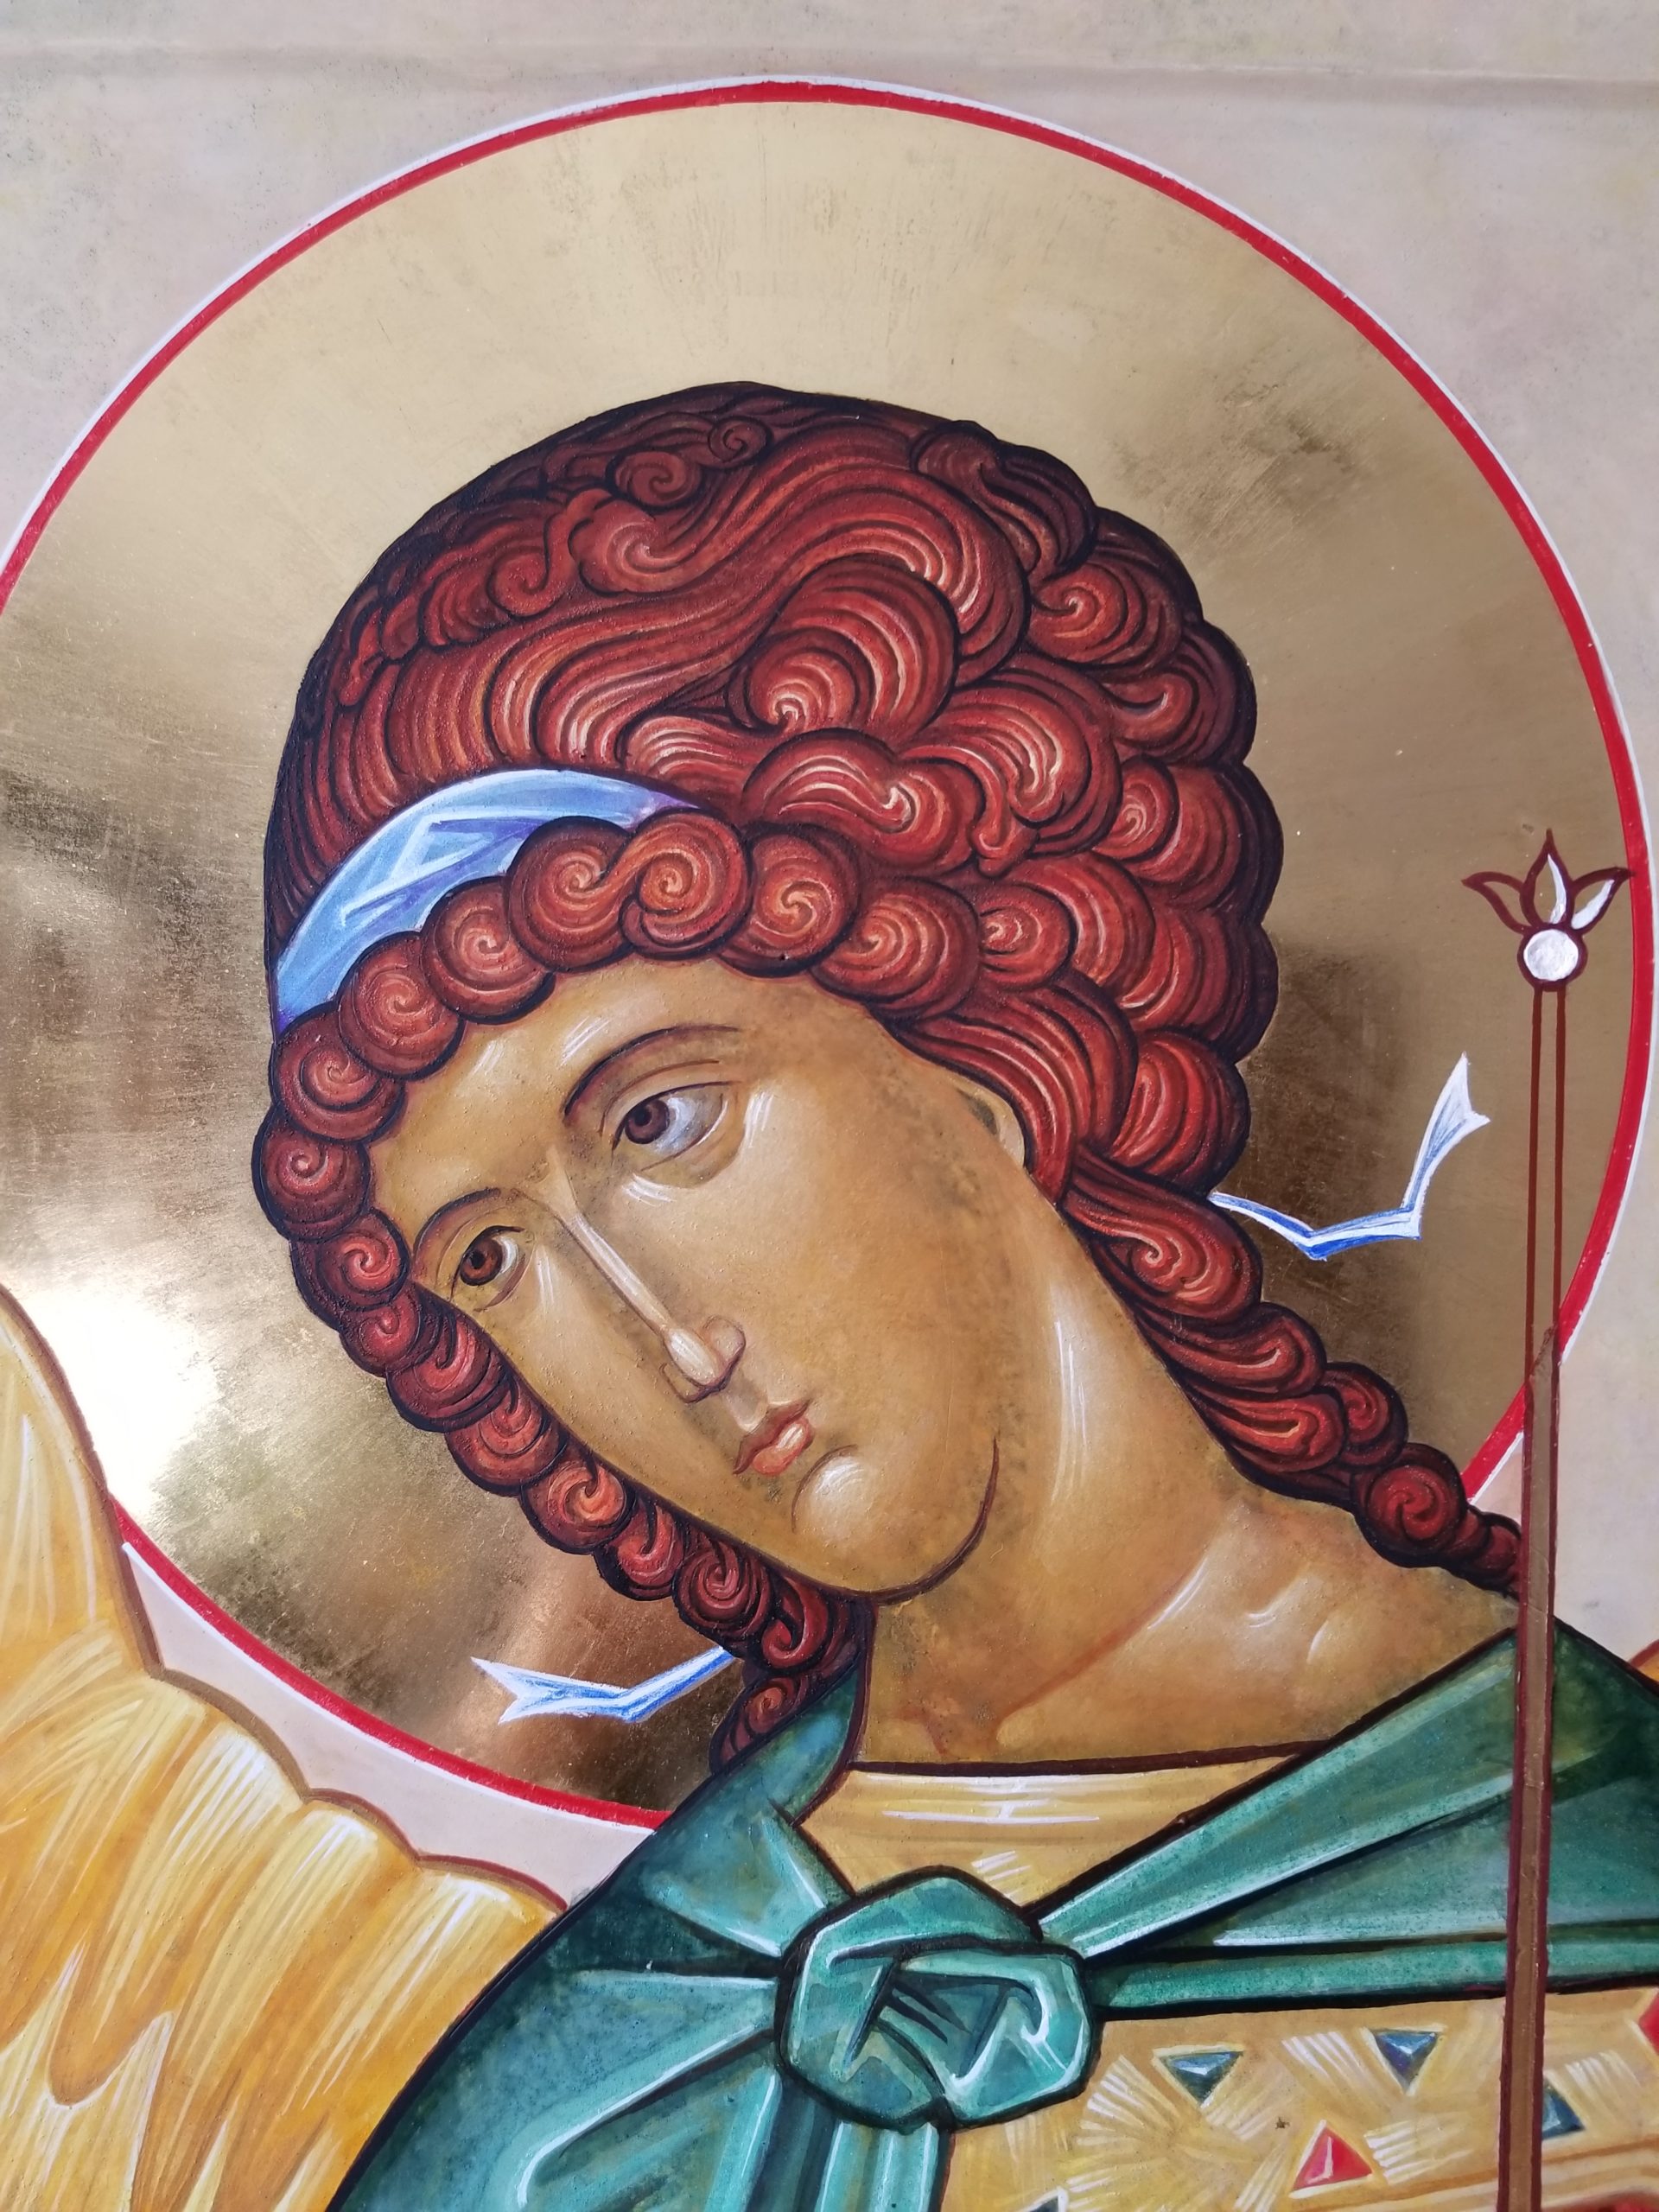
Third Highlight & Third Float
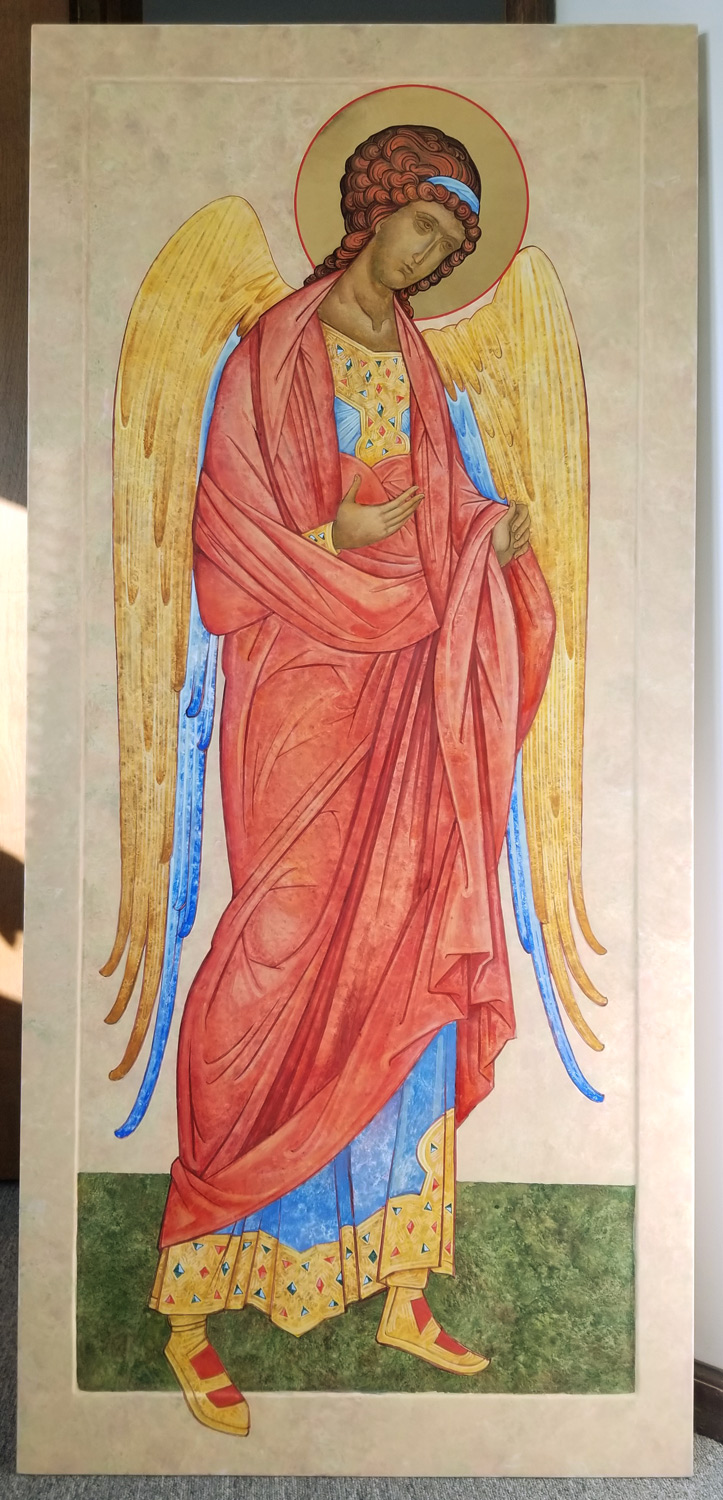
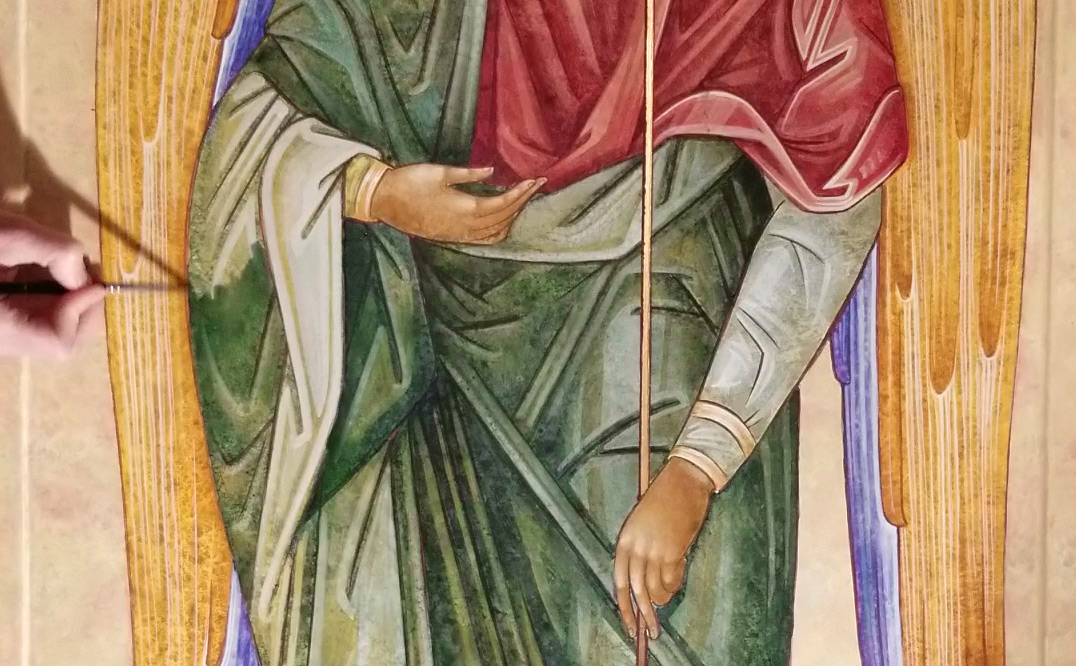
It is difficult sometimes to distinguish the last two stages, therefore they are pictured together in the final images. After the third float there are still a few final touches; the light source is emphasized with fine white lines, the outlines sometimes need to be reinforced and details such as the staffs and orbs added on top. Scroll down to see the other icons from start to finish.

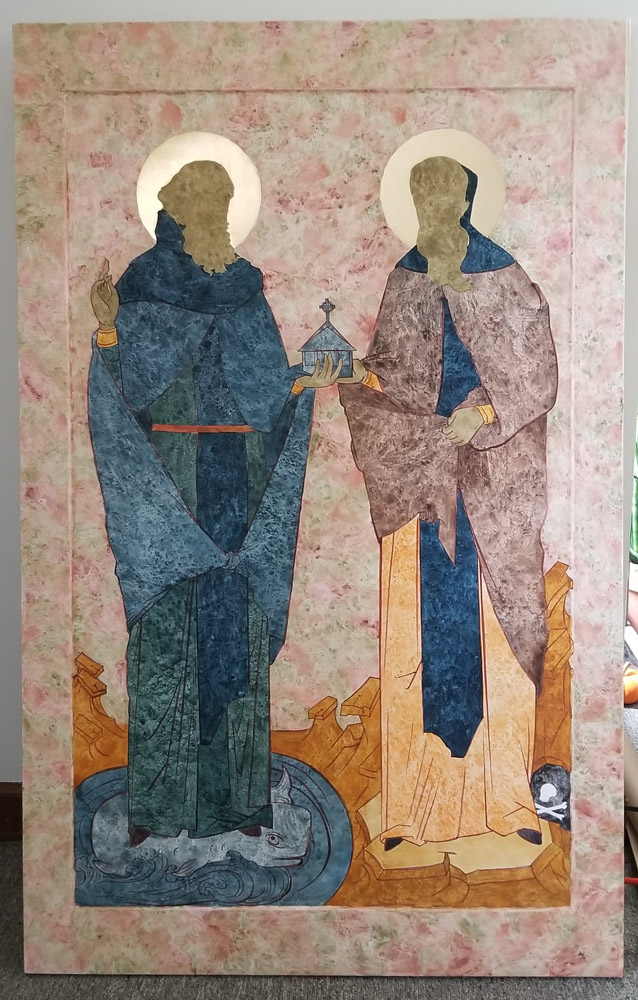
Below are the other Icons in the series in their various working stages. Not all stages are documented for every icon.